Communications play a fundamental role in the lives of human beings, and thanks to the internet this has improved to incredible limits. Internet communications affect all of our lives, from the professional to the less important. That is why today we are going to show you how to install TeamSpeak Server in Ubuntu 20.04 to have a voice over IP communications server.
As a brief introduction, we can say that TeamSpeak is a general purpose Voice over IP chat application, although it is widely used in gaming. It has a powerful client that can be installed on almost all current operating systems, but we can also deploy our own private server.
With our instance, we can manage the TeamSpeak server as we wish. Let’s start.
Preparing the system
Before we start, I have to warn you that I will run the commands as root.
First, upgrade the server completely
apt update
apt upgrade
After that install some necessary packages
apt install unzip wget nanoNext, create a new user other than root dedicated to TeamSpeak.
adduser --disabled-login teamspeakFill in the user information as you prefer.
Now we can continue.
Download and install TeamSpeak on Ubuntu 20.04
Log in to the user we just created to start the download from there.
su - teamspeakNow use wget to perform the TeamSpeak download.
wget https://files.teamspeak-services.com/releases/server/3.13.6/teamspeak3-server_linux_amd64-3.13.6.tar.bz2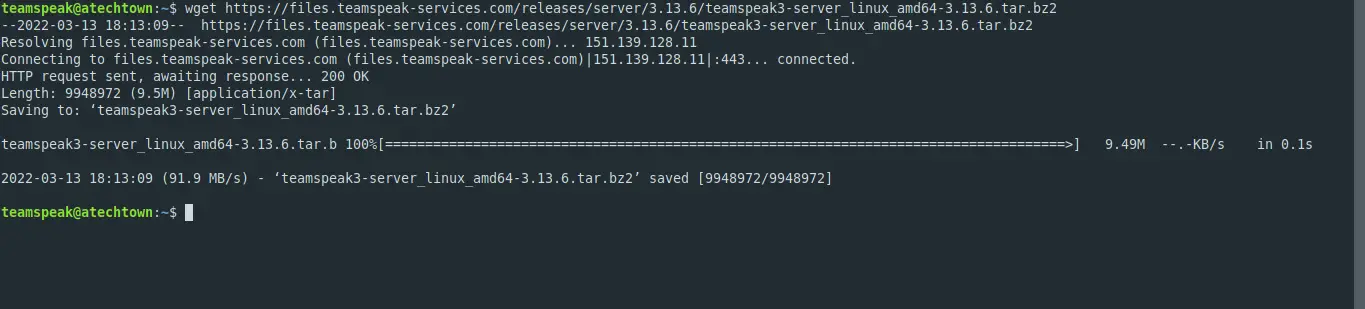
At the time of writing this post, the latest stable version is 3.13.6 to check which one it is, visit this link and modify the command.
Decompress the file
tar xvfj teamspeak3-server_linux_amd64-3.13.6.tar.bz2Copy the entire contents to the user’s home directory.
cp teamspeak3-server_linux_amd64/* -R /home/teamspeak/You can now delete the downloaded .tar file.
rm -r teamspeak3-server_linux_amd64-3.13.6.tar.bz2Accept the license terms by creating a blank file named .ts3server_license_accepted.
touch .ts3server_license_acceptedLog out and become root again.
exitThe best way to manage and control TeamSpeak is through a systemd service. To achieve this, create a new configuration file..
nano /lib/systemd/system/ts3server.serviceThen, add the following content
[Unit]
Description=Teamspeak Service
Wants=network.target

[Service]
WorkingDirectory=/home/teamspeak
User=teamspeak
ExecStart=/home/teamspeak/ts3server_minimal_runscript.sh
ExecStop=/home/teamspeak/ts3server_startscript.sh stop
ExecReload=/home/teamspeak/ts3server_startscript.sh restart
Restart=always
RestartSec=15

[Install]
WantedBy=multi-user.target
Save the changes and close the editor.
To apply the changes and the new service configuration, refresh the list of services.
systemctl daemon-reloadNow initialize
systemctl start ts3serverMake it start at boot time.
systemctl enable ts3serverOutput:
Created symlink /etc/systemd/system/multi-user.target.wants/ts3server.service → /lib/systemd/system/ts3server.service.And check the status of the service.
systemctl status ts3server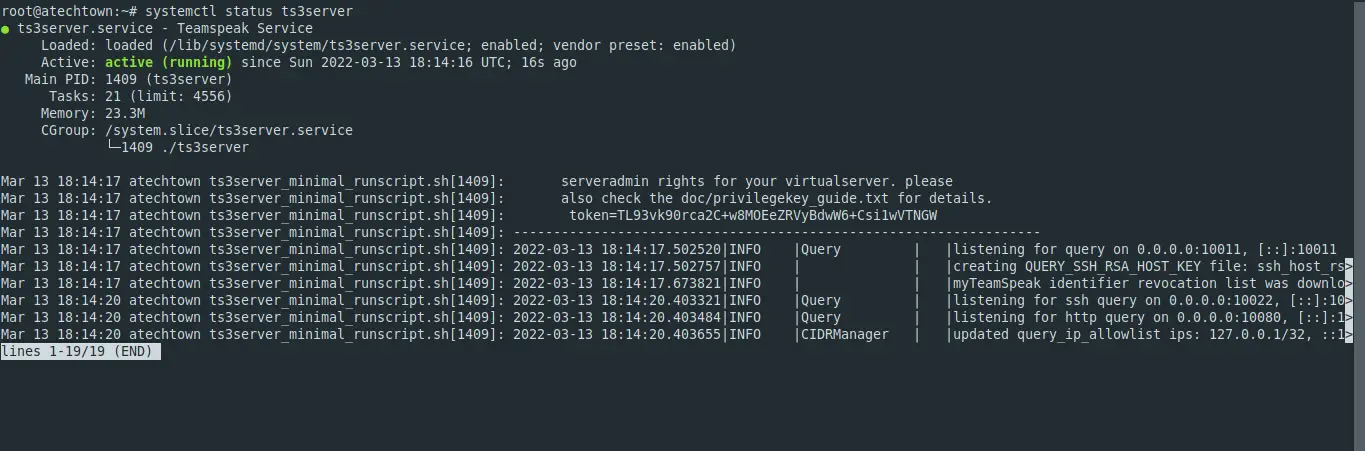
So far, so good.
Define a password for access to the TeamSpeak server
The safest thing to do is to set a login password for the administrator user. This will protect the instance from outsiders.
To achieve this, stop the server
systemctl stop ts3serverRe-login to the teamspeak user.
su - teamspeakAnd run the startup script but specify the password like this
./ts3server_startscript.sh start serveradmin_password=pssObviously, replace pss with a stronger password.
When finished, stop the server again.
./ts3server_startscript.sh stopNow the password is set. Log out and return to the root user session.
exitNow you can start the server again
systemctl start ts3serverInstalling a front end for TeamSpeak server on Ubuntu 20.04
To perform administrative tasks on the server, it is best to have a graphical interface. For this purpose, we have available an interface that we can install.
First, install Apache and PHP.
apt install apache2 php libapache2-mod-phpThen, access the Apache root directory.
cd /var/www/htmlAnd from here, download the tool
wget https://www.bennetrichter.de/downloads/ts3wi.zipUnzip the file
unzip ts3wi.zipMake Apache the owner of the folder.
chown -R www-data:www-data /var/www/html/ts3wiNext, we need to specify the list of IP addresses that will be enabled for access. We do this by creating a text file.
nano /home/teamspeak/query_ip_allowlist.txtAnd add the following
your-server-ip
your-client-ip
Save the changes and close the editor.
Restart Apache and TeamSpeak services to apply the changes.
systemctl restart apache2
systemctl restart ts3server
Log in to the TeamSpeak web interface.
Open a web browser and visit http://yourserver/ts3wi to access the login screen.
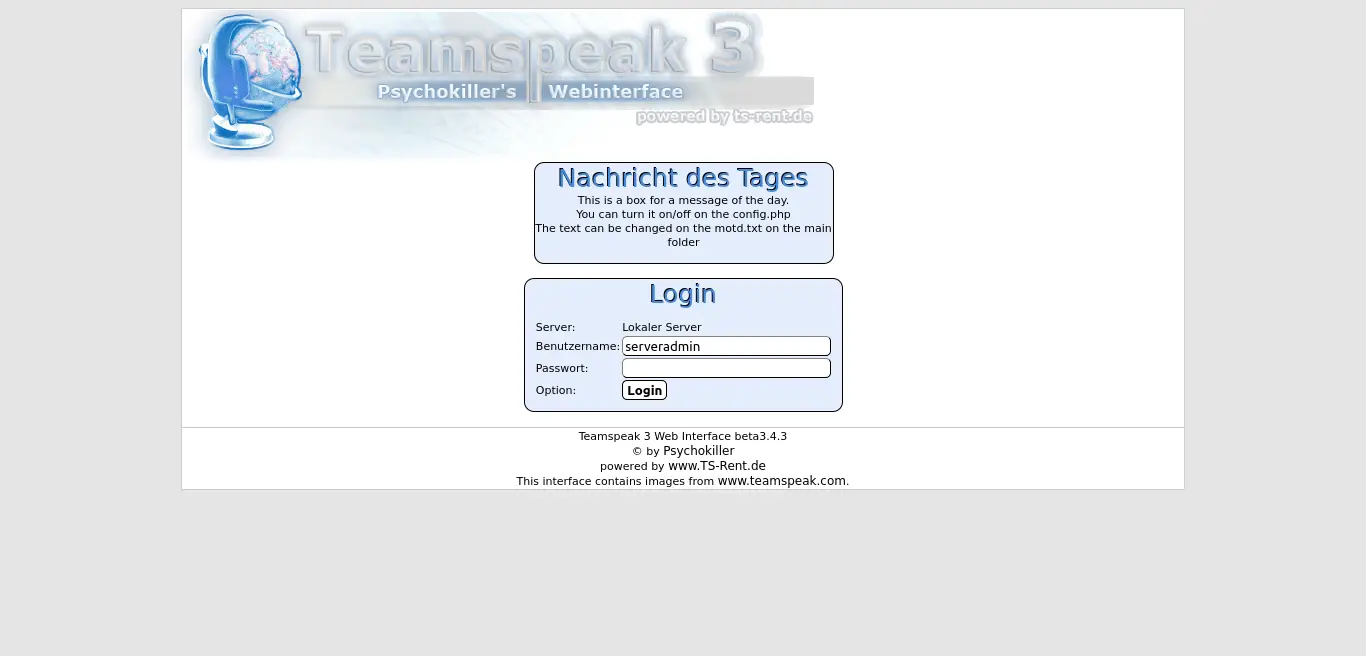
Enter the password you created earlier, and you will see the control panel.

This indicates that the installation has been successful.
Conclusion
Thanks to this post, you learned how to install TeamSpeak server to have an instance where you can communicate with your work or leisure team via Voice over IP.
I hope you liked it and share this post to help us.