VLC is a free, open-source, and cross-platform media player. It is available for Windows, Linux, Mac, Android, iOS, and most of the operating systems available. This media player can run all the media formats. With the support of skins and add-ons, you can also customize it.
Features,
- Simple, fast, and powerful
- Plays everything – It plays all Files, Discs, Webcams, Devices, and Streams.
- Plays most codecs with no codec packs needed – MPEG-2, MPEG-4, H.264, MKV, WebM, WMV, MP3…
- Cross-platform – Available for Windows, Linux, Mac OS X, Unix, iOS, Android …
- Free and Open Source – no spyware, no ads, and no user tracking.
- Supports Themes(Skin) and Add-ons
Check features in detail on the official site.
We are going to use the Ubuntu Linux flavor for the demonstration that we set up using VirtualBox. For Windows and other OS, click to download the media player
You can install VLC using the apt-get command, snap package, or using Ubuntu software manager. We are going to cover each method, but you should be using either.
1. Install VLC using Commands(Terminal) on Ubuntu
VLC is available in Ubuntu’s default source repository.
Login to the Ubuntu system and then open the terminal by pressing CTRL+ALT+ T. Ubuntu provides a versatile apt-get command utility to install the software.
Run the below commands to install VLC on Ubuntu,
1. Update the source list using the below command.
$ sudo apt-get update
2. Search the repository using the below command.
$ apt-cache search vlc
You need to install vlc – multimedia player and streamer.
3. Run install command
$ sudo apt-get install vlc
That’s it. Installation is complete.
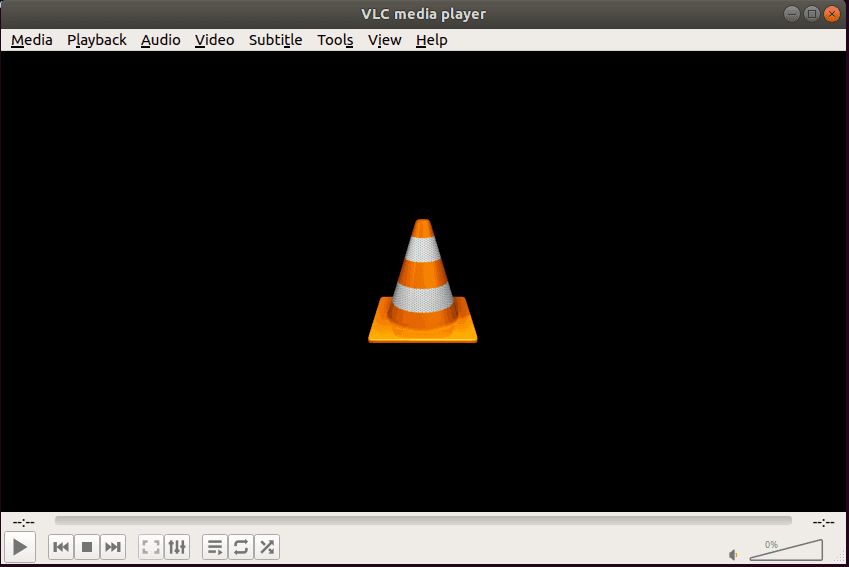
4. Type VLC on the terminal to Launch it.
$ vlc
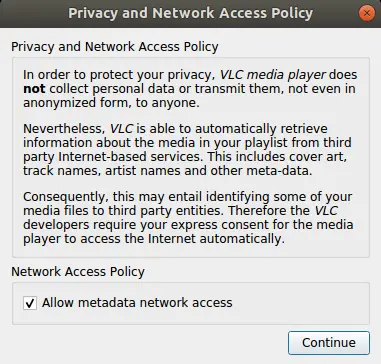
You should see the media player as shown below. Accept Privacy and Network access policy.
2. VLC Snap package on Ubuntu
VLC is also available as a Ubuntu snap package. So you can also use a snap command for installation. Snaps provide secure distribution of the latest apps and utilities for the cloud, servers, desktops, and the internet of things. It is basically an app store for Linux.
Login to the Ubuntu system and then open the terminal by pressing CTRL+ALT+ T buttons. Run the below command to install the VLC snap package.
1. Run the below command on the terminal for installation.
$ sudo snap install vlc
vlc 3.0.5-1 from VideoLAN* installed
2. You can check the snap version using the below command.
$ sudo snap list vlc
Name  Version  Rev  Tracking  Publisher  Notes
vlc   3.0.5-1  768  stable    videolan*  -
The current version is 3.0.5-1 at the time of writing this article.
3. Run the below command to remove or uninstall the VLC media player.
$ sudo snap remove vlc
vlc removed
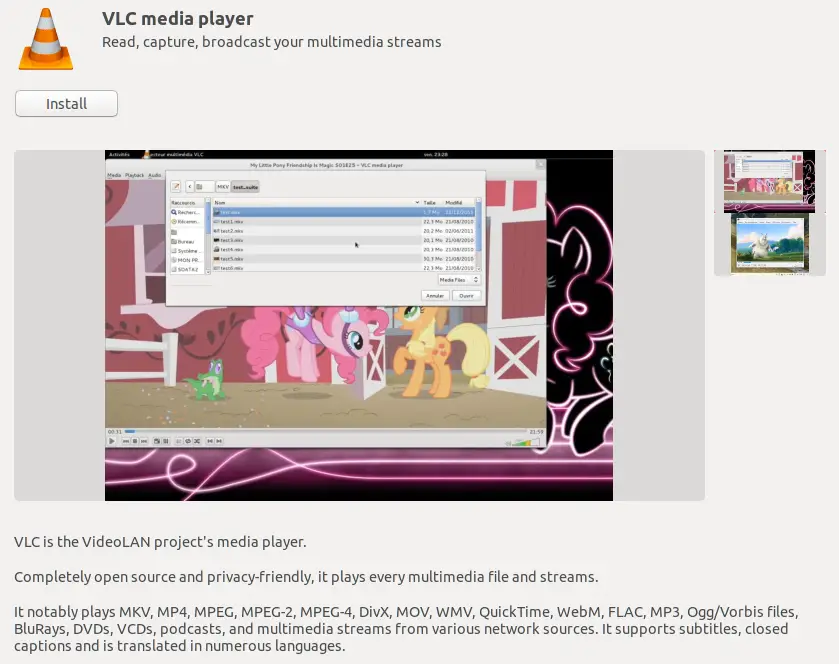
3. VLC Installation using Ubuntu Software(Graphical Method)
You can use Ubuntu Software which is a GUI Interface to install if you are not comfortable with the command as shown below.
Open Ubuntu software and search for VLC Media Player and click the Install Button. Enter the password for the user. You need to have sudo access on the system to install the software.
When the installation is complete click the launch. VLC asks you about certain permission. Provide all the necessary permission and click the Close button.

Next, read Privacy and Network Access Policy and select Allow metadata network access and click the Continue button.
That’s it. Your player is ready. You can play local files or Network streams audio and video.
Summary
VLC is a free, open-source, and cross-platform media player that plays everything. So go ahead, install it and enjoy music, movies, and videos on your Ubuntu System and let me know if you like the VLC Media Player.