Rancher is a software platform designed to simplify and streamline the management of Kubernetes clusters. It provides a comprehensive set of tools and features to address the operational and security challenges of managing multiple Kubernetes deployments. Therefore, this post is about installing Rancher on Alma Linux 9 / Rocky Linux 9.
According to the project website, “Rancher allows users to deploy and run Kubernetes clusters anywhere”. Meaning you can install and use it on many platforms such as bare metal, private clouds, public clouds, or vSphere.
Rancher takes care of the details and offers an easy-to-use interface that makes it easy to create, manage and monitor clusters, as well as provision and scale applications within those clusters.
Some key features to understand the usefulness of Rancher are:
- Simplified cluster deployment: Rancher removes the complexity of deploying Kubernetes clusters by providing a centralized control plane.
- Intuitive cluster management: Once clusters are up and running, Rancher provides a comprehensive set of tools to effectively manage them.
- Enhanced security and compliance: Security is a primary concern for any organization managing Kubernetes clusters.
- Application catalog and Helm integration: Rancher comes with an extensive application catalog, which offers a wide range of pre-configured applications that can be deployed with a single click.
However, if you want to go deeper into Rancher concepts, its official documentation is a good starting point.
Install Rancher on Alma Linux 9 / Rocky Linux 9
The way Rancher is distributed is as a Docker image. Therefore, it is compatible with many Linux distributions.
Step 1: Update the system
Before starting, it is always advisable to update the system to get the latest security patches and have a more secure system.
To achieve this, open a terminal or via SSH get a shell session and run
sudo dnf updateNote: For this post, we will use a regular user with privileges to use the sudo command; however, you can run the commands from the root user if you have access
Step 2: Install Docker on Alma Linux / Rocky Linux
For demonstration purposes, Rancher is installed using a Docker image. Ideal for testing and development environments where you are keen to explore the potential of the tool.
So, in this step, you will have to install Docker. First, add the Docker repository to the system
sudo dnf config-manager --add-repo=https://download.docker.com/linux/centos/docker-ce.repoSubsequently, you can install Docker by executing
sudo dnf install docker-ce docker-ce-cli containerd.io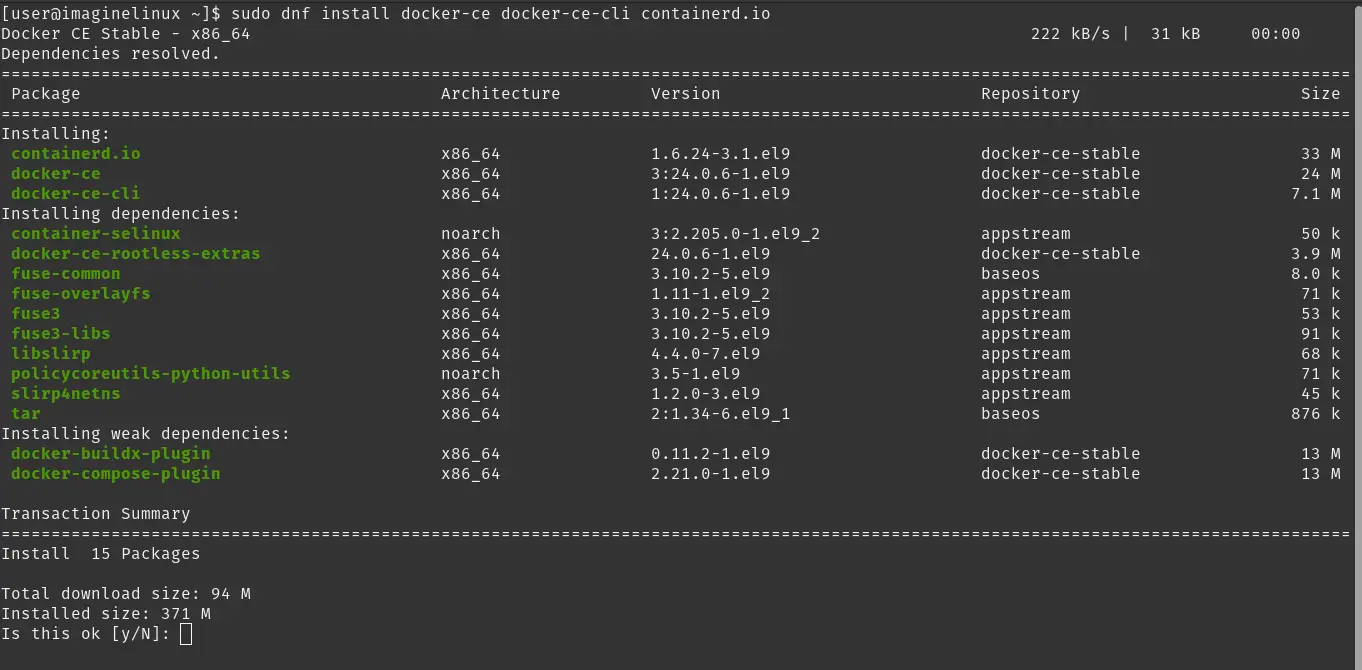
At the end of the process, you will have to make some adjustments to get Docker ready.
Step 3: Prepare Docker for Rancher
With Docker installed on the system, the first thing you will need to do is check the version that has been installed. To achieve this, run.
docker --versionSample output:
Docker version 24.0.6, build ed223bcBy default, the root user is only authorized to use Docker. Although it may seem safe, it is not a good practice, and therefore it is recommended to let the regular user use it. Just add the regular user to the Docker group.
sudo usermod -aG docker $USERNow you can start its service and let it start working.
sudo systemctl enable --now dockerSample output:
Created symlink /etc/systemd/system/multi-user.target.wants/docker.service → /usr/lib/systemd/system/system/docker.service.The above command will not only run it immediately, but at once causes it to run the system. This is a best practice.
Verify that the service is active
systemctl status docker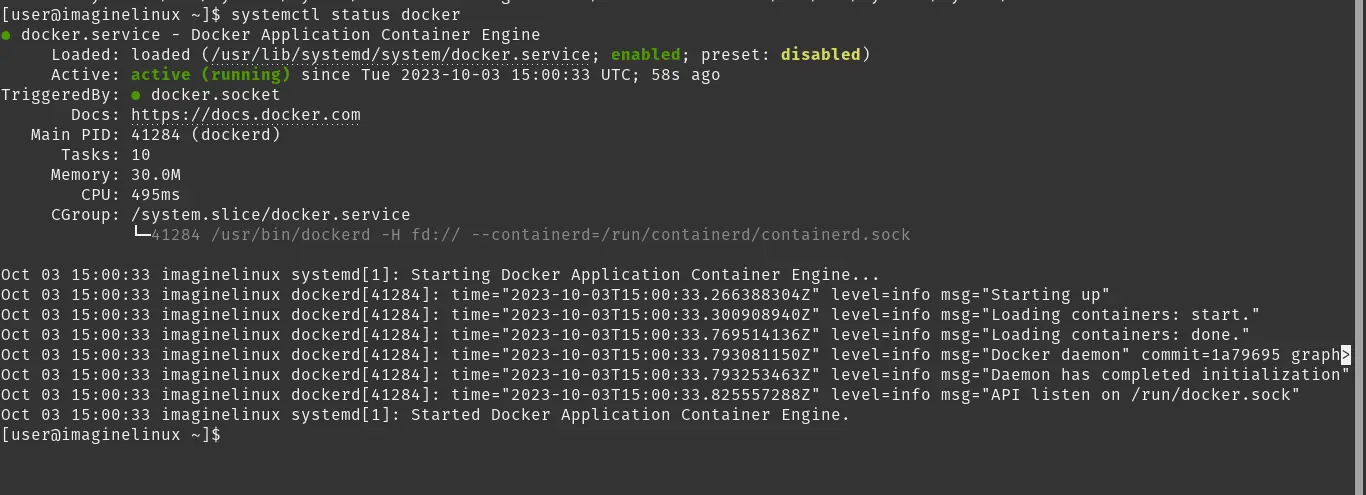
Docker should already be working properly, but if you want to try it, you can run the test image.
docker run hello-world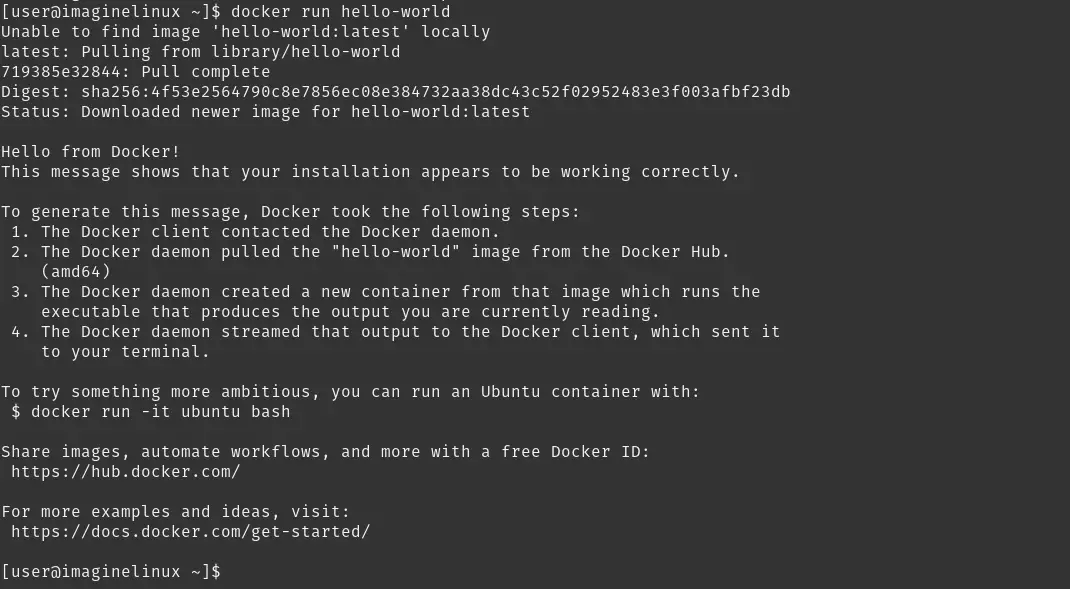
Step 4: Install Rancher on Alma Linux / Rocky Linux
Rancher requires some kernel modules to work properly. It is highly likely that they are already enabled, but it is always a good idea to check.
sudo modprobe ip_tables
sudo modprobe ip_conntrack
sudo modprobe iptable_filter
sudo modprobe ipt_state
Executing each of the above commands will activate the required modules. If you look closely, you will notice that they are modules related to network traffic on the system.
Now you can run the Rancher image on the system. To do this run.
docker run -d --name=rancherimaginelinux --privileged --restart=unless-stopped -p 80:80 -p 443:443 rancher/rancher:v2.4.9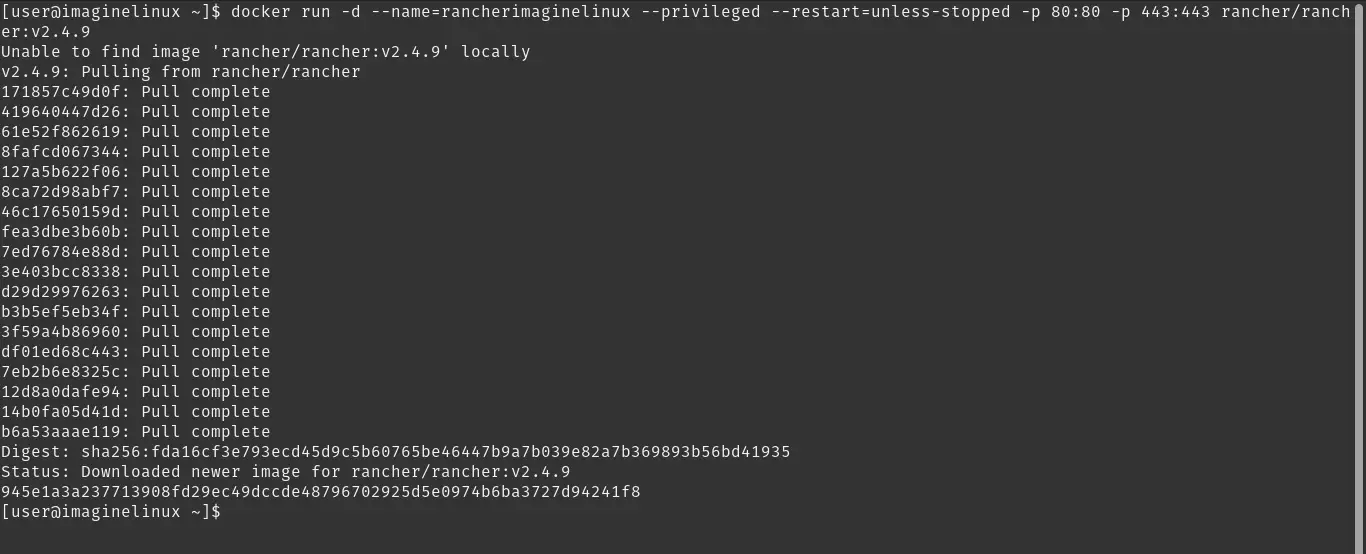
In this command, there are some important points: first the name of the image that will help to identify it better; the 80 and 443 ports are exposed on the system. You can change this according to your needs. Finally, you will be using the latest stable version of the tool.
At the end of the command line run, you will be able to check if the image is indeed running.
docker ps
There you should see the image running.
Then, make sure that in the firewall the rules are applied to access the Rancher web interface
sudo firewall-cmd --add-service http --permanent
sudo firewall-cmd --add-service https --permanent
sudo firewall-cmd --reload
This should be enough.
Step 5: access Rancher’s web interface
With Rancher installed and running, the next step is to access the program’s web interface. To achieve this, open a web browser and go to http://your-verver After accepting the security implication (don’t worry, it’s a test server) you will see this screen.
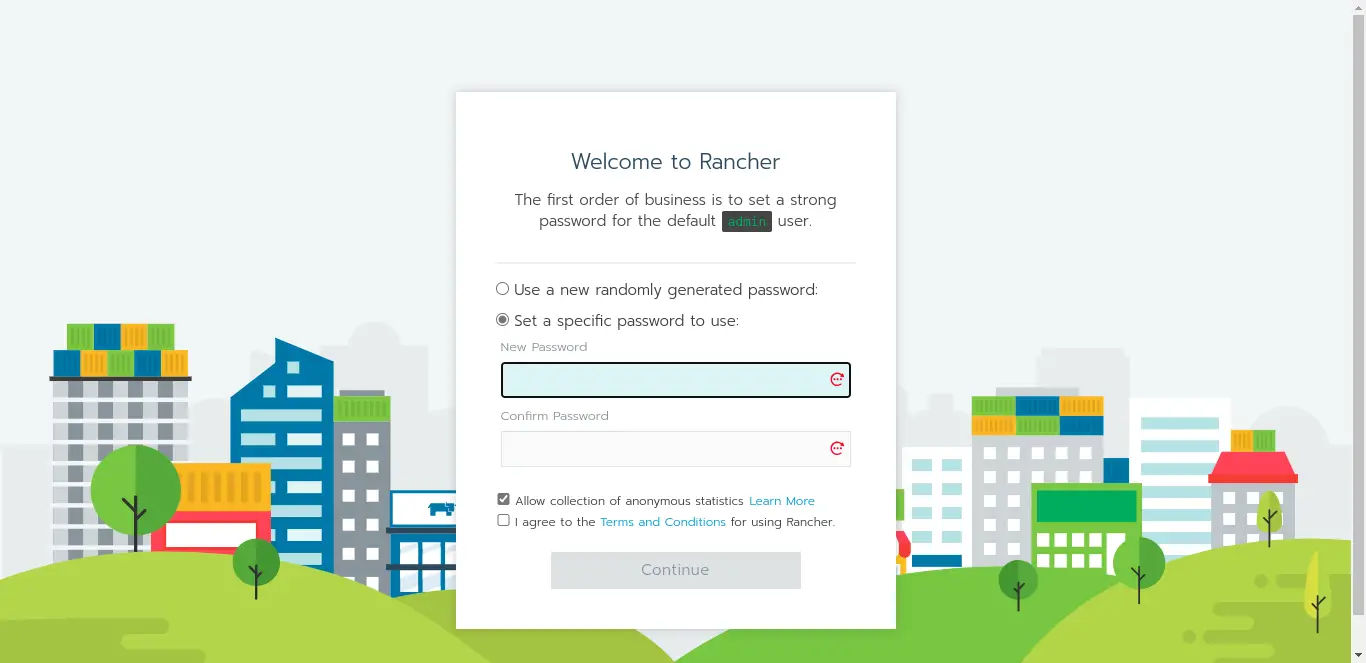
There you will be able to choose the new secure password to access Rancher. It should be a very secure password and stored in an even more secure place.
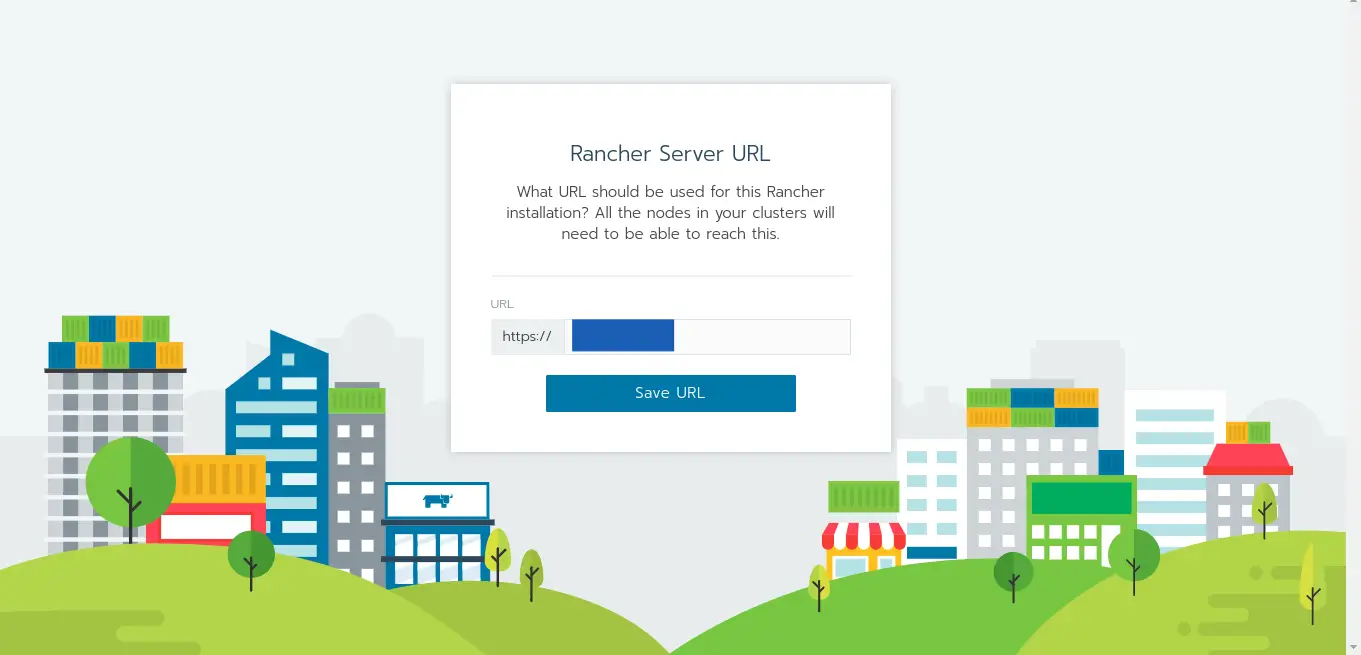
Next, set the IP address of the Rancher server. In this case, it is the same as the server.
Finally you will see the main screen.
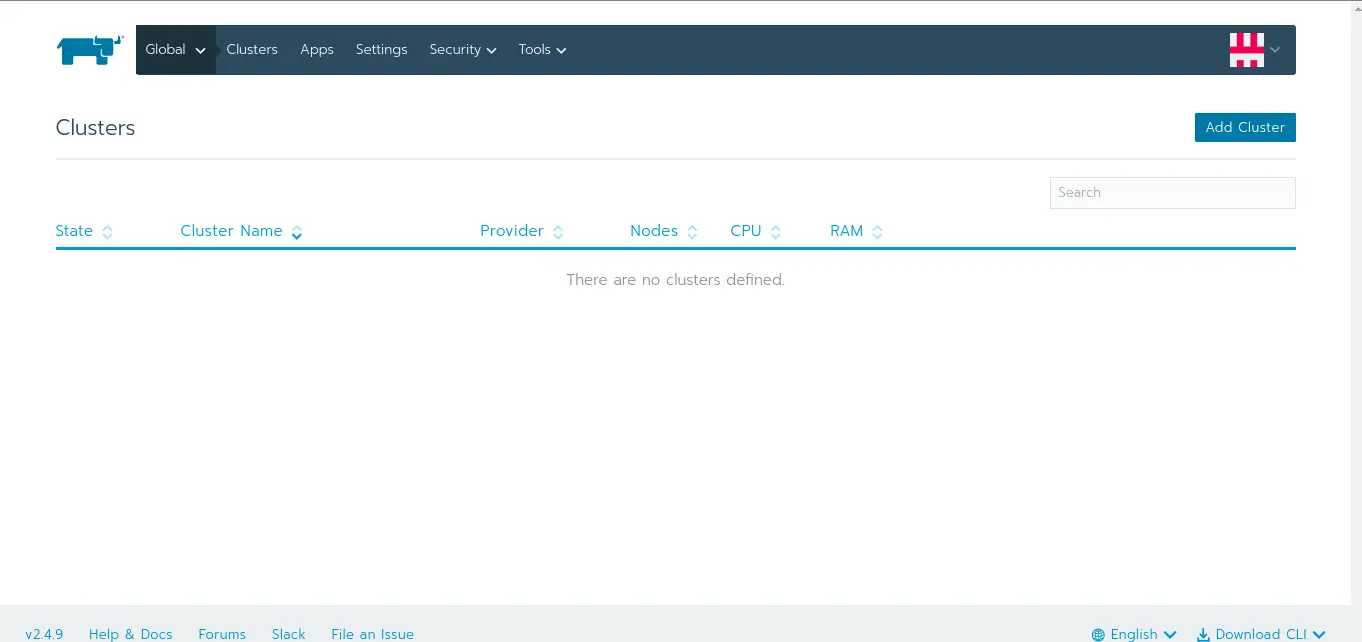
That’s it! Rancher is ready, and you can now play with it.
Conclusion
In a world where Kubernetes has become the de facto standard for container orchestration, Rancher stands out as an indispensable tool for simplifying and streamlining cluster management. Today, you have learned how to install on RHEL-derived systems, which is one of the world’s preferred DevOps systems.
So, now it’s up to you to take full advantage of the tool. Please let us know in the comments what you think about it and containers.