Rocky Linux is an ideal distribution for deploying servers and other applications that require robustness. Some of these applications require Redis. That’s why today you will learn how to install Redis on Rocky Linux, and not only that. You will also learn how to configure it and get it ready for your work.
Introduction—What is Redis?
Thanks to AWS, we have the following definition
Redis, which stands for Remote Dictionary Server, is a fast open source in-memory key-value data store. The project started when Salvatore Sanfilippo, the original developer of Redis, was trying to improve the scalability of his Italian start-up company. From there, he developed Redis, which is now used as a database, cache, message broker and queue.
As a result, Redis is emerging as a critical tool in many applications such as chat messaging and for large-scale caching.
Redis offers sub-millisecond response times, enabling millions of requests per second for real-time industry applications such as gaming, advertising technology, financial services, healthcare, and IoT.
Installing Redis on Rocky Linux 8
Fortunately, we can install Redis on Rocky Linux 8, via the distribution’s official repositories. This is a great advantage as you can install it without much effort and with the certainty that it will work.
After you connect to your server with Rocky Linux 8, you have to update it
sudo dnf updateThereafter, just run
sudo dnf install redis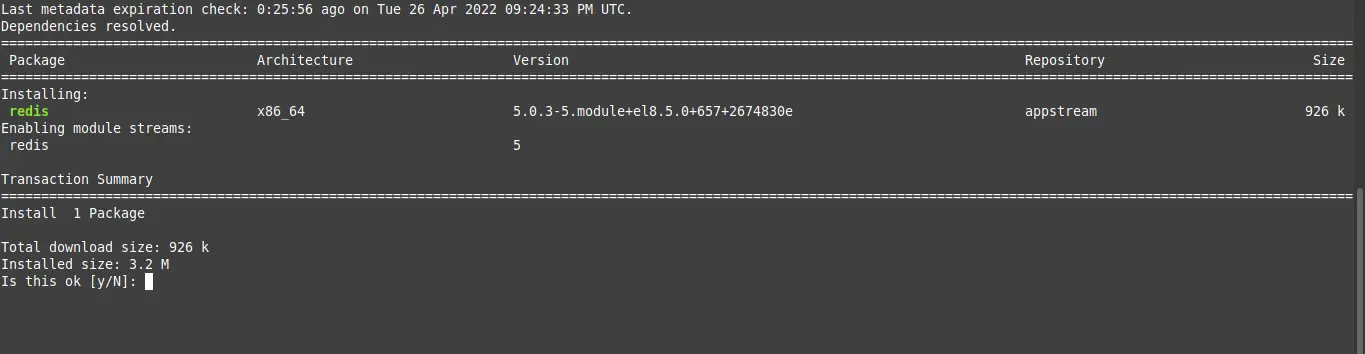
And it will be quickly installed on your system.
Configure Redis to your liking to get it ready for use.
After it is installed, we need to make some configurations. These are all present in the /etc/redis.conf file, so edit it.
sudo vi /etc/redis.confAnd find the supervised directive and change the value to it. It will look like this.
supervised systemdThis way, Redis will be managed by systemd and the systemctl command.
So, Save your changes and close the editor. Then, start Redis.
sudo systemctl start redisThen check the status
sudo systemctl status redis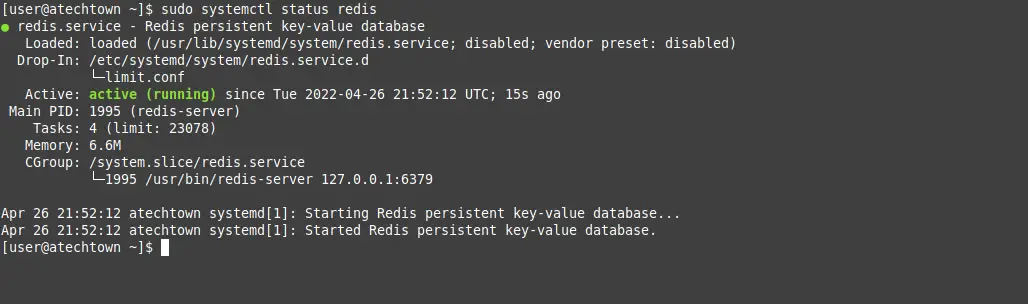
By now, Redis is working correctly and if we type the command
sudo redis-cli pingWe will get PONG as a response and thus verify that Redis is correctly installed.

Another fundamental thing we need to do is to set a password so that not everything is allowed in Redis.
To achieve this, go back to editing the configuration file
sudo vi /etc/redis.confAnd locate the requirepass directive and set an appropriate password for it.
requirepass your-passwordSave your changes and close the editor. To apply the changes, restart Redis.
sudo systemctl restart redisTo authenticate, you need to access the Redis console.
sudo redis-cliAnd from there, just run
auth your-passwordNow you can run whatever you want.
Enabling remote access to Redis
Although not always convenient, some people prefer to enable remote access to Redis. To achieve this, open the Redis configuration file.
sudo vi /etc/redis.confNow find the bind directive and assign it the server address
bind [IP]Another option is to make it reachable from the whole network
bind 0.0.0.0.0After this, find the protected-mode directive and set it to no.
protected-mode noSave the changes and close the editor.
Finally, restart Redis.
sudo systemctl restart redisRemember to open port 6379.
sudo firewall-cmd --add-port=6379/tcp --permanent
sudo firewall-cmd --reload
This way you will have Redis up and running.
Conclusion
Thanks to this post, you learned how to install and configure Redis on Rocky Linux 8 to take advantage of this in-memory database concept.
So, I hope you liked it and help us to share it.