Although the web server market is largely dominated by Nginx and Apache HTTPD, there are other alternatives. That is why today, you will learn how to install Caddy web server on Rocky Linux / Alma Linux 8 / CentOS 8.
Introducing Caddy Web Server
Usually, when it comes to web servers, we always think of Nginx or Apache HTTPD. The truth is that these two open-source solutions dominate the market. However, they are not alone; there are other very solid alternatives that we have to consider.
Caddy is a fairly lightweight and modern web server that is written in GO that we can install on our distribution to serve websites. Installing and configuring Caddy is a fairly simple task because it has a syntax similar to that of Nginx.
One of the main features of this web server is that it has the SSL implementation enabled by default. This is an advantage because although we can quickly install it, we will not neglect the security.
Other features that we can find in Caddy are the following:
- Caddy is the only web server that uses HTTPS by default.
- Written in Go, its binaries are entirely self-contained and run on every platform.
- Supports HTTP/2.
- Multi core.
- CrossPlattform.
And many others that we can take advantage of without many problems in our server with Rocky Linux 8, but we can also take advantage of Alma Linux 8 or Oracle Linux 8.
Let’s go for it.
Preparing the system for installation
Unfortunately, Caddy web server is not in the official repositories of Rocky Linux or Alma Linux. But this is not an impediment to perform the process.
After you have connected to the server via SSH, we can then upgrade the system.
sudo dnf update
In case you do not use sudo then run the commands as the root user.
Then, you can run this pair of commands to add the special repository to install Caddy and enable it at once.
sudo dnf install 'dnf-command(copr)'.
sudo dnf copr enable @caddy/caddy
Install Caddy Web Server on Rocky Linux 8 / Alma Linux 8
Now we are ready for the Caddy installation. To complete this, we just need to run.
sudo dnf install caddy
If you want to check if the installation was successful, you can then check the installed version.
caddy version
Sample Output:
v2.4.6 h1:HGkGICFGvyrodcqOOclHKfvJC0qTU7vny/7FhYp9hNw=
We only need to open the ports in the firewall. To do this run.
sudo firewall-cmd --permanent --add-service=http
sudo firewall-cmd --permanent --add-service=https
Restart the firewall to make the changes effective.
sudo systemctl reload firewalld
Thereafter, you have to enable the Caddy service.
sudo systemctl enable --now caddy
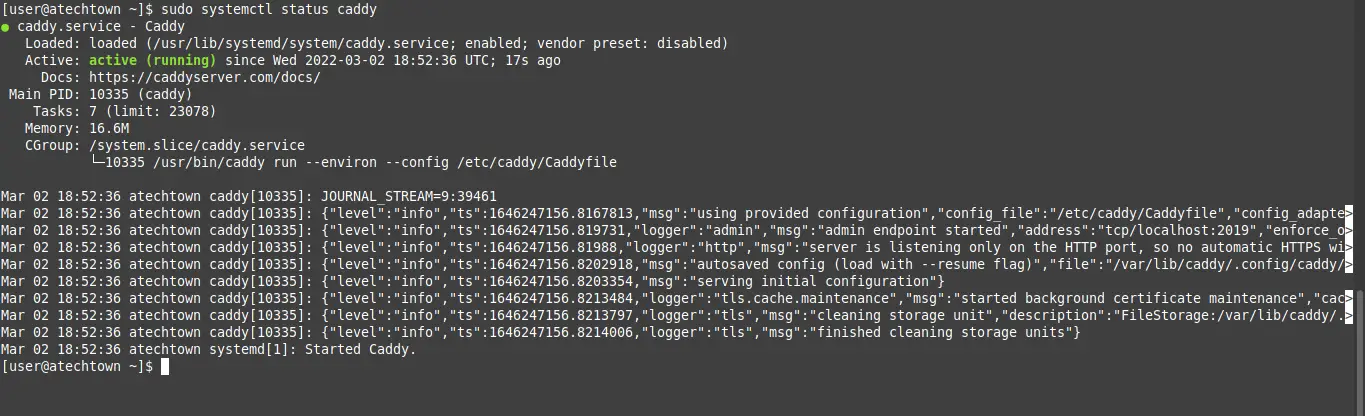
Finally, check the status of the Caddy service. This way, we will know if it is working properly.
sudo systemctl status caddy
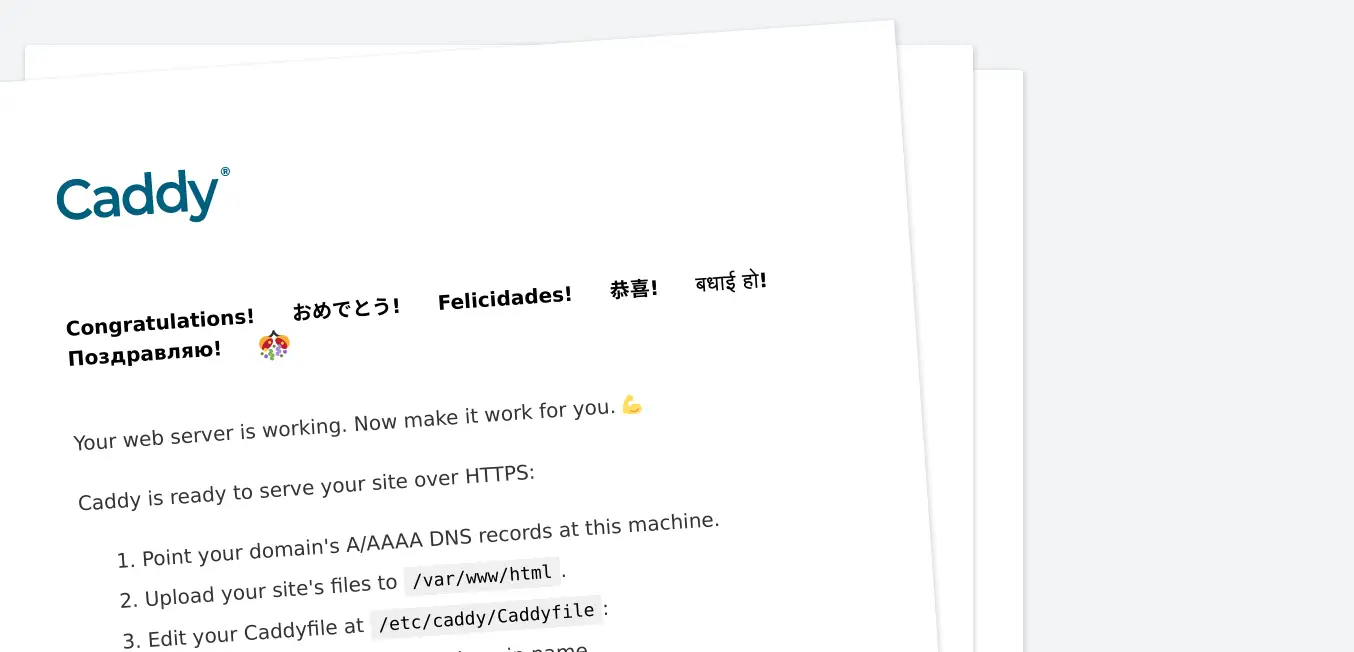
Just open your favorite web browser and visit http://your-server and you will see the welcome page.
Create a new site on Caddy Web server
One of the most common things when using Nginx or Apache web server is to create a new site with a custom configuration.
To complete this, create a new folder dedicated to your site in the root of Caddy with the following structure
sudo mkdir -p /var/www/imaginelinux/html
It is a good idea to create a folder dedicated to the logs generated using Caddy.
sudo mkdir /var/log/caddy
Both folders must belong to the caddy user that was created during installation.
sudo chown caddy:caddy /var/www/imaginelinux/html -R
sudo chown caddy:caddy /var/log/caddy
Now edit the configuration file for this new site
sudo nano /etc/caddy/Caddyfile
Comment out all the lines and add the following
imaginelinux.test {
root * /var/www/imaginelinux/html
file_server
encode gzip
log {
output file /var/log/caddy/imaginelinux.log
}

@static {
file path *.ico *.css *.js *.gif *.jpg *.jpeg *.png *.svg *.woff *.pdf *.webp
}
header @static Cache-Control max-age=5184000
tls admi@imaginelinux.com
}
Remember to adapt the file to your needs and criteria. Save the changes and close the editor.
Validate the file
caddy validate --adapter caddyfile --config /etc/caddy/Caddyfile
If you get a warning, then run
caddy fmt --overwrite /etc/caddy/Caddyfile
Restarts caddy
sudo systemctl restart caddy
And now you can visit your website. Remember that caddy enables HTTPS by default, so it must be a valid domain.
Uninstalling Caddy web server on Rocky Linux 8 / Alma Linux 8
To uninstall Caddy web server from our system, we have to run the following command.
sudo dnf remove caddy
However, you should also remove all the manual configurations you have made.
In any case, they are not heavy files and can stay on your computer.