This article explains, how to install Apache web server on Ubuntu 18.04 Linux Distro.
Apache HTTP Server
Apache httpd is an open-source web server especially for Unix platforms. It is one of the most popular and used servers in the world. Almost, half of the websites are served with Apache.
Apache supports modules and extensions which helps you to extend it’s functionality. For example, the mod_ssl module enables the use of SSL for web sites.
The Apache web server is under the sponsorship of the Apache Foundation which guarantees its public access and robustness. This makes it license-free and usable for various types of projects.
Install Apache web server on Ubuntu 18.04
Apache web server is a very popular program and is available for almost all Linux distributions official repositories. Linux distributions are patching it every time to increase the security of the program. In the case of Debian, Ubuntu, and derivatives the package is called apache2.
Open a terminal and run the following commands to install Apache on Ubuntu 18.04
:~$ sudo apt update
:~$ sudo apt search apache2
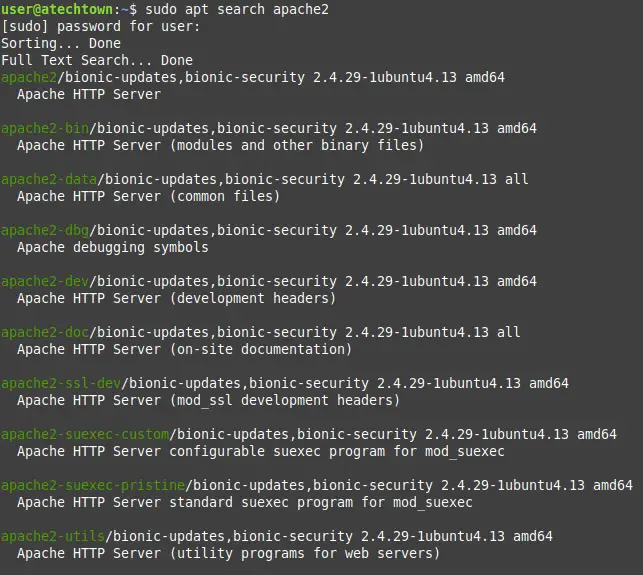
There are many Apache-related programs. We are interested in apache2. Run the following command to install.
:~$ sudo apt install apache2
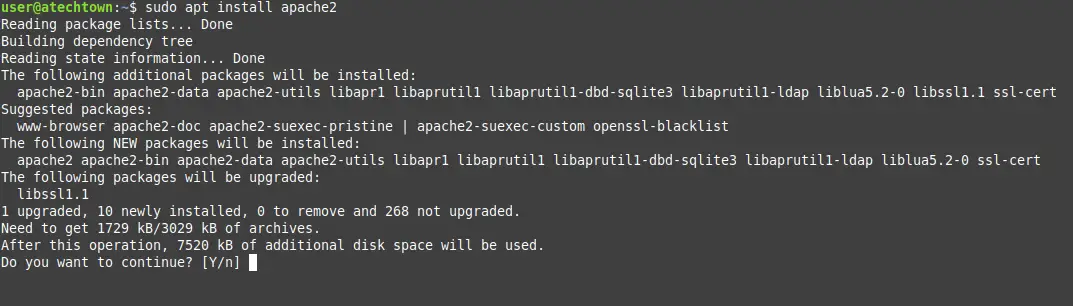
After entering the user password, the installation begins.
Test the Apache installation
Ubuntu starts Apache and makes available at boot time. Therefore, if you want to stop the Apache service, use the systemctl command as shown below.
:~$ sudo systemctl stop apache2
To start it up again use,
:~$ sudo systemctl start apache2
When you apply some new configuration, like enabling a new Virtualhost or a new module, you have to restart Apache.
:~$ sudo systemctl restart apache2
In some cases, Apache must be reloaded. Particularly, In this case, the command to use is:
:~$ sudo systemctl reload apache2
And you can also see the status of the Apache service.
:~$ sudo systemctl status apache2
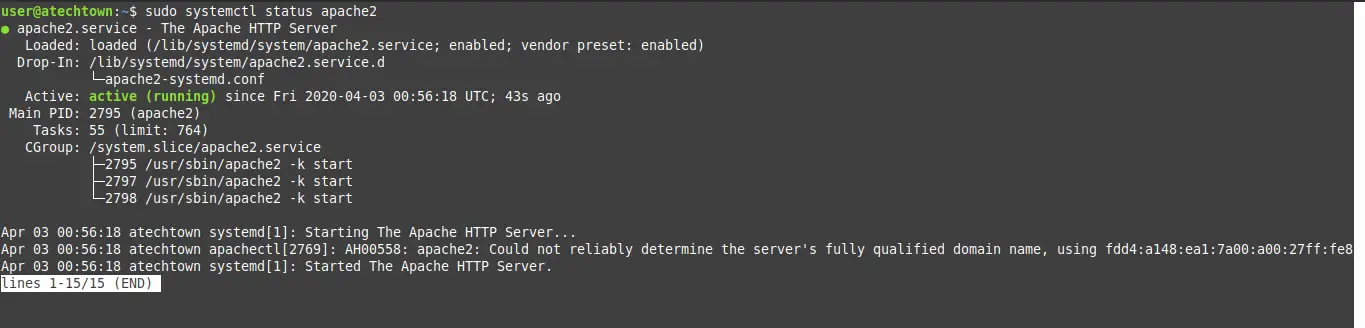
The above image of Apache’s status indicates that it is running correctly. So you need to open ports 80 and 443 in the firewall.
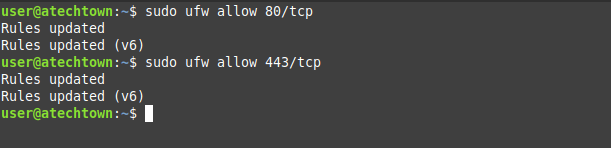
:~$ sudo ufw allow 80/tcp
:~$ sudo ufw allow 443/tcp
Then open your favorite web browser. If you are installing Apache on the same computer where you will open the web browser, go to the following address:
http://localhost
If you are installing Apache on another computer on the network, go to:
http://ip-computer
Or:
http://domain-name
In both cases you should see the following image:
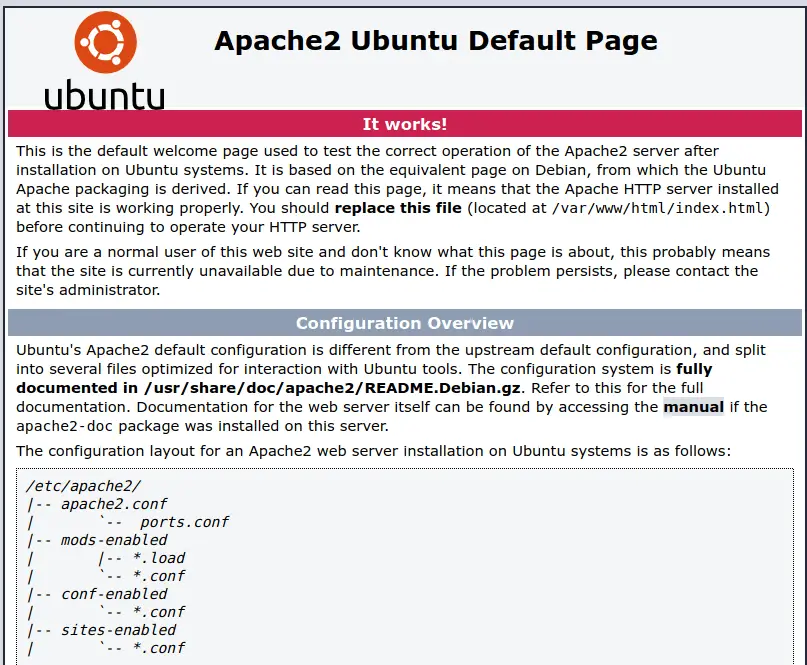
The image indicates that Apache is installed and ready to use.
Install PHP on Ubuntu 18.04
Apache web server is ready to serve websites. However, so far it can only serve static websites. That is, they do not process any information.
This situation is not the fault of Apache or a particular web server, it is because there is no programming language to process those applications or dynamic web sites.
These languages can be varied like Python, Ruby, Perl or PHP. This last one is one of the most popular that exist. Most of the web applications are made with PHP. For example, Joomla, WordPress or GLPI.
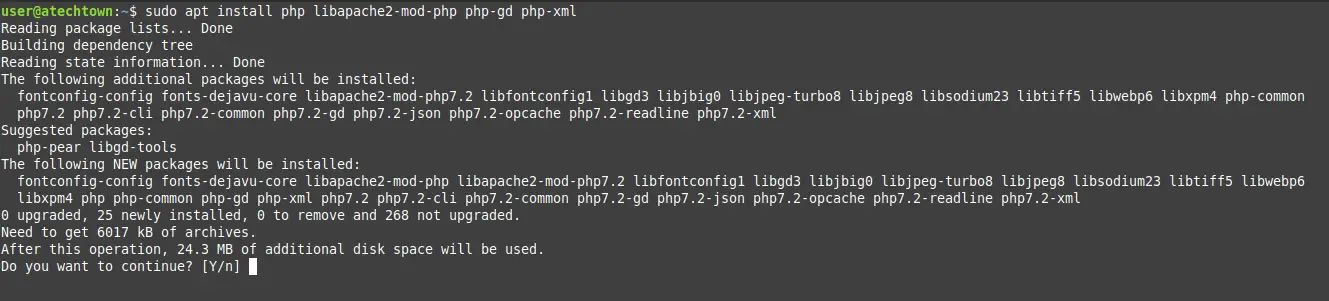
Ubuntu 18.04 includes PHP 7.2 by default in its official repositories, to install it, along with some modules, among them, the one that makes Apache recognize it, just use the following command
:~$ sudo apt install php libapache2-mod-php php-gd php-xml
When the download is complete, you have to test the execution of PHP on your computer.
To do this, you must create a PHP file in the root of the Apache web directory which is /var/www/html/
:~$ sudo nano /var/www/html/test.php
In this file, enter some PHP code. For example, the phpinfo() method that displays general PHP information.
<?php
phpinfo();
?>

Save the changes by pressing CTRL+O and close the editor with CTRL +X
The next step is to restart Apache so that it can load the newly installed PHP module.
:~$ sudo systemctl restart apache2
Now open your web browser again and access:
http://localhost/test.php
Or:
http://ip-address-or-domain-name/test.php
You will see an image like this:
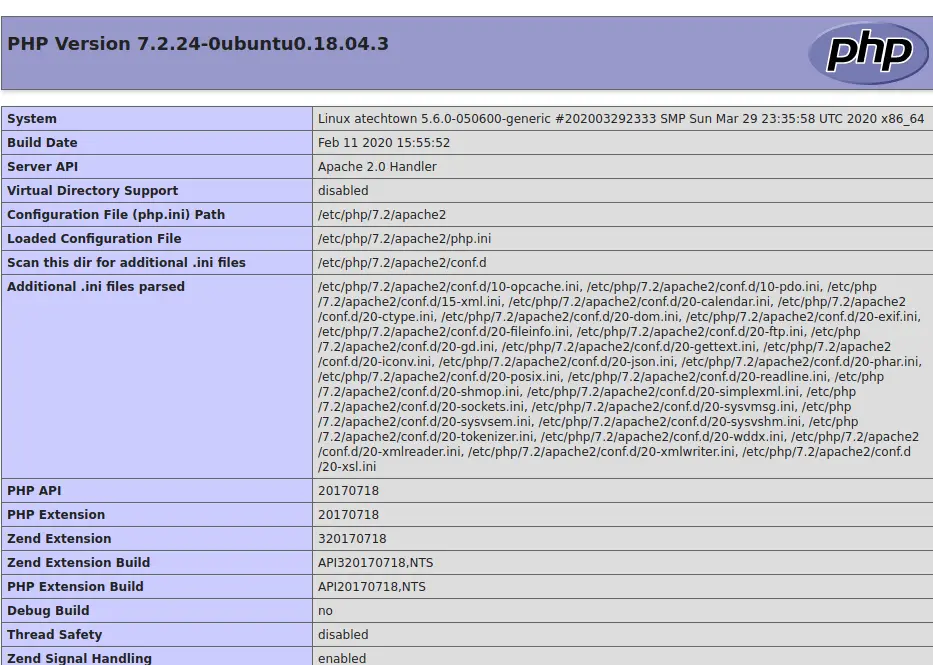
That is now if Apache is installed correctly and with PHP support.
Conclusion
Apache web server is one of the most known applications in the whole world of Unix and above all in Linux. This web server is capable of serving websites to the entire world. And even in a private network serve the important web applications for an organization.
In this post, we have taught you how to install it in Ubuntu 18.04 as well as knowing the basics about web servers and especially Apache.
Tell us, have you used Apache? do you like it?