Chrome is a web browser by Google. It is based on an open-source Chromium Browser, but, Chrome itself is not open source. Google adds many propriety features and releases it as a free browser.
It is available for Windows, macOS, and Linux Operating systems. This fast, secure browser has lots of features.
Features:-
- Free, Fast, Smarter, and Secure
- Simple, Minimal, and Elegant interface.
- Extensions and Theme Support
- Tabbed Browsing
- Pop-Up Blocking
- Bookmarks Sync
There are two methods using which you can add Chrome to Ubuntu. First, using a terminal and second using GUI.
Watch the Video Tutorial on Youtube
Install Chrome using Terminal(Commands)
Open the terminal and download the Chrome .deb package from the official Google distribution site.
wget https://dl.google.com/linux/direct/google-chrome-stable_current_amd64.deb
Next, run the apt install or dpkg -i command as
sudo apt install ./google-chrome-stable_current_amd64.deb
or
sudo dpkg -i google-chrome-stable_current_amd64.deb
That’s it. Installation is completed.
Launch the Chrome browser using the command,
google-chrome
You can also create a desktop shortcut using the commands below,
cd /usr/share/applications/
cp google-chrome.desktop ~/Desktop/
Make launcher trusted using
cd ~/Desktop

chmod +x google-chrome.desktop

gio set google-chrome.desktop "metadata::trusted" yes
Your desktop shortcut is ready.
See it in action –
Note:-
Chrome gets installed under the/opt directory.

Getting Started With Chrome
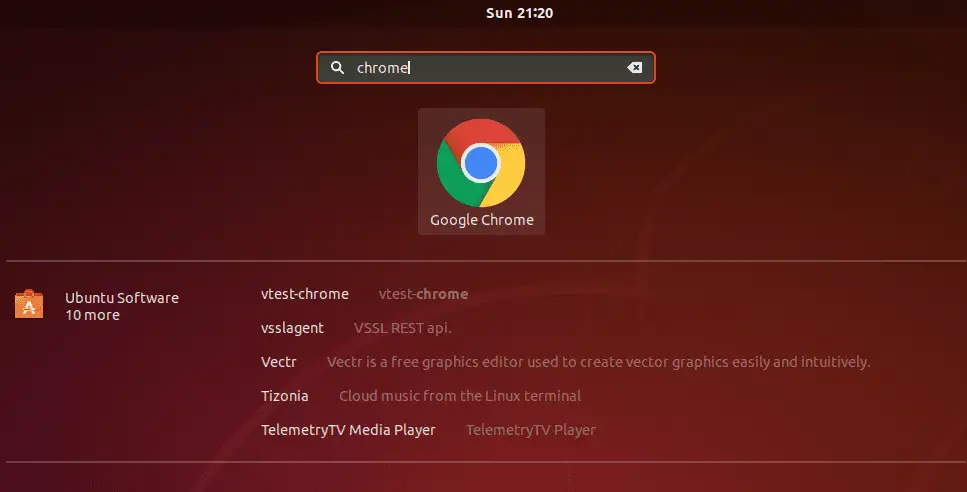
Navigate to Activities and search for Chrome as shown below. Click to launch it.
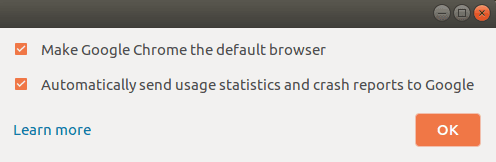
Chrome asks if you want to Make Google Chrome as the default browser and Automatically send usage statistics and crash reports to Google when you launch it the first time.
Select/unselect as per your preference and click OK.
That’s it and you are ready to use the Chrome browser, install extensions, and configure settings to personalize your browsing experience. Here are some tips to help you get started with Google Chrome:
- Sign in to your Google Account
- Customize Chrome’s appearance
- Install extensions
- Configure privacy and security settings
- Manage your downloads
- Keyboard shortcuts
- Set up your default search engine
- Manage your passwords
- Utilize Chrome’s Developer Tools
- Create and manage multiple user profiles
- Take advantage of Chrome’s built-in features
By exploring these additional features and settings, you can customize Google Chrome to meet your specific needs and preferences, ensuring a smooth and efficient browsing experience.
Updating and removing Chrome
The installer adds an official Google repository (google-chrome.list) to your system. You will find this file under /etc/apt/sources.list.d/ directory.
cat /etc/apt/sources.list.d/google-chrome.list
### THIS FILE IS AUTOMATICALLY CONFIGURED ###
# You may comment out this entry, but any other modifications may be lost.
deb [arch=amd64] http://dl.google.com/linux/chrome/deb/ stable main
So you can easily update Chrome using a software update tool or by running the update and upgrade command. This updates it along with other packages if there is a newer version available.
sudo apt-get update
sudo apt-get upgrade
Use the apt purge command to remove Chrome from Ubuntu.
sudo apt purge google-chrome-stable
Alternative Methods
Below are some additional ways you can use to install Chrome on Ubuntu Linux.
Install Chrome using Software Center(Graphical Method)
Open the Firefox web browser and go to the Chrome home page.
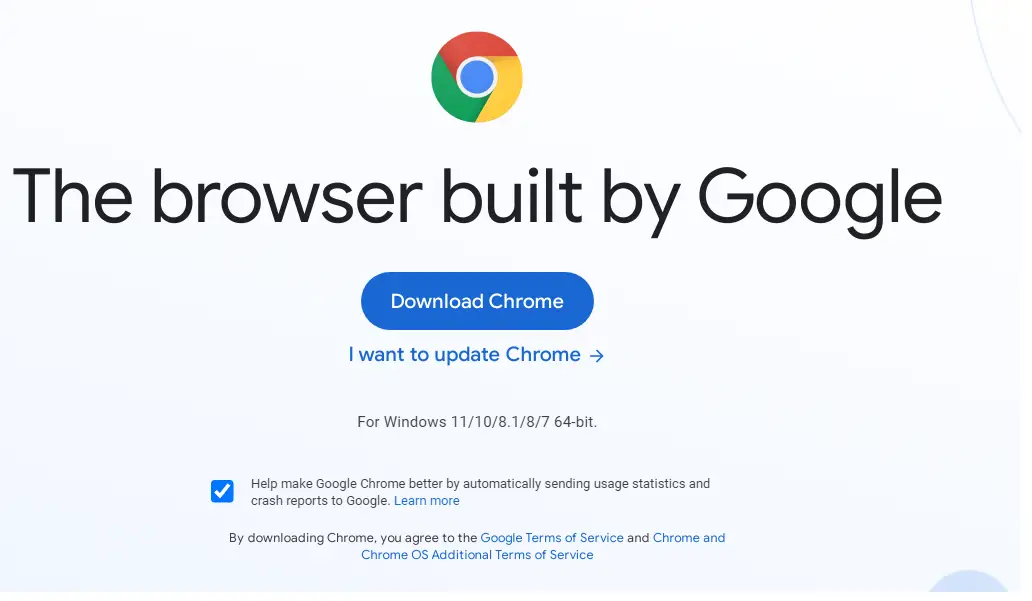
Click the Download Chrome button. This opens the below page where you need to choose either the .deb or .rpm package.
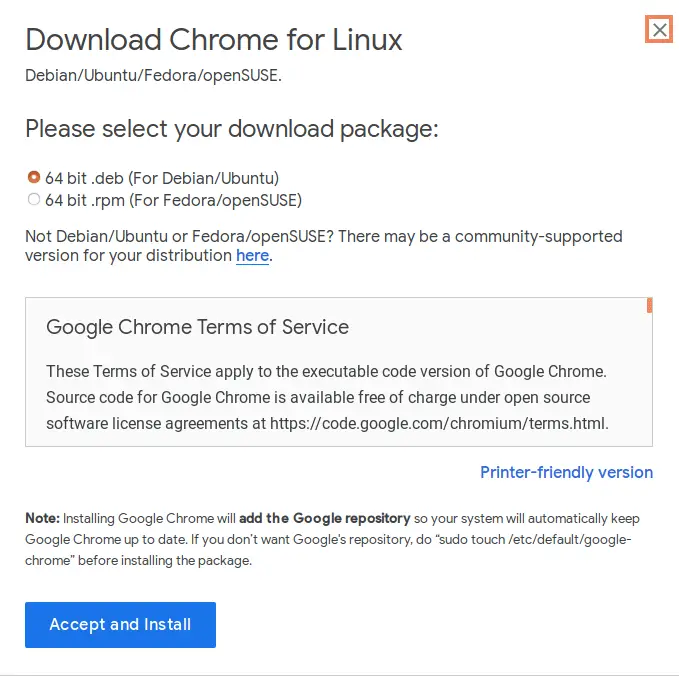
Google Chrome is available for 64-bit Linux operating systems only. The .deb installer package is for Ubuntu, Linux Mint, and other Debian-based distros while .rpm is for Fedora, OpenSUSE, and Redhat.
Choose the .deb package and click Accept and Install.
Next, you have the option to Save File or directly Open With Software Install.
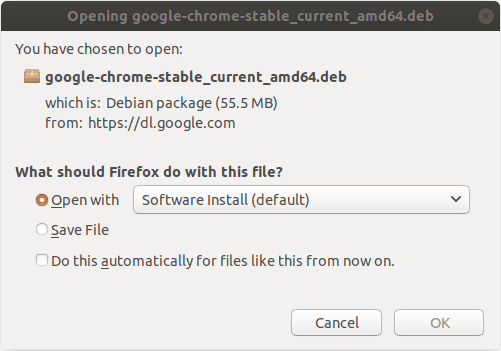
Do not use the open with option. Use the file to save the file on your local desktop computer.
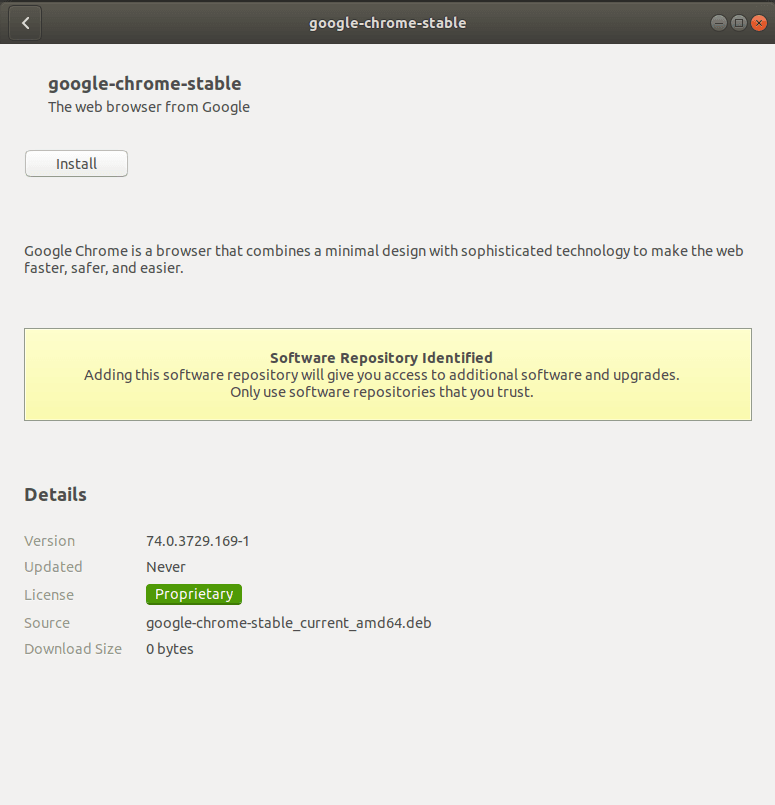
Now, locate the file on a local disk. Right-click on the file and choose the option to install or use the apt command as mentioned above.
Click the Install button.
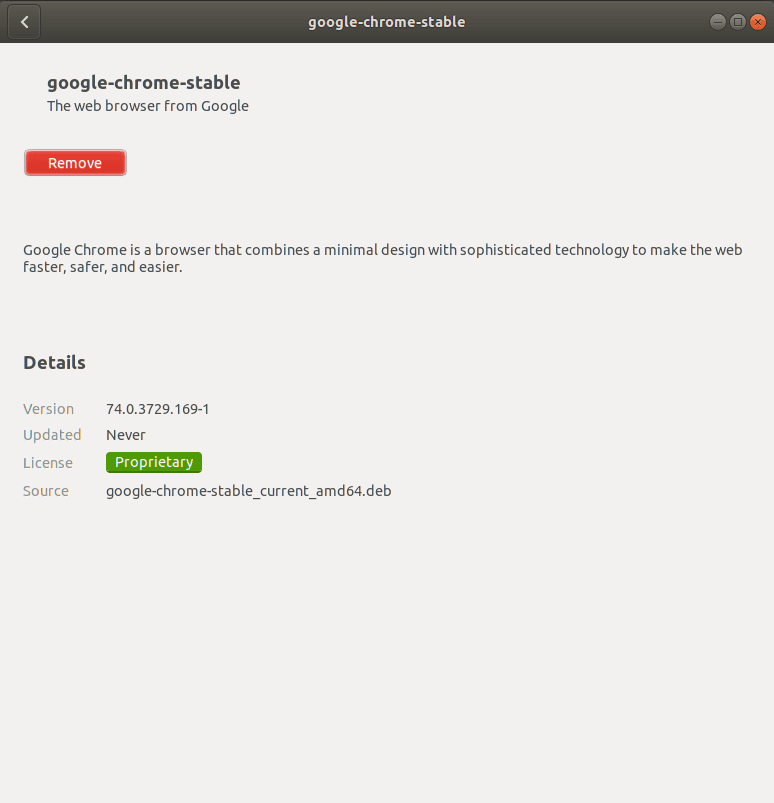
It should complete the installation within a second and you will get the confirmation message as below.
Conclusion
We hope this article has helped you to install Google Chrome on Ubuntu 20.04, and 22.04 and that it will serve as a great resource for other beginners who are looking to set up their own web browser!
If you have any questions or need help with your installation process, please reach out to us in the comments below.
There is a lot you can do with the Chrome browser, just visit the official Google site to learn more about it.