Ubuntu is a free, open-source Linux operating system. It runs from the desktop to the cloud, to all your internet-connected things. This is the most popular operating system across OpenStack and the public cloud.
Below are some of the main features,
- Open Source
- Simple and intuitive interface
- Fast and Secure
- Thousands of Apps like VLC, Firefox, LibreOffice, Thunderbird, etc.
Let’s go ahead and install Ubuntu 18.04.
1. Download Ubuntu 18.04
Ubuntu is available for desktop, IoT, Server, and Cloud. We are going to use the Desktop. Download the desktop from this link. The current version is Ubuntu 18.04 LTS (Bionic Beaver) at the time of writing this article.
There are alternative methods available to download Ubuntu. Here you will find Network Installer, BitTorrent, and Official CD Mirrors for Ubuntu. You can also download past releases of Ubuntu.
For Ubuntu 18.04 LTS Recommended system requirements are given below:
- 2 GHz dual-core processor or better
- 2 GB system memory
- 25 GB of free hard drive space
- Either a DVD drive or a USB port for the installer media
- Internet access is helpful
Refer to release notes for further details.
2. Create Bootable USB Drive
Create a Bootable USB Drive once the download is complete. Connect it and restart your computer or virtual machine.
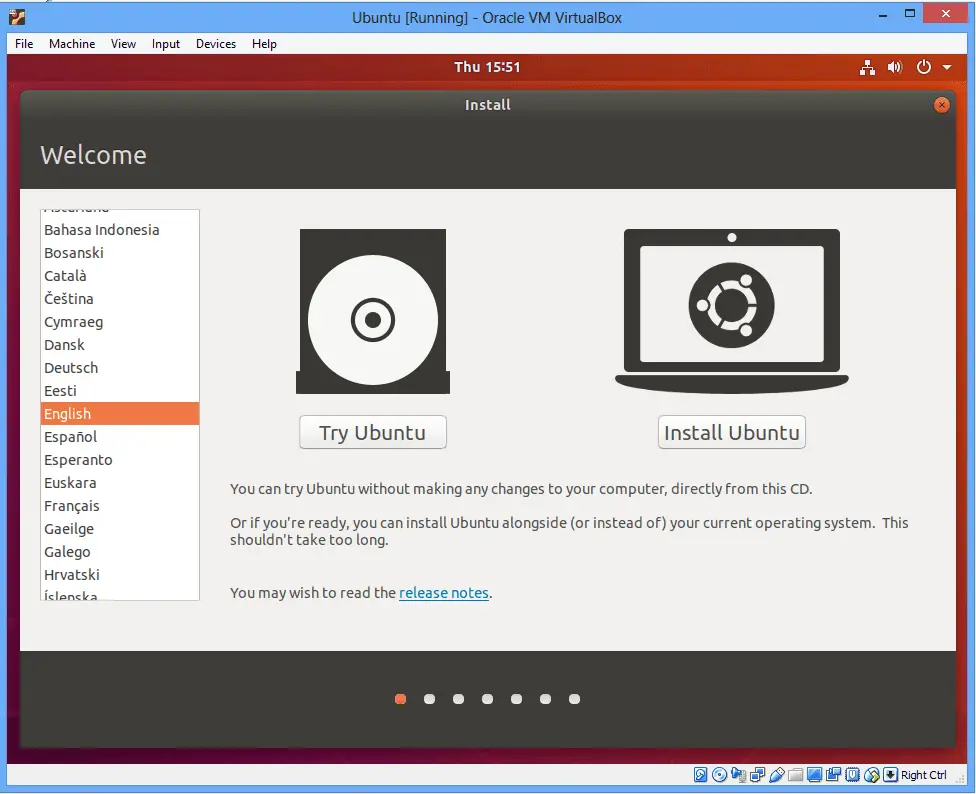
3. Welcome Screen
This starts the installation process. There are 2 options here.
- Try Ubuntu– This option will help you to try Ubuntu without making changes to your computer.
- Install Ubuntu – Click this to start installation on your computer.
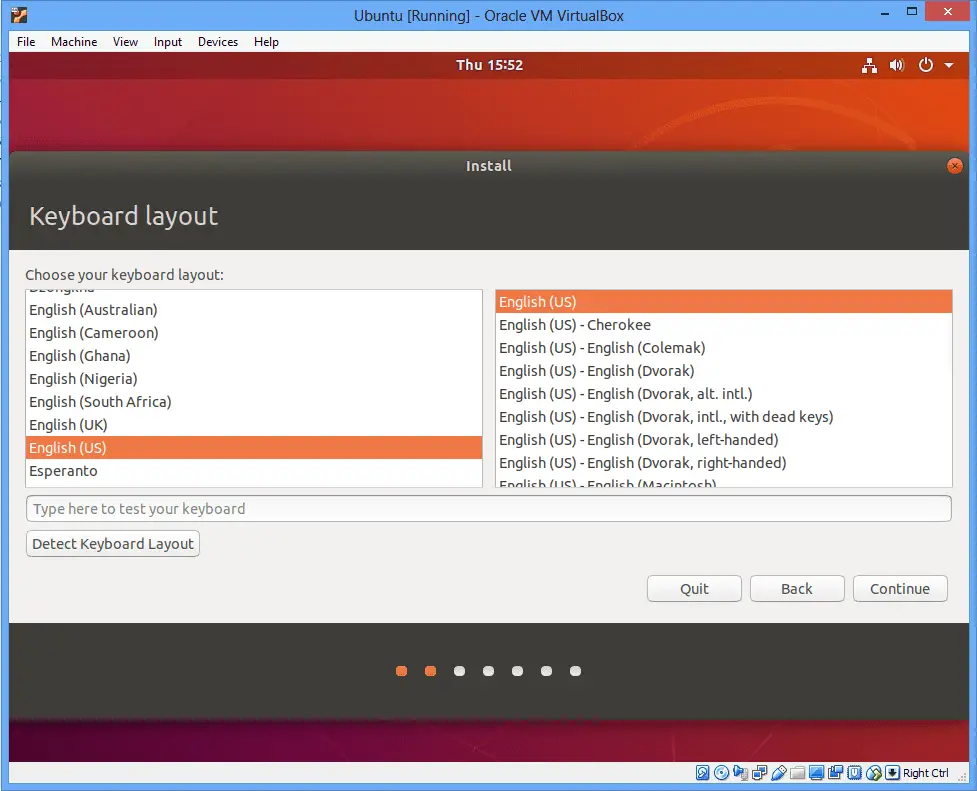
4. Select Keyboard Layout
Select Keyboard Layout. Setup automatically detects defaults, no need to select. If it does not, just click on Detect Keyboard Layout button.
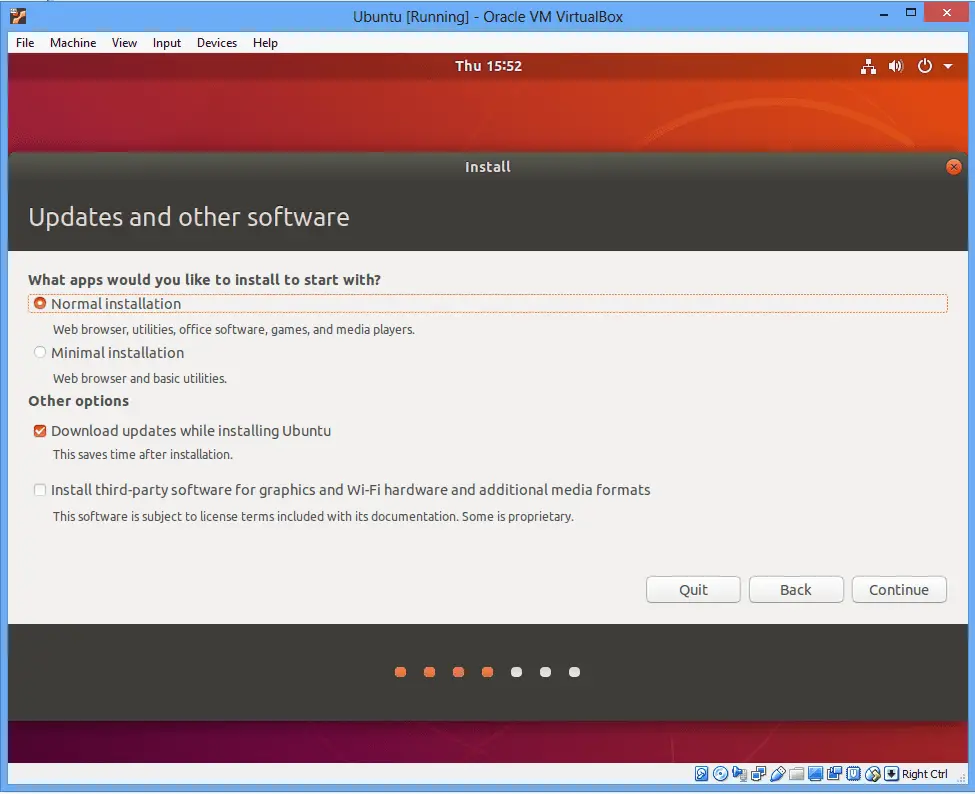
5. Select Installation type
Normal Installation – This includes most of the software required to run and use it efficiently like Web Browser, Utilities, Office software, Games and Media Player.
Minimal Installation – This only has a web browser and basic utilities.
Check/uncheck the checkbox if you would like to download updates while ubuntu is getting installed. This needs a high-speed internet connection, as it downloads the latest files and packages from the server.
For now, just let it be a default and click continue.
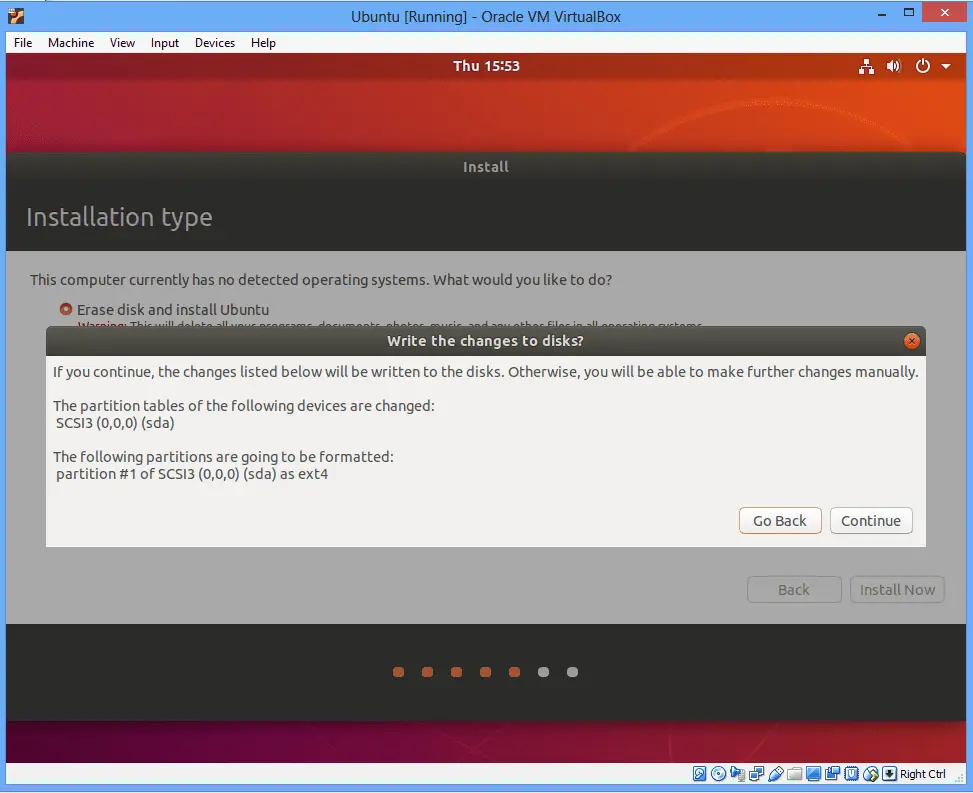
Choose default and click on Install Now button.
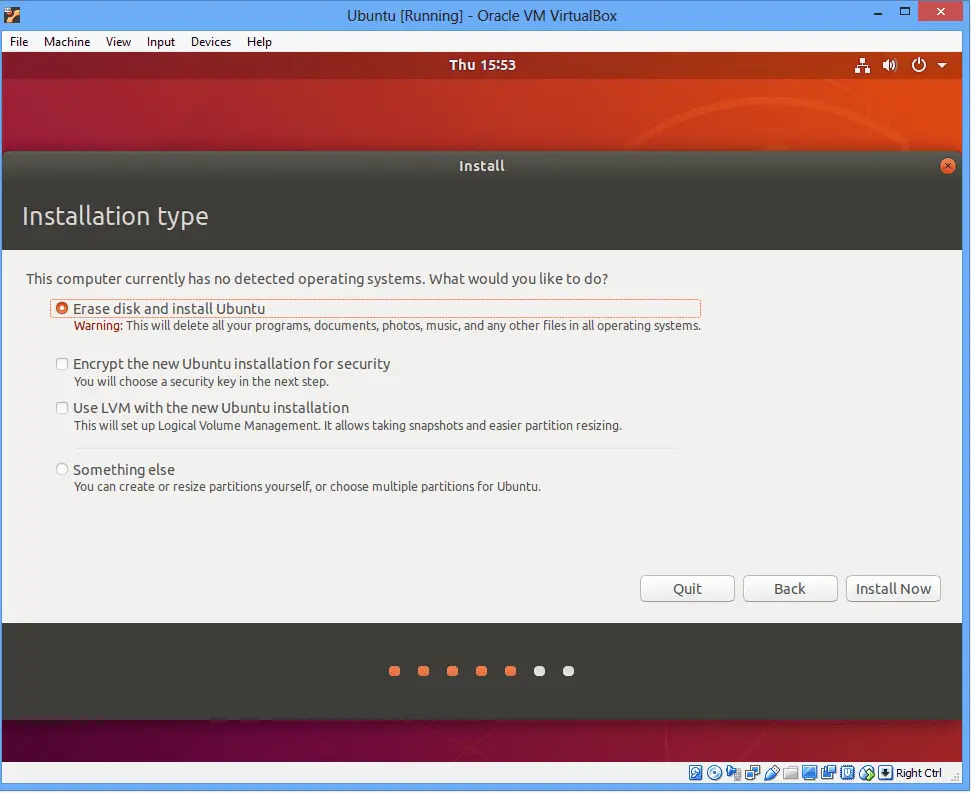
Confirmation from setup before installation actually starts. Click continue button.
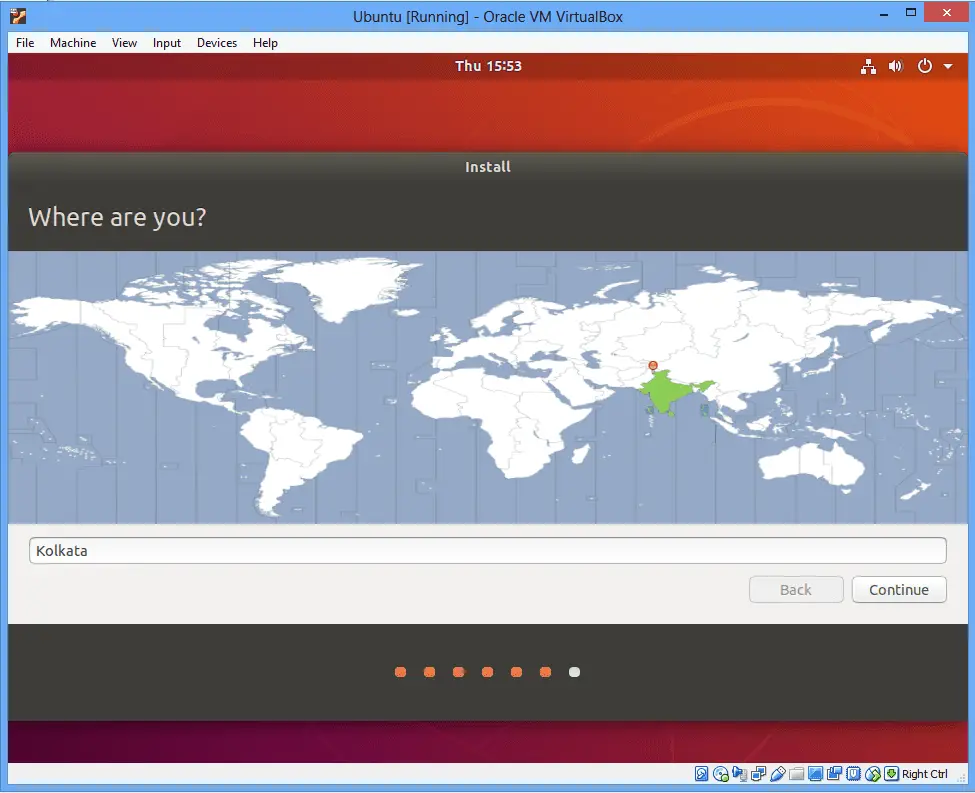
6. Choose Location
Select the location if not automatically detected.
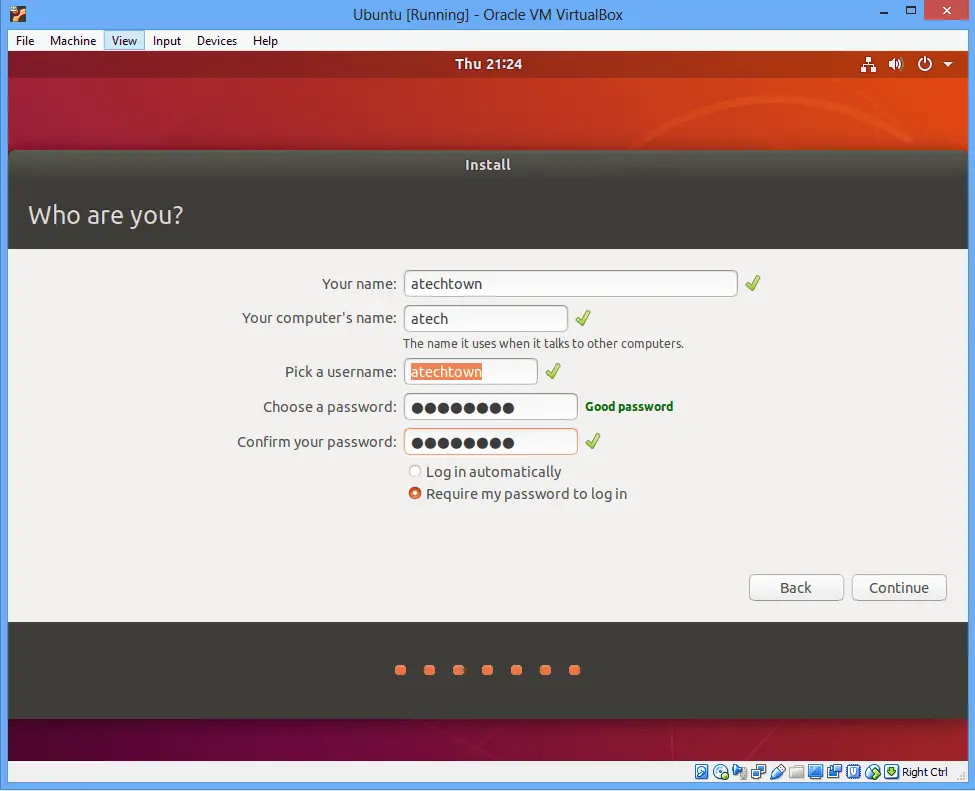
7. Enter user information
Create a user and click continue.
That’s it. Installation started and will be ready in some time. It copies all file and downloads latest files also. If you would to like to have coffee then go ahead, it takes time.

Post-installation VM restart and Ubuntu starts. Enter the username and password and start learning Ubuntu Linux Operating System.
Summary
In this article, we covered how to install Ubuntu Linux. I hope you found this article useful. Please share and subscribe.