Putty is a free and open-source terminal emulator and telnet client for Windows. It helps to connect a remote UNIX/Linux server from the Windows client. Primary it is used on the Windows operating system. It supports network protocols like SCP, SSH, Telnet, rlogin, and raw socket connection.
Below are some of the key features of Putty,
- Open source available with source code
- Lightweight and fast
- Supports Raw, Telnet, Rlogin, SSH, Serial protocol
- Putty Port for Linux and Mac is also available
- Support session logging
- Supports X11 forwarding
Install PuTTY on Ubuntu Linux
There are a total of 3 methods to install Putty. First, using the apt-get command, the second using Ubuntu software, and the last method is by compiling the source code.
We are going to use Ubuntu LTS Linux Distros. You can set up your own Linux virtual machine using VirtualBox on a Windows desktop.
So let’s get started and see installation methods one by one.
1. Install Putty on Ubuntu using commands (Terminal)
Login to the Ubuntu desktop or server. Open the terminal window and run the below commands to install Putty on Ubuntu.
1. Update the list of available packages and their versions.
sudo apt-get update
2. Search the putty package using the below command to check if it is available in the default repository.
apt-cache search putty
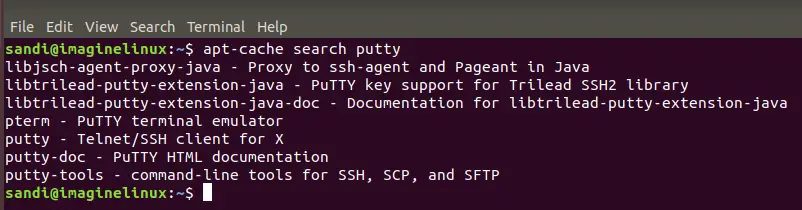
It lists all the packages related to putty as shown below
- putty – Telnet/SSH client for X
- putty-doc – PuTTY HTML documentation
- putty-tools – command-line tools for SSH, SCP, and SFTP
3. Install the putty package with the command.
sudo apt-get install putty
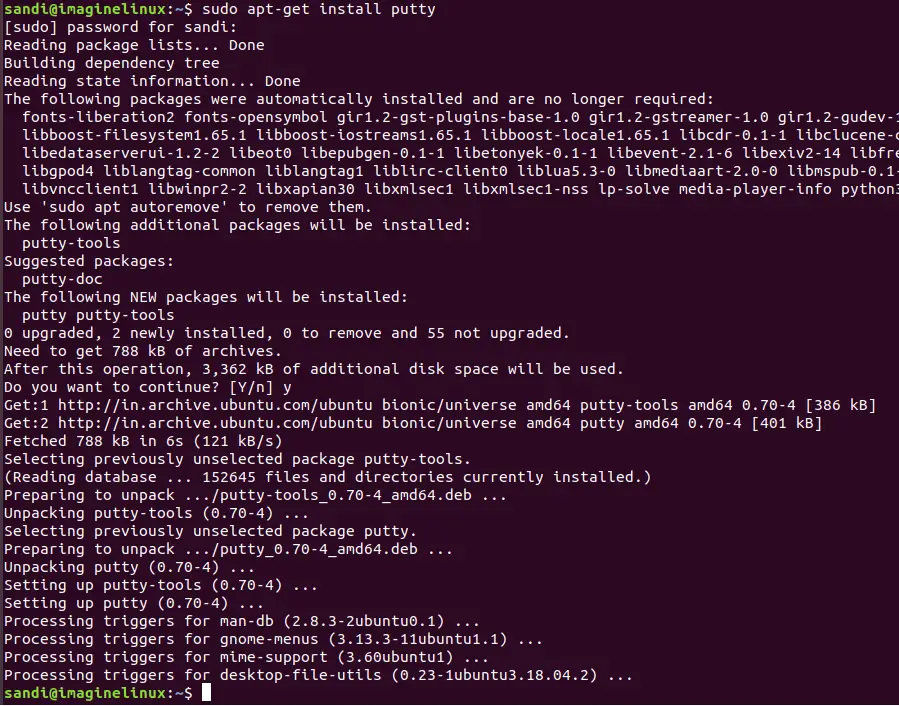
You can also install supporting packages using the command given below.
sudo apt-get install putty-doc

sudo apt-get install putty-tools
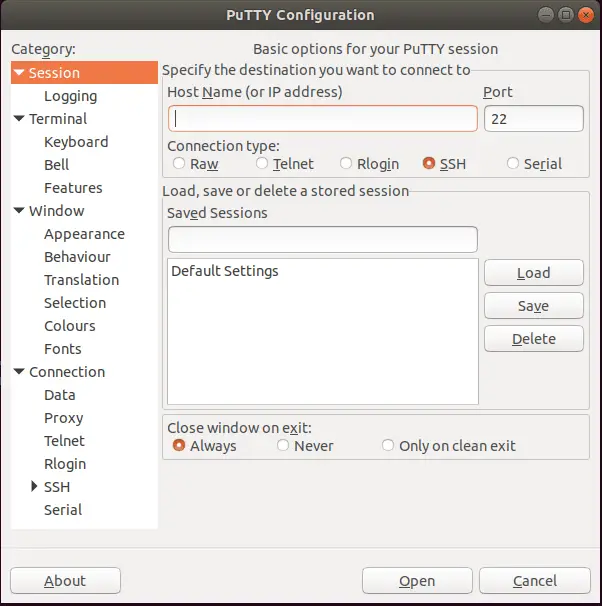
4. Now installation is complete. Run the below command to launch it.
putty
It opens the window as shown below. It is similar to the Windows platform except for color and theme.
If you are not conformable running the Unix command, you can use Ubuntu Software – Application package manager.
2. Using Ubuntu Software manager to Install Putty
Click on Show Application -> Ubuntu Software and search for putty. Click the Install button.
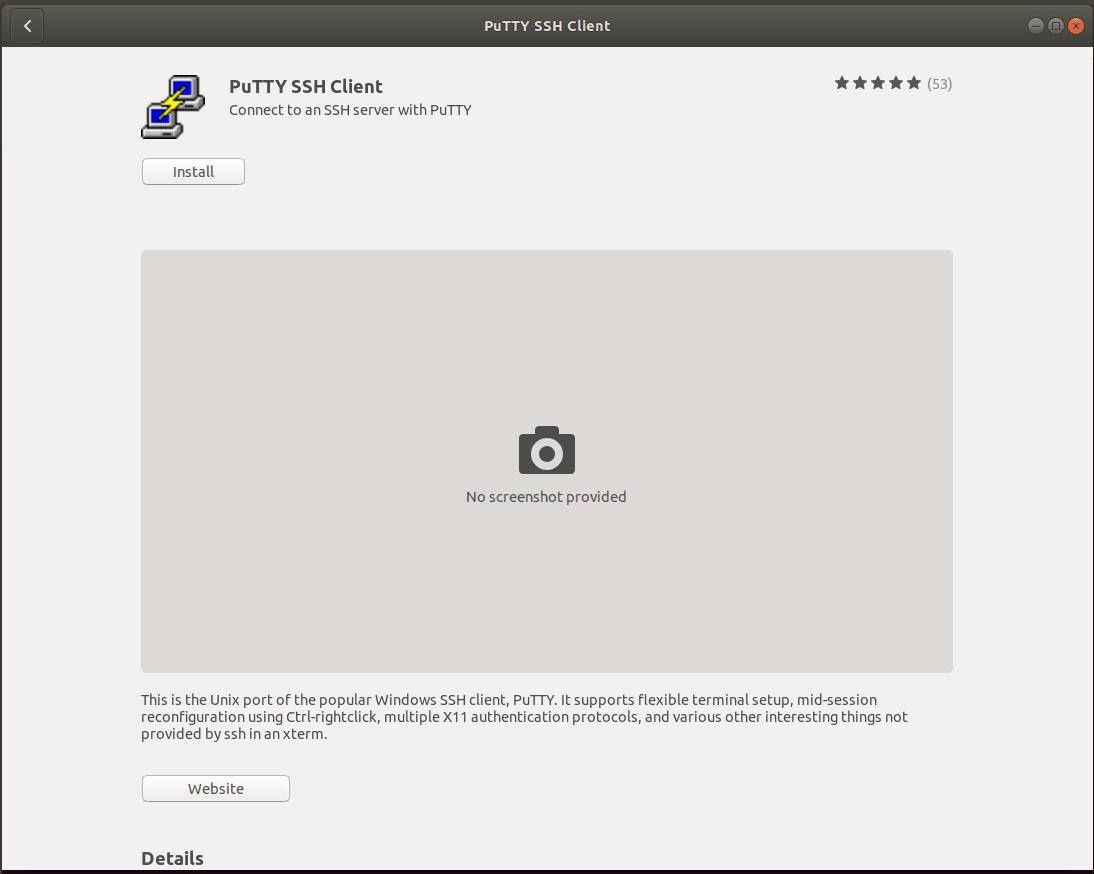
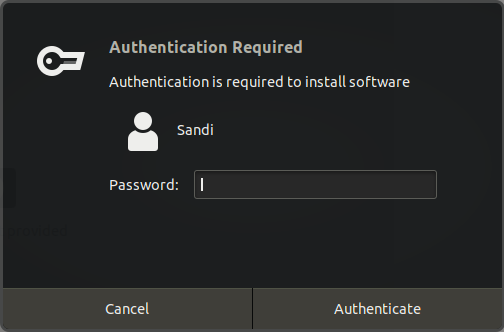
You need Sudo access to install the package. Enter password.
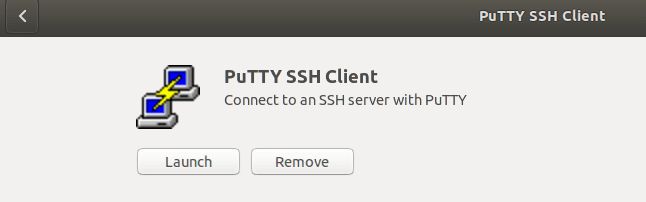
Post-installation you can launch it using the launch button. If you want to remove Putty, you can click the Remove button.
Alternatively, you can download the Putty Unix source code archive and compile it.
3. Compiling Putty source code archive
Compiling PuTTY from its source code allows you to obtain the latest features, bug fixes, and customize the client according to your needs. This step-by-step guide will help you compile the PuTTY source code archive on your Linux system.
This method is for Unix Geeks.
a) Download Putty Source Code
Putty is opensource tool, so the code is available to dowload. Open firefox or any other brower and download latest code from this location. You can also use wget command as shown below. Make sure to put proper file name putty-0.79.tar.gz.
wget https://the.earth.li/~sgtatham/putty/latest/putty-0.79.tar.gz
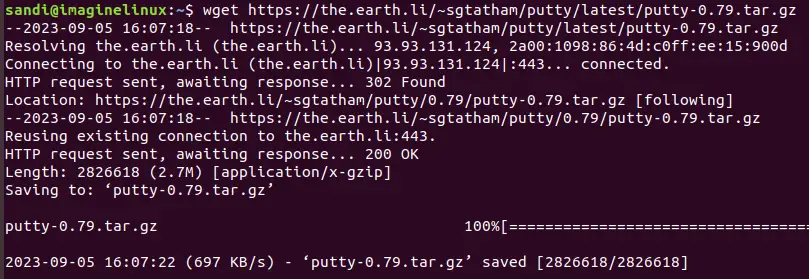
This downloads putty-0.79.tar.gz to the Unix box.
b) Extract the files
This is a tar archive. You can extract using the tar command. This extract all files in the putty-0.79 folder.
tar xvzf putty-0.79.tar.gz
c) Compile and install putty
Go to the putty-0.79
cd putty-0.79
Run the below command command. Make sure to have cmake, build-essential, libgtk-3-dev, git and pkg-config on the system.
sudo cmake .
sudo cmake --build .
sudo cmake --build . --target install
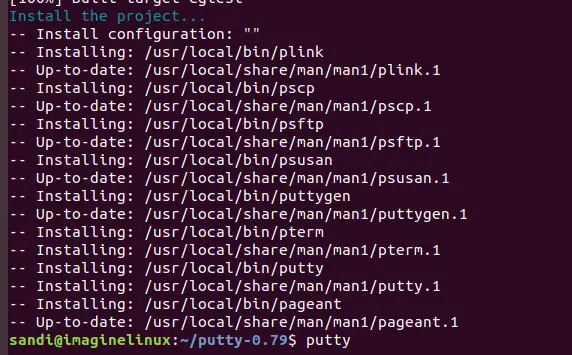
d). Launch putty
You can simply type putty on terminal to start it.
$ putty
You should see the putty window as shown below.
Conclusion
Redhat, Ubuntu, SUSE, Fedora, or any Linux distros come with a built-in terminal editor and Open SSH. So, there is no need to install Putty. But recently you moved from Windows to Linux and missing putty or are interested to try it on Linux then we have covered you here.
We covered all the methods to install putty on Ubuntu. If you face any errors while compiling the code, do let me know in the comments section below.
Thanks for reading. Please share and subscribe.