SonarQube is a source code analyzer that supports many languages. It has a web interface that you can access from a modern web browser to use it.
Fortunately, SonarQube is open source and has integration with Jenkins or Azure for a more fluid DevOps process.
The source code can be integrated via GitHub or GitLab without any problem and allows developers to use it without too many limitations. However, you can purchase some of its services.
Install SonarQube on Ubuntu 22.04
Although the process is simple, there are a few steps involved. Before you start, connect via SSH and update the server.
sudo apt update
sudo apt upgrade
Then install some packages needed to complete the process.
sudo apt install wget apt-transport-https gnupg2 software-properties-common unzipNow you can continue.
Install Java on Ubuntu 22.04
The next step is to install Java because SonarQube is created with this language. Therefore, to install Java, simply run the following command
sudo apt install openjdk-11-jdkAt the end of the process, you can check the Java version with this command:
java -versionSample Output:
openjdk version "11.0.16" 2022-07-19
OpenJDK Runtime Environment (build 11.0.16+8-post-Ubuntu-0ubuntu122.04)
OpenJDK 64-Bit Server VM (build 11.0.16+8-post-Ubuntu-0ubuntu122.04, mixed mode, sharing)
Install PostgreSQL on Ubuntu 22.04
SonarQube requires PostgreSQL as a database driver. So, you have to install it and create a new user and database.
First, install PostgreSQL with this command:
sudo apt install postgresql postgresql-contribThen, enable and start it.
sudo systemctl enable postgresql
sudo systemctl start postgresql
Avoid issues by checking if the service is running well.
sudo systemctl status postgresqlSample Output:
● postgresql.service - PostgreSQL RDBMS
Loaded: loaded (/lib/systemd/system/postgresql.service; enabled; vendor preset: enabled)
Active: active (exited) since Sat 2022-10-15 15:13:59 UTC; 13s ago
Main PID: 6023 (code=exited, status=0/SUCCESS)
CPU: 3ms
Oct 15 15:13:59 imaginelinux systemd[1]: Starting PostgreSQL RDBMS…
Oct 15 15:13:59 imaginelinux systemd[1]: Finished PostgreSQL RDBMS.
With PostgreSQL installed, the next step is to access the console, to create the new user and database.
sudo -u postgres psqlInside the console, you can now create the user
CREATE USER sonarqube WITH PASSWORD 'pass';Replace pass with a stronger password. Now create the new database and make it belong to the user you just created.
CREATE DATABASE sonarqube OWNER sonarqube;Again, you can replace sonarqube with the database name of your choice.
Assign appropriate permissions to the new database:
GRANT ALL PRIVILEGES ON DATABASE sonarqube TO sonarqube;You can exit now.
exitInstall SonarQube on Ubuntu 22.04
First create a new system user for SonarQube.
sudo useradd -b /opt/sonarqube -s /bin/bash sonarqubeThen, modify some system parameters to adjust it to SonarQube
sudo nano /etc/sysctl.confAnd set these values. If they are not there, then add them at the end of the file:
vm.max_map_count=524288
fs.file-max=131072
Save the changes and close the editor. To apply the changes, run
sudo sysctl --systemNow download SonarQube
wget https://binaries.sonarsource.com/Distribution/sonarqube/sonarqube-9.6.1.59531.zipThe command may change depending on the latest version of SonarQube. Check first before venturing.
Unzip the file:
unzip sonarqube-9.6.1.59531.zipMove the folder to the /opt/ directory where the sonarqube user’s home has been set up
sudo mv sonarqube-9.6.1.59531 /opt/sonarqubeMake that folder belong to the created user.
sudo chown -R sonarqube:sonarqube /opt/sonarqubeNow it is time to configure it a little bit.
Configuring SonarQube before using it
The configuration file is /opt/sonarqube/conf/sonar.properties where all SonarQube options reside.
Edit it
sudo nano /opt/sonarqube/conf/sonar.propertiesThe first thing to do is to configure the database connection. At the end of the file you can add these lines:
sonar.jdbc.username=sonarqube
sonar.jdbc.password=pass
sonar.jdbc.url=jdbc:postgresql://localhost:5432/sonarqube
You have to adapt it to the values you have set.
Now with the help of your text editor, uncomment each of these lines.
sonar.search.javaOpts=-Xmx512m -Xms512m -XX:MaxDirectMemorySize=256m -XX:+HeapDumpOnOutOfMemoryError
sonar.web.host=0.0.0.0.0
sonar.web.port=9000
sonar.web.javaAdditionalOpts=-server
sonar.log.level=INFO
sonar.path.logs=logs
The nano editor has a key combination that can help you search for each directive. This combination is CTRL + W and enter the search criteria.
Save the changes and close the editor.
Then it is convenient to create a configuration file to handle SonarQube as a system service
sudo nano /etc/systemd/system/sonarqube.serviceAnd add the following content
[Unit]
Description=SonarQube service
After=syslog.target network.target

[Service]
Type=forking
ExecStart=/opt/sonarqube/bin/linux-x86-64/sonar.sh start
ExecStop=/opt/sonarqube/bin/linux-x86-64/sonar.sh stop
User=sonarqube
Group=sonarqube
Restart=always
LimitNOFILE=65536
LimitNPROC=4096

[Install]
WantedBy=multi-user.target
Save the changes and to apply them, run
sudo systemctl daemon-reloadStart the service:
sudo systemctl start sonarqube.serviceEnable it to start with the system:
sudo systemctl enable sonarqube.serviceVerify that everything is OK:
systemctl status sonarqube.service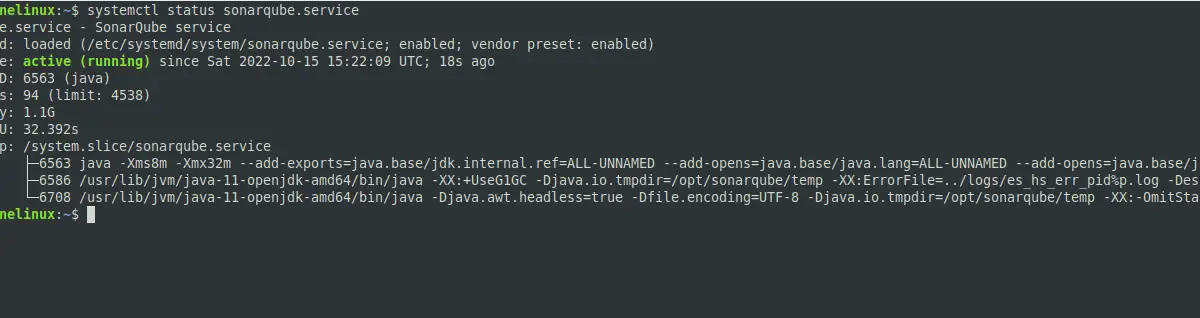
Access to the SonarQube web interface
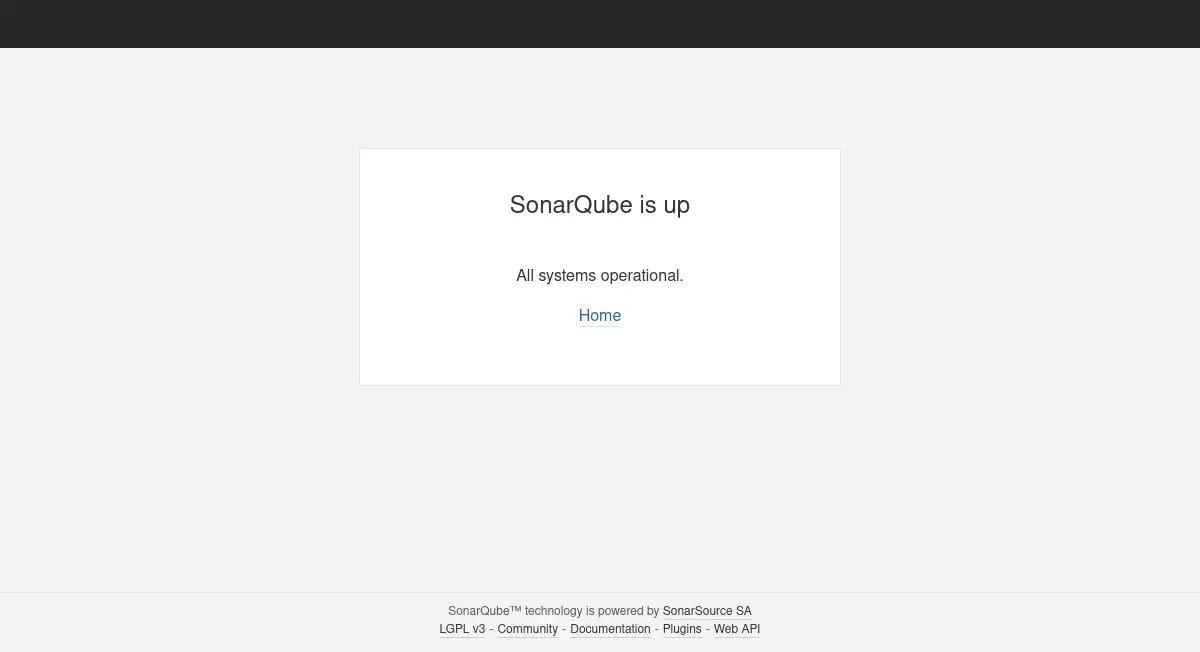
Now, open your web browser and access http://yourserver:9000 and you will see this screen indicating that SonarQube is running
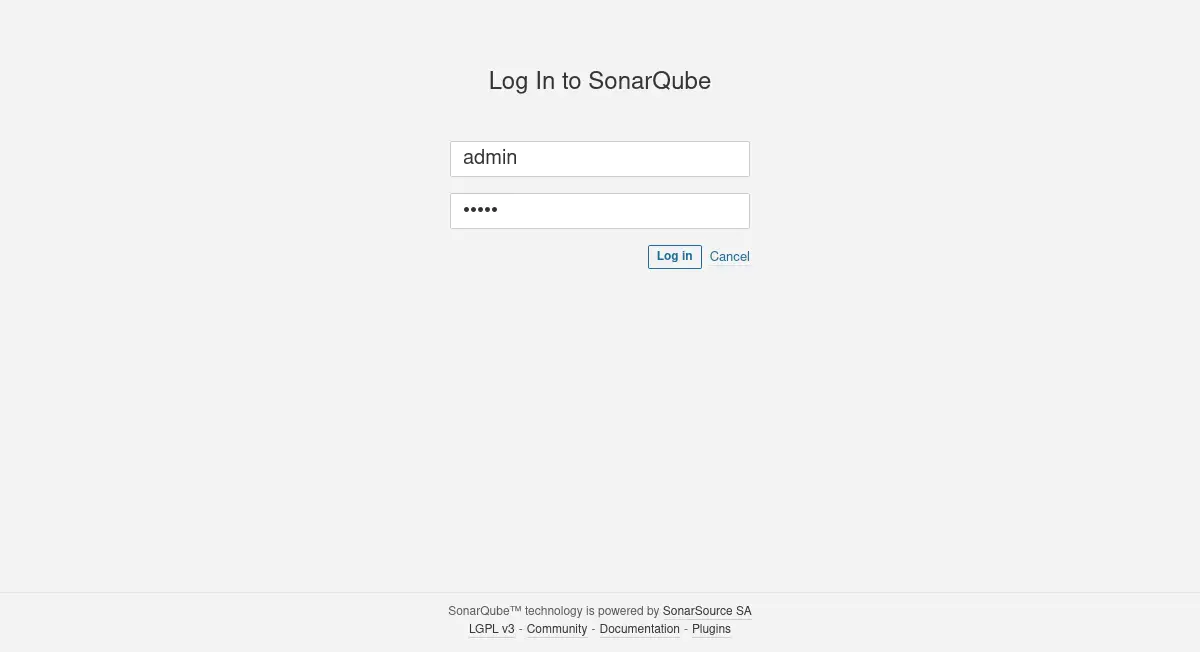
Then log in with the default credentials admin/admin.
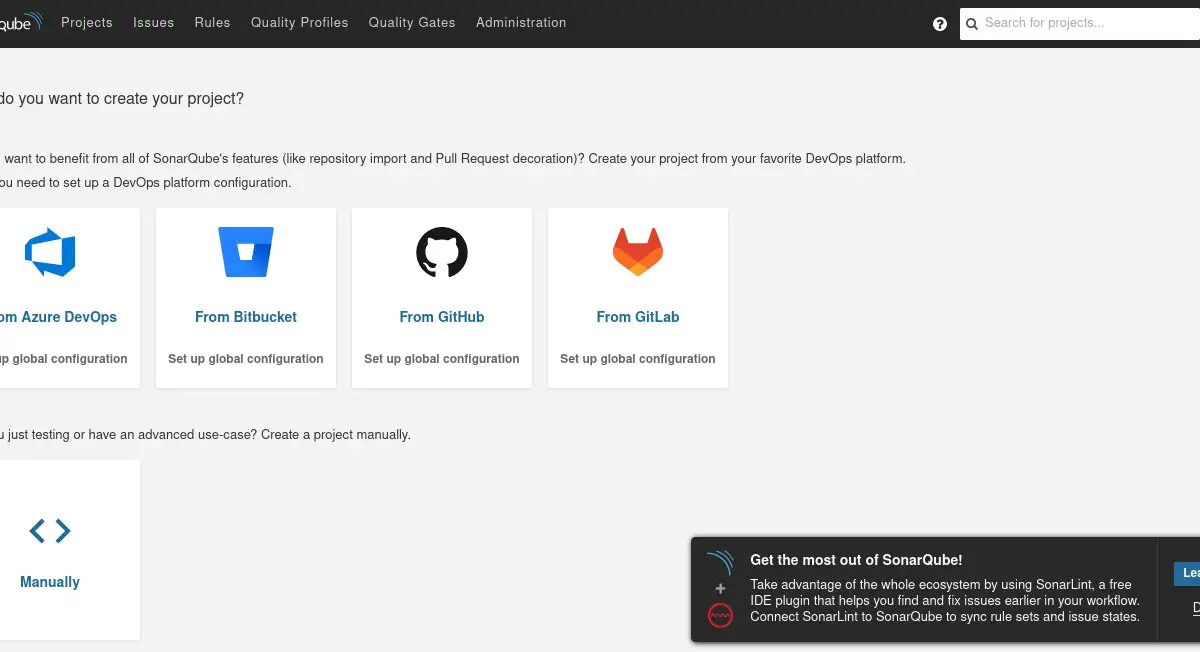
You will be prompted to change the password, and finally, you will see the main SonarQube screen.
Conclusion
SonarQube is a tool with which you can audit the source code of your application. The installation is simple, although it takes a series of previous steps.
I hope you liked this post, and you can share it with all your friends.