GitLab is a Git repository and lifecycle tool. It is a complete DevOps platform, which allows professionals to manage and perform various project tasks. Therefore it is not accurate to say that it is just a clone or alternative to Github.
This is because many people take advantage of some of the features of GitLab such as the creation and management of online repositories; as well as the management of users of this repository. That is, although they share similarities with Github, it is not quite the same.
One of the main differences is that in Gitlab we can take advantage of DevOps features natively and in some cases for free; on the other hand, we can install our own instance of Gitlab on a personal server. This is a great help for many small development teams or private projects.
So, let’s go and see how to install GitLab on Debian 10 Linux operating system.
Before we start…..
Installing GitLab is actually easier than you think. However, a few things are required first:
- A clean install of Debian 10. This is vital to avoid conflicts with packages.
- The server must be powerful. Personally, I recommend at least 8Gb of RAM and 4 cores. Everything from there on depends on the number of users, repositories, and code you are going to manage.
- A valid domain. Without this, we will not be able to complete the tutorial. So make sure you have a valid one.
If you fulfill these requirements, you are good to go.
Install Gitlab on Debian 10
Open a terminal or connect via SSH to the server where you want to install.
Next, update the entire operating system.
sudo apt update
sudo apt upgrade
After that, install some packages needed to install Gitlab.
sudo apt install ca-certificates curl openssh-server postfix
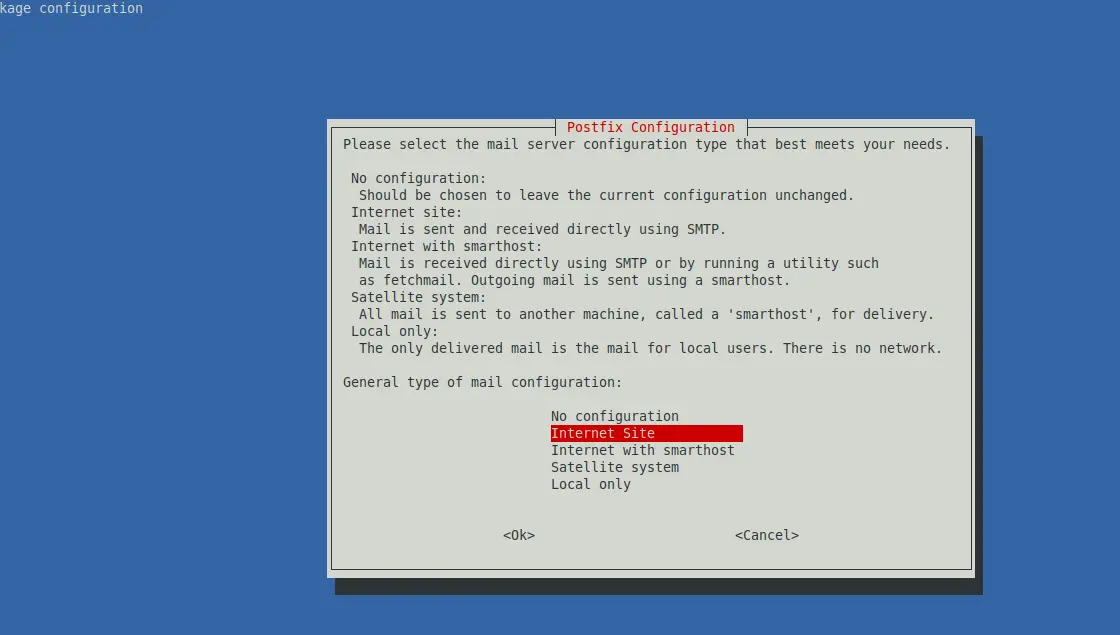
During the installation of these packages, Postfix will ask you some questions regarding the configuration to apply. First, set the server to be an internet site.
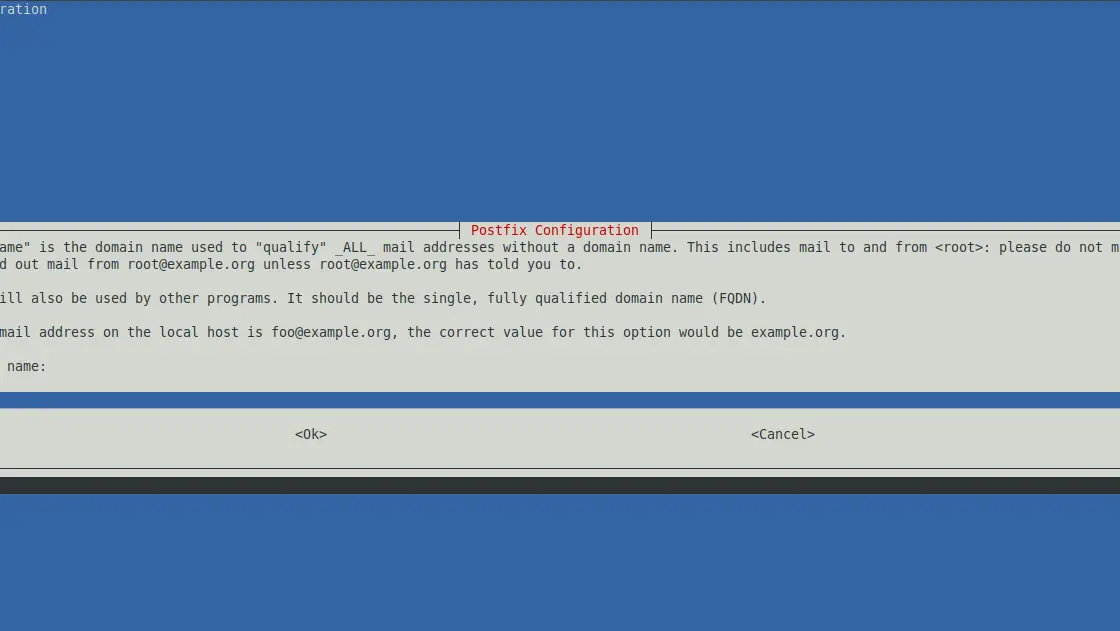
Next, set the domain. On the same screen you have some of the instructions.
When you finish the installation process, you have to download the installation script from the repository provided by the project.
wget https://packages.gitlab.com/install/repositories/gitlab/gitlab-ce/script.deb.sh
After you download them, run the script to add the Gitlab repositories.
sudo bash script.deb.sh
The repository is setup! You can now install packages.
Now run the following command to start the Gitlab installation. Before running it, you have to replace your-domain with your domain, without this, the process will not be completed.
sudo EXTERNAL_URL="https://your-domain" apt-get install gitlab-ce
Now, wait for all the necessary packages to be downloaded and configured. In the end, you will get a message indicating that the installation was successful.
Access to Gitlab on Debian 10
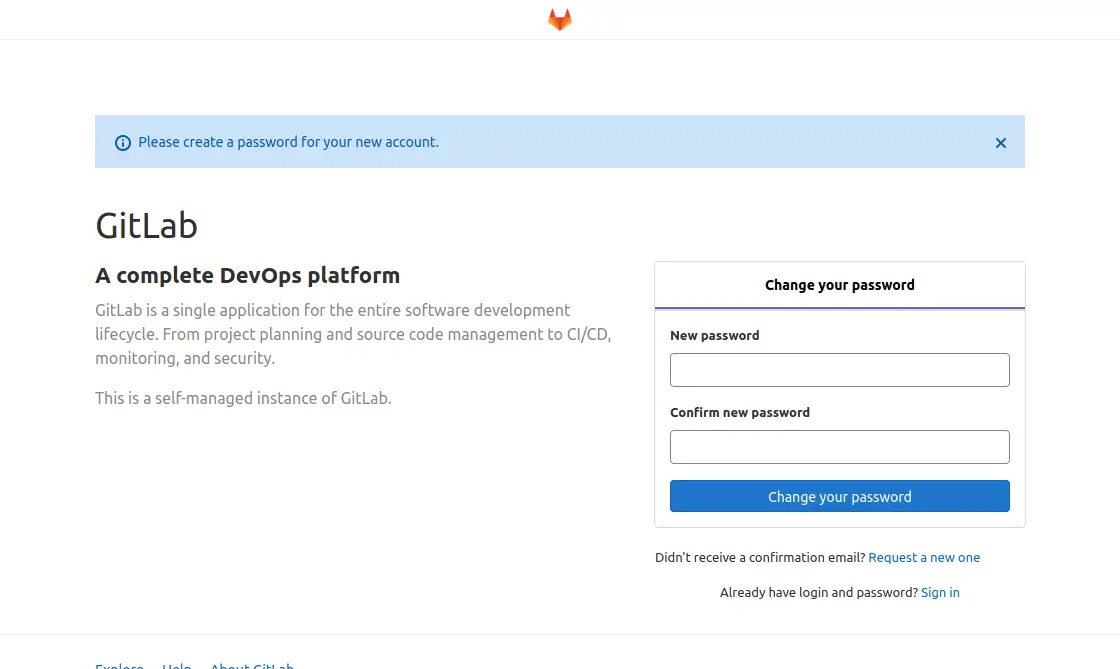
Now open a web browser of your choice and go to your configured domain https://your-domain and the first thing you have to do is to change the admin password.
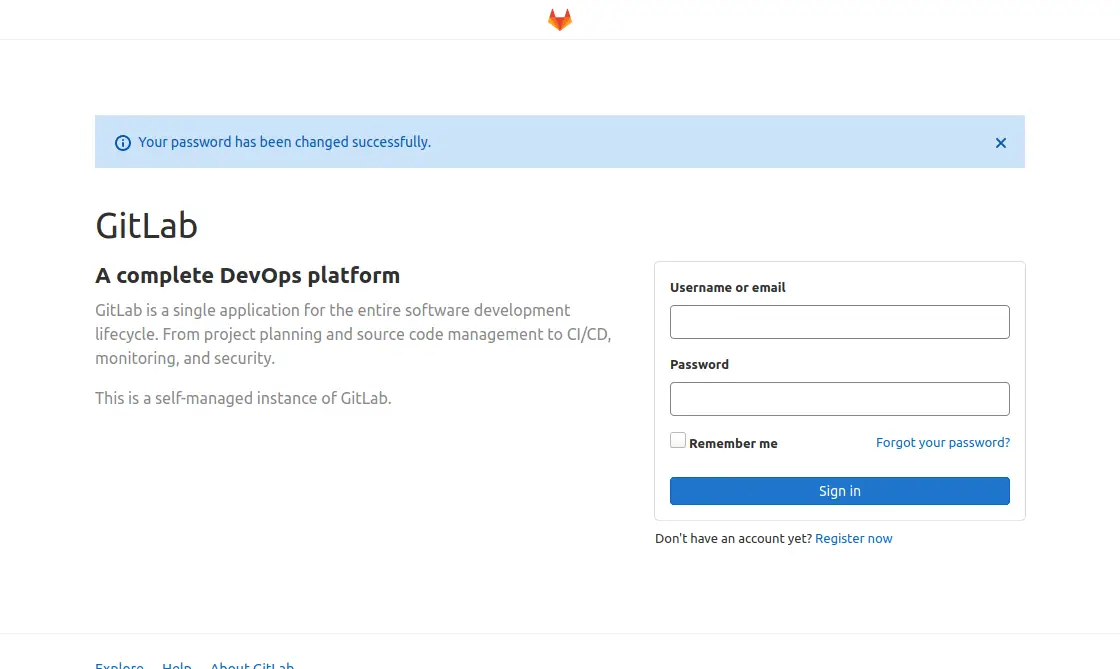
Then, you will see the login screen.
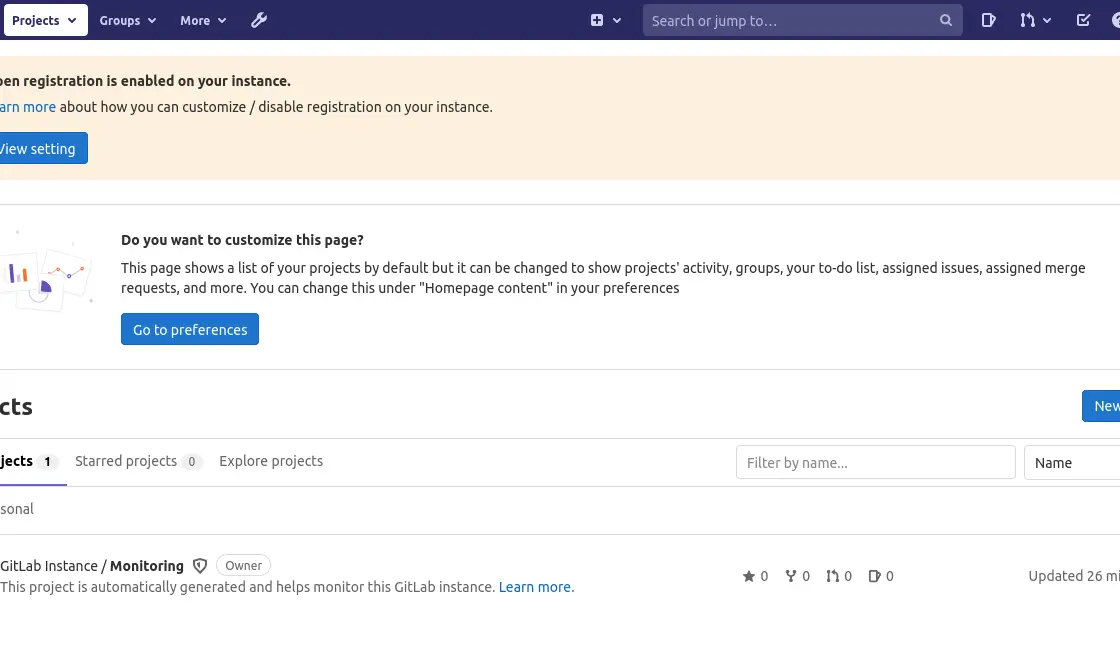
Enter your credentials and then you will see the Gitlab dashboard.
So, enjoy it.
Conclusion
Thanks to this post, you have learned about the Gitlab installation process and that it can help you to host code and work on your own servers which increases security and technological independence.