Webmin is a web-accessible system configuration tool for OpenSolaris, GNU/Linux, and other Unix systems. With it, you can configure internal aspects of many operating systems, such as users, space quotas, services, configuration files, computer shutdown. Tools like these help with the management of a Linux server and make it accessible to many. Today you will learn how to install Webmin on Ubuntu 20.04 without any problems.
Introducing Webmin
The best possible definition of what Webmin is is given by the website itself.
Webmin is a web-based interface for system administration for Unix. Using any modern web browser, you can setup user accounts, Apache, DNS, file sharing, and much more. Webmin removes the need to manually edit Unix configuration files like
/etc/passwdand lets you manage a system from the console or remotely
So with Webmin administering a Linux server remotely becomes quite simple although keep in mind that it is oriented to simple operations.
As it could not be otherwise, Webmin is open source and has a very active development that makes it ideal for many projects. New versions have been released fixing bugs and improving some items of the graphical interface.
Install Webmin on Ubuntu 20.04
Thanks to the good support for Linux, we have some alternatives to perform the installation. However, it is considered that using the official repositories of the program is the best way to do it since it guarantees that it will be integrated into the system and we will be able to keep it updated using APT.
So, open a terminal or connect via SSH to your server and update it.
sudo apt update
sudo apt upgrade
Now, Ubuntu has all the security patches and we can install the apt-transport-https package which is necessary to add the Webmin repository.
sudo apt install apt-transport-https
Now we can add the Webmin repository. So, create a new entry in the Ubuntu repository file.
sudo nano /etc/apt/sources.list
At the end of the file, add the following line.
deb https://download.webmin.com/download/repository sarge contrib
Save the changes and close the editor.
Now it is time to add the GPG key to the repository so that the system can process it without problems.
First, download it
wget https://download.webmin.com/jcameron-key.asc
And now add it to your system
sudo apt-key add jcameron-key.asc
Output:
OK
Now refresh the APT cache.
sudo apt update
And install Webmin by running the following command:
sudo apt install webmin
Reading package lists... Done
Building dependency tree
Reading state information... Done
The following additional packages will be installed:
  libauthen-pam-perl libgdbm-compat4 libio-pty-perl libnet-ssleay-perl libperl5.30 perl perl-modules-5.30 perl-openssl-defaults unzip
Suggested packages:
  perl-doc libterm-readline-gnu-perl | libterm-readline-perl-perl make libb-debug-perl liblocale-codes-perl zip
The following NEW packages will be installed:
  libauthen-pam-perl libgdbm-compat4 libio-pty-perl libnet-ssleay-perl libperl5.30 perl perl-modules-5.30 perl-openssl-defaults unzip webmin
0 upgraded, 10 newly installed, 0 to remove and 45 not upgraded.
Need to get 36.3 MB of archives.
After this operation, 353 MB of additional disk space will be used.
Do you want to continue? [Y/n]
Configuring Nginx as Reverse Proxy for Webmin
Since webmin will be accessible from the network, you should install and configure Nginx as Reverse Proxy. This way the access will be better and more secure.
So, install Nginx on Ubuntu 20.04
sudo apt install nginx
Once Nginx is installed, you have to create a new configuration file dedicated to Webmin.
sudo nano /etc/nginx/conf.d/domain.com
And in the file add the following
server {
  server_name webmin.example.com;
  listen 443;
  ssl on;
  ssl_certificate /etc/webmin/miniserv.pem;
  ssl_certificate_key /etc/webmin/miniserv.pem;
  access_log off;
  error_log off;

  location /RequestDenied {
    return 418;
  }

  location / {
    proxy_pass      https://127.0.0.1:10000;
    proxy_redirect  off;

    #Proxy Settings
    proxy_redirect     off;
    proxy_set_header   Host             $host:$server_port;
    proxy_set_header   X-Real-IP        $remote_addr;
    proxy_set_header   X-Forwarded-For  $proxy_add_x_forwarded_for;

    proxy_max_temp_file_size 0;
    proxy_connect_timeout      90;
    proxy_send_timeout         90;
    proxy_read_timeout         90;
    proxy_buffer_size          128k;
    proxy_buffers              32 32k;
    proxy_busy_buffers_size    256k;
    proxy_temp_file_write_size 256k;
  }
}
Remember that the server_name value must be replaced by your domain.
After saving the changes and closing the editor, just restart the Nginx service to apply the changes.
sudo systemctl restart nginx
Accessing to Webmin
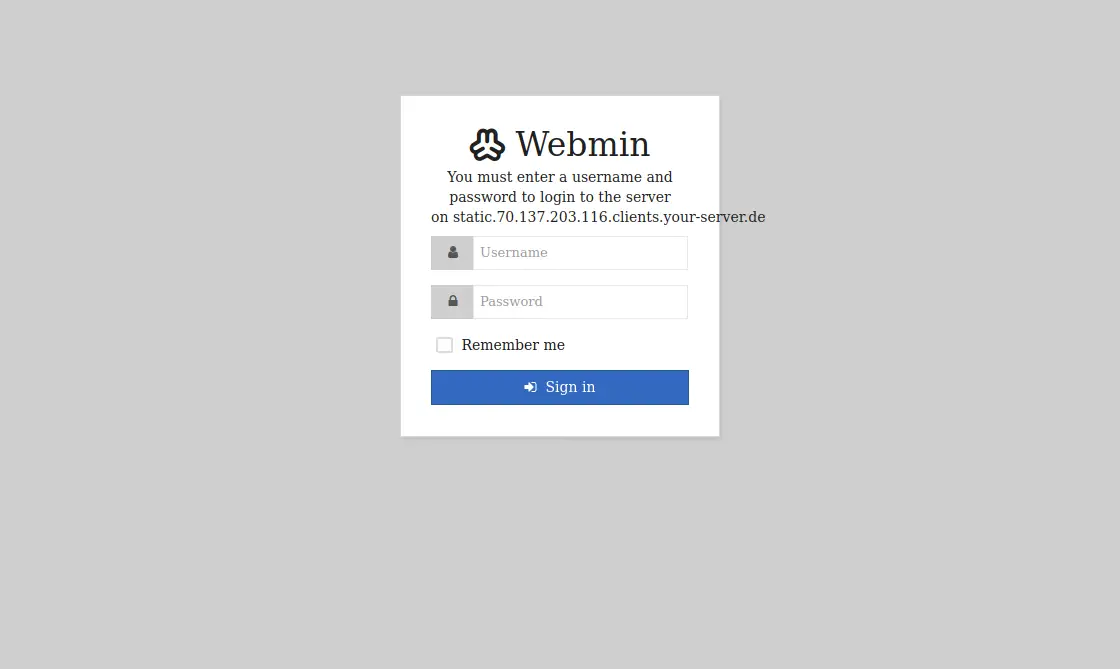
Now open a web browser and access webmin using your domain to do so.
You will see the login screen where you will have to supply the login information for your system. So you only have to use the same credentials with which you log in to the system.
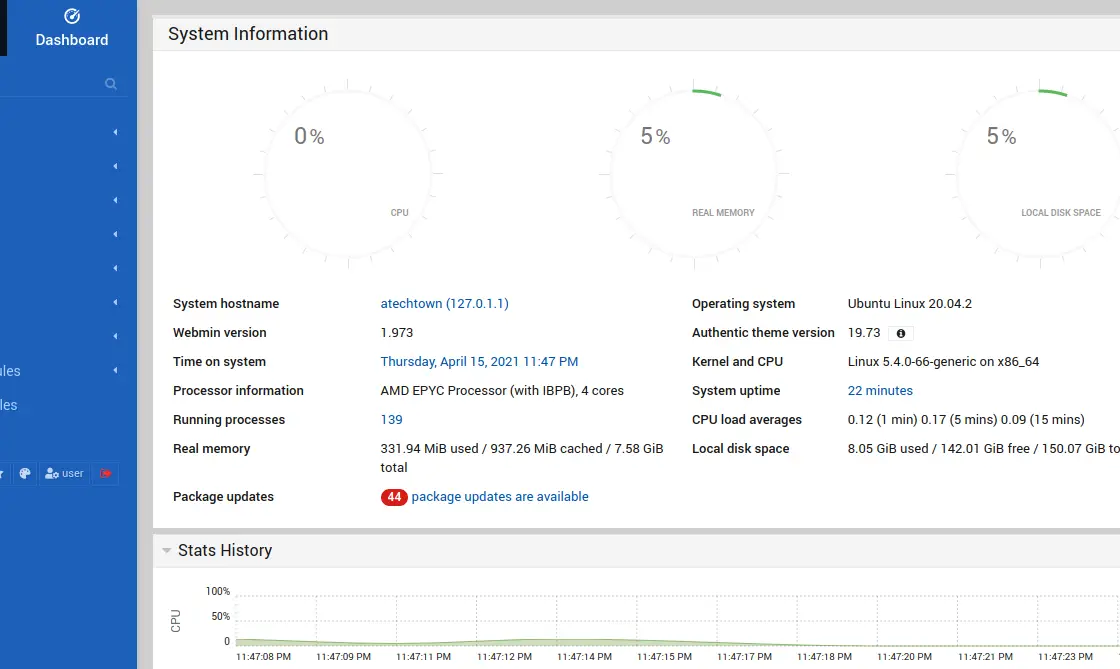
Now you will see the main Webmin screen.
Removing Webmin on Ubuntu 20.04
In case you don’t want to use Webmin anymore, just uninstall it and delete the webmin entry in the system repository file.
sudo apt remove webmin
You can also uninstall Nginx if you will no longer use it.
sudo apt remove nginx
Conclusion
Managing a server even if it is a home server is not an easy task, that’s why tools like Webmin are valuable because they allow us to give us a hand with it. All from a competent graphical interface that will help us.