Java is a language and a software platform. Currently, it belongs to the Oracle company that releases it under certain commercial restrictions.
On the other hand, the OpenJDK project took advantage of the fact that Java is open source, to create a community version without licensing problems. This is the version that is incorporated in most of the Linux distributions and that works for almost any case.
Similarly, Oracle Java is the proprietary version of Java. The reality is that the restrictions depend on the use that will be made of Java. If it is for commercial projects then there is a limit of use. Otherwise, there is no problem.
Finally, it is worth noting that there are no major technical differences between the two. So for almost any project, we do not care about the choice.
However, in this post, we’ll install both and then choose the one you like best. Remember, it is not necessary to install both.
Install Java on Ubuntu – OpenJDK
In Ubuntu, there are two versions of Java using OpenJDK. The two versions in question are 11 and 8. Both are LTS, that is, they will be supported by Oracle and Linux distributions for quite some time. This aspect makes them highly recommendable in any type of project.
However, it is not necessary to install both. So we will opt for version 11 which has proven to be quite mature and quite new.
So, open a terminal and update the system repositories
sudo apt update
And then install the Java 11 related packages with the following command.
sudo apt install openjdk-11-jdk openjdk-11-jdk-headless openjdk-11-jre

Once the installation is complete, it is time to define the environment variables. This is so that the system will recognize all Java binaries without any problem.
To do this, create a new file called java.sh in the system’s bash profile directory.
sudo nano /etc/profile.d/java.sh
And in this file, add the following lines
export PATH=$PATH:/usr/lib/jvm/java-11-openjdk-amd64/bin/
export JAVA_HOME=/usr/lib/jvm/java-11-openjdk-amd64/
export J2SDKDIR=/usr/lib/jvm/java-11-openjdk-amd64/

Then save the changes and close the file.
Finally, source the file to apply the changes:
source /etc/profile.d/java.sh
Now to verify that the installation was successful, run any Java command. For example, check the installed version:
java --version
openjdk 11.0.7 2020-04-14
OpenJDK Runtime Environment (build 11.0.7+10-post-Ubuntu-3ubuntu1)
OpenJDK 64-Bit Server VM (build 11.0.7+10-post-Ubuntu-3ubuntu1, mixed mode, sharing)
Install Java on Ubuntu – Oracle Version
In the case of the Java version of Oracle, it is not included by default in the Ubuntu repositories. Therefore, you have to download the binaries from Oracle’s website and do the manual installation.
Despite this, there are another very useful alternative thanks to the Linux Uprising PPA that allows us to install Oracle Java 14 without problems and using APT.
Java 14 is the latest stable version available.
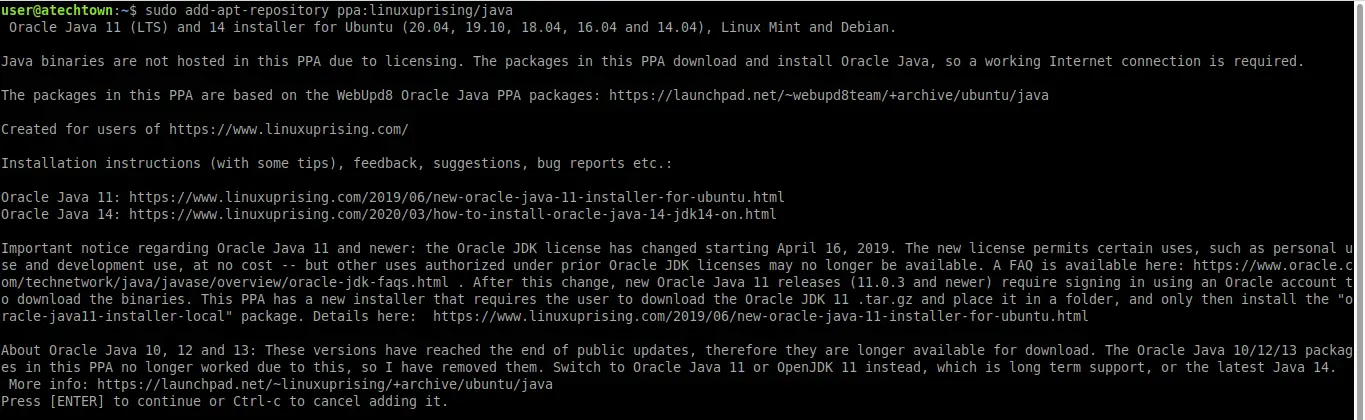
So, add the Uprising JAVA PPA repository as shown below.
sudo add-apt-repository ppa:linuxuprising/java
Then, refresh the repositories.
sudo apt update
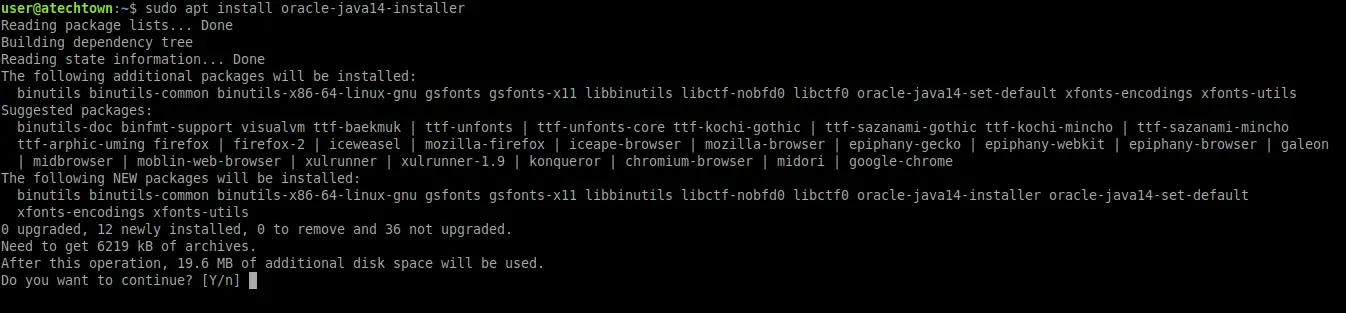
Then, install Oracle Java 14 with the following command:
sudo apt install oracle-java14-installer
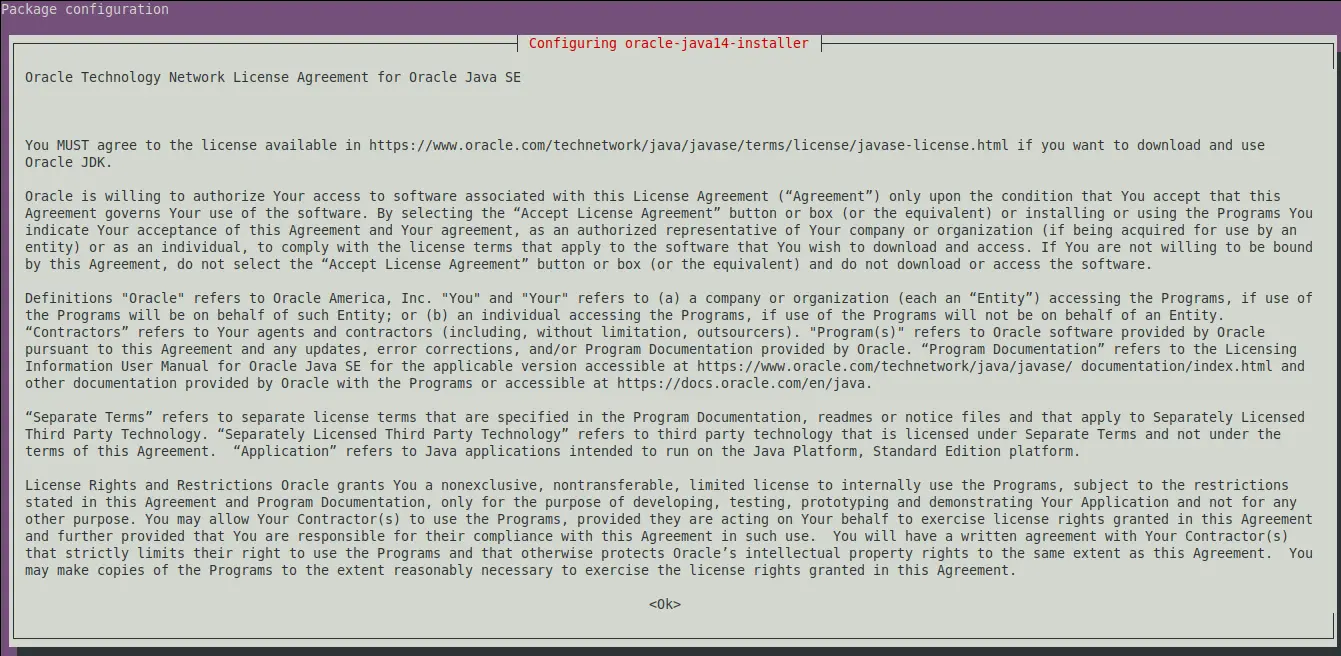
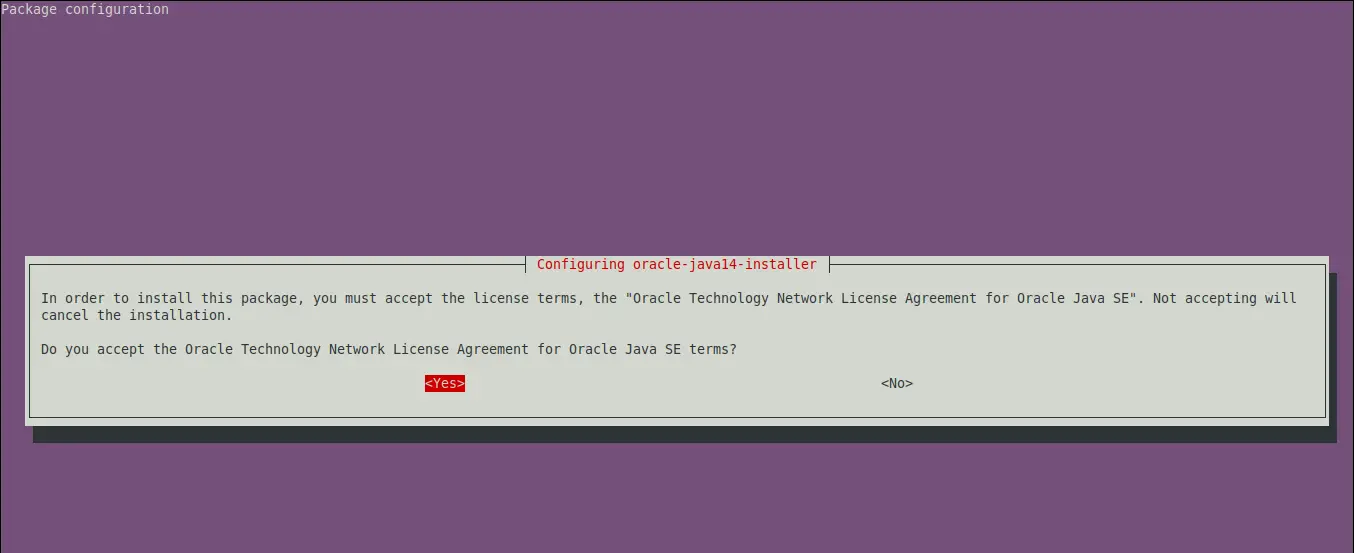
Then, you will see a screen where you will have to accept the license terms and the process will continue until it is finished.
The next step is to define the Java environment variables, So, create the profile file:
sudo nano /etc/profile.d/javaoracle.sh
And add these lines:
export JAVA_HOME=/usr/lib/jvm/java-14-oracle
export PATH=$PATH:$JAVA_HOME/bin

Save the changes and close the file. As with installing OpenJDK, source the file to apply the changes:
source /etc/profile.d/javaoracle.sh
And finally, run a Java command as the sample of the installed version to check that everything is OK:
:~$ java --version
java 14.0.1 2020-04-14
Java(TM) SE Runtime Environment (build 14.0.1+7)
Java HotSpot(TM) 64-Bit Server VM (build 14.0.1+7, mixed mode, sharing)
Define a version of Java as the default
As I said before it is not necessary to install both versions, however, if you have done so you must define which of these versions the system will take as the default. It is quite simple.
To do this, run the following command:
sudo update-alternatives --config java

In the screen output of the command, you will see the different versions of Java on your system. Just choose with a number the one you want to set as default.
It’s that simple.
Conclusion
Java is a technology that refuses to fade away. It is still quite popular and is necessary to develop many functional applications as well as to run applications with this technology.
Thanks to this post, now you know how to install Java in Ubuntu and all you have to do is apply it and create new applications.