When working at the terminal, the need to use a text editor arises. While using a graphical interface there are quite a few good ones in the terminal. However, there is one that is quite simple to use and that also provides the basics that a text editor can offer us although not many people know it. So if you want to know how to use nano in Linux, then you can do it after reading this post.
First, what is Nano?
GNU Nano is a terminal text editor widely used by all Linux whose main characteristics are the ease of use and the availability in almost all Linux distributions.
It was designed to be a free replacement for the Pico text editor, part of the Pine email suite from The University of Washington. It aimed to “emulate Pico as closely as is reasonable and then include extra
functionality”.
So, with Nano you will have a simple editor, easy to use, but with features that will allow you to take advantage of it and edit files from time to time without problems.
This application is especially useful on servers that don’t have a graphical interface and require you to edit configuration files or create them.
Install Nano on Linux
Before using nano in Linux, we have to know how to install it. The truth is very simple because it is available from the official repositories of many distributions.
In the case of Debian, Ubuntu, and derivatives such as Linux Mint, ElementaryOS you have to open a terminal and run it:
sudo apt install nano
Although it is quite likely that it is already installed.
In the case of Red Hat and derivatives such as CentOS 8, and Fedora
dnf install nano
And in Arch Linux and derivatives:
sudo pacman -S nano
Or in the case of OpenSUSE
sudo zypper install nano
Again, it’s quite likely that you already have it installed, although it’s good to be sure.
Using Nano in Linux
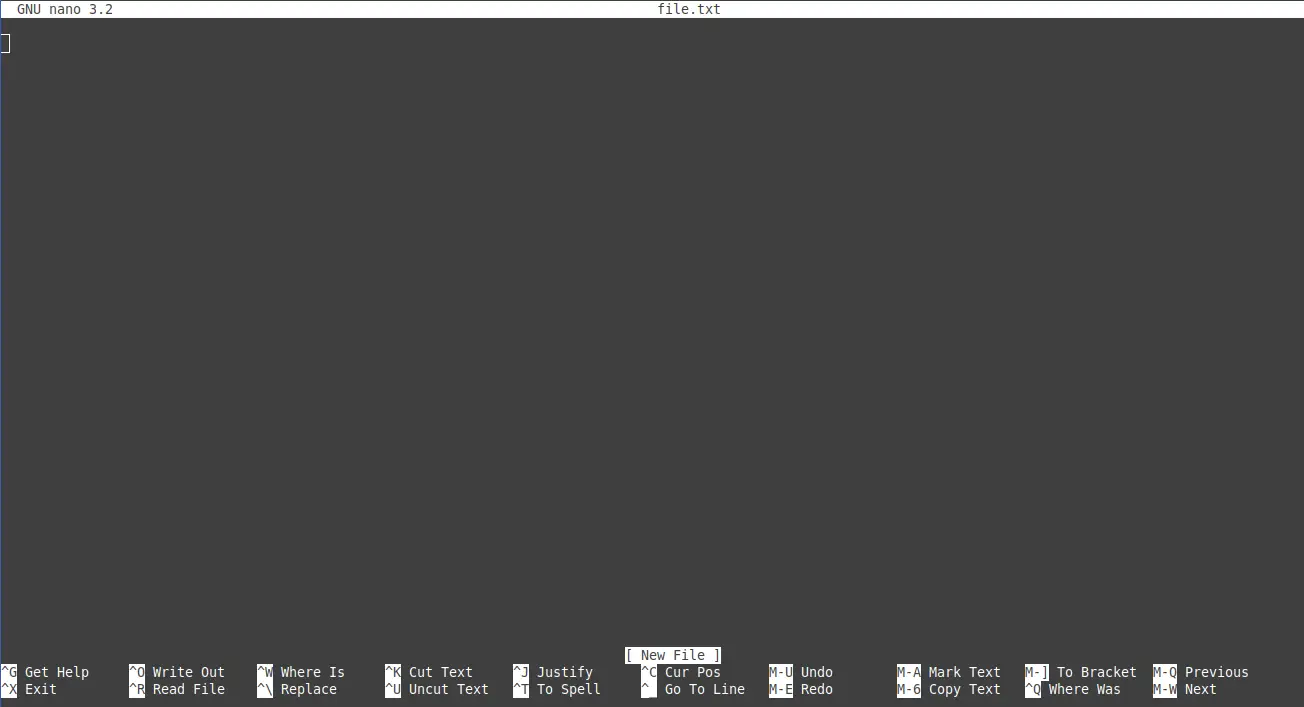
Once nano is fully installed, it is possible to use it by executing the command nano along with a file name or a path. For example:
nano file.txt
Or
nano /home/user/Documents/file.txt
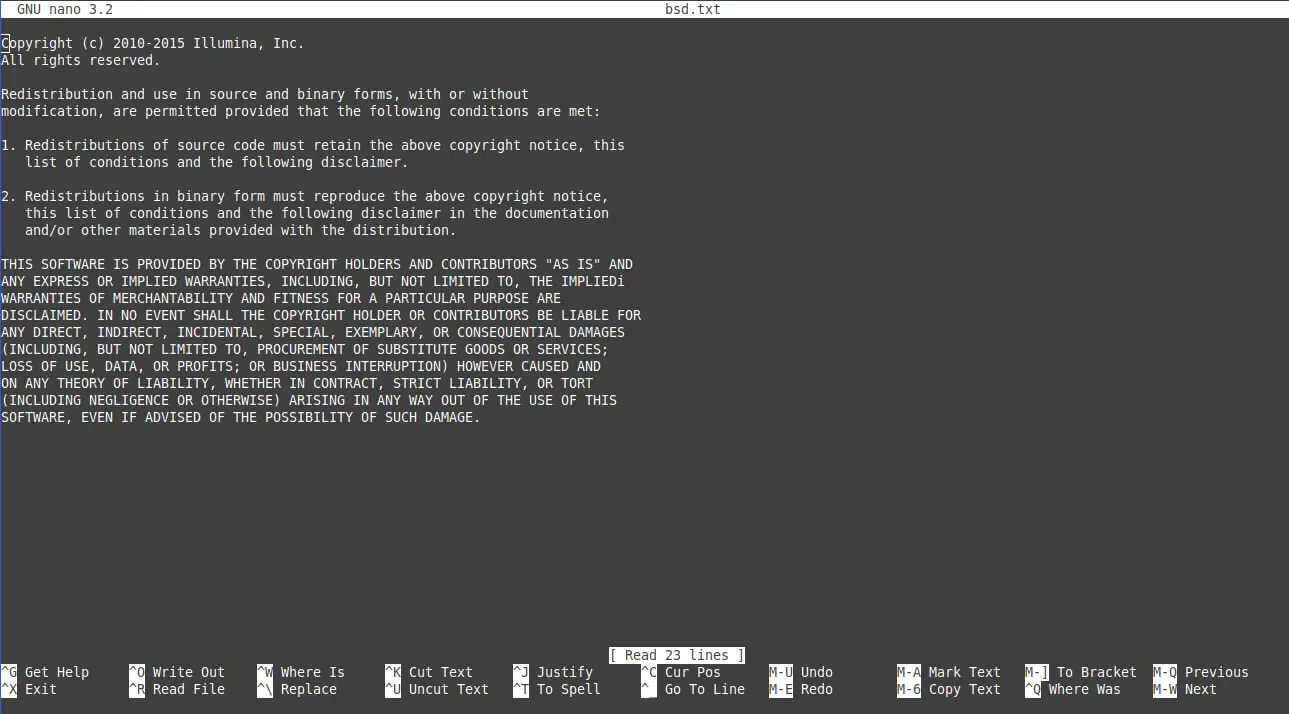
If the file does not exist, it will be created automatically. If the file exists, you will be shown the number of lines in the file.
In the opposite case, you will see an empty screen where you can start writing.
At the bottom of the screen, you will see a list of commands that Nano uses. These are the commands:
- Ctrl + g Displays the help menu
- To Exit press Ctrl + x
- Ctrl + or Save the changes you make.
- Ctrl + r Insert another file in the current one.
- Another command is Ctrl + w This command allows us to search inside the file. Fundamental when working with very large files.
- Ctrl + \ Replace a character or set of them with another one.
- Ctrl + k Cut entire line of text
- And Ctrl + u Paste Text
In case you want to cut a piece of text, you can position yourself at the beginning of the piece and press Ctrl + 6 to start the selection that you can drive with the arrows on your keyboard.

To paste it, you can press Ctrl + u again
- Ctrl + j Justify the text
- Press Ctrl + T to spell
- Ctrl + c go to the current cursor position
- Alt + 6 Copy a whole line
If you want to select what you want to copy, press Alt + a and select with the arrow keys.
So when you are done making changes you can save the changes and close the editor.
Conclusion
The nano text editor has no great tricks because it does its job very well. Besides these, it is quite simple to use which allows any user of the terminal to use it without problems.
So, do you like nano or do you prefer Vi? Are you more of a terminal user? Tell us in the comments and share the post.