Linux Mint is one of this year’s most acclaimed distributions. It is the perfect combination of ease of use and robustness. This makes it quite recommendable for both professionals as well as novice users. Though it is based on Ubuntu some think it is even better.
Features,
- Free and Open Source
- Provides about 30,000 packages and one of the best software managers
- Safe and reliable
- full multimedia support and is extremely easy to use
In this post, we will show you how to install Linux Mint and you will be able to see the whole process.
Install Linux Mint 20
Linux Mint comes in 3 different flavors, Cinnamon, MATE, and Xfce. It is available for 32-bit and 64-bit architecture. You should choose 64-bit unless you have a very old computer. Go to the download section and download the respective edition.
Next, create a bootable USB drive using Etcher or Rufus when the download completes.
Connect the USB to the computer and restart. Go to the BIOS settings. Change the boot device priority. Make sure to have USB or removable media at the top. Save and exit to start the computer
1. Welcome Screen
As soon as the USB drive loads you will see the welcome screen of the installer i.e Welcome to Linux Mint 20 Cinnamon 64-bit.
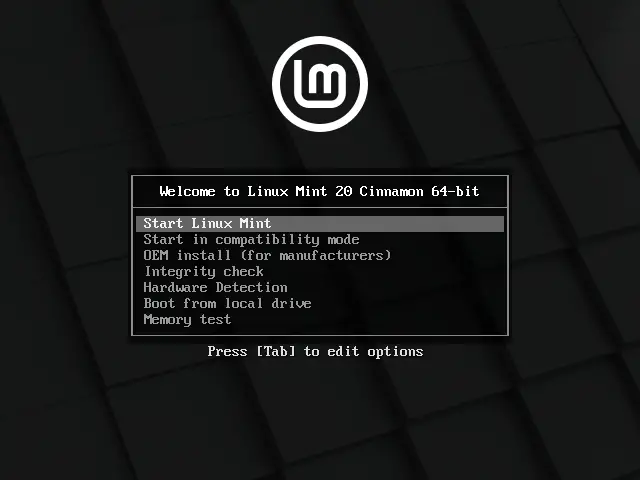
On this screen, there are several options but to start the installation, choose the first option called Start Linux Mint.
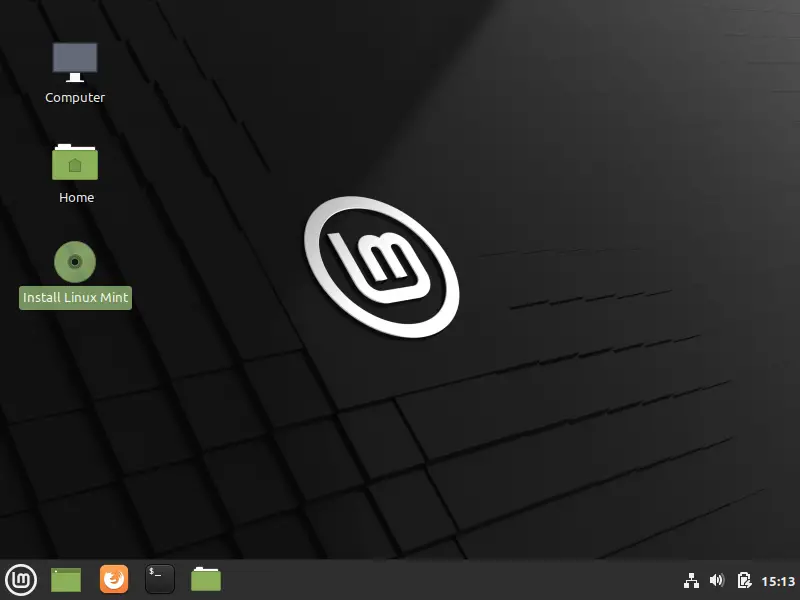
By loading the Live system, you will be able to test it before installing it and this is a great advantage of Linux. On the desktop of the Live session, there is the Install Linux Mint icon.
Double-click on it to start the installation process.
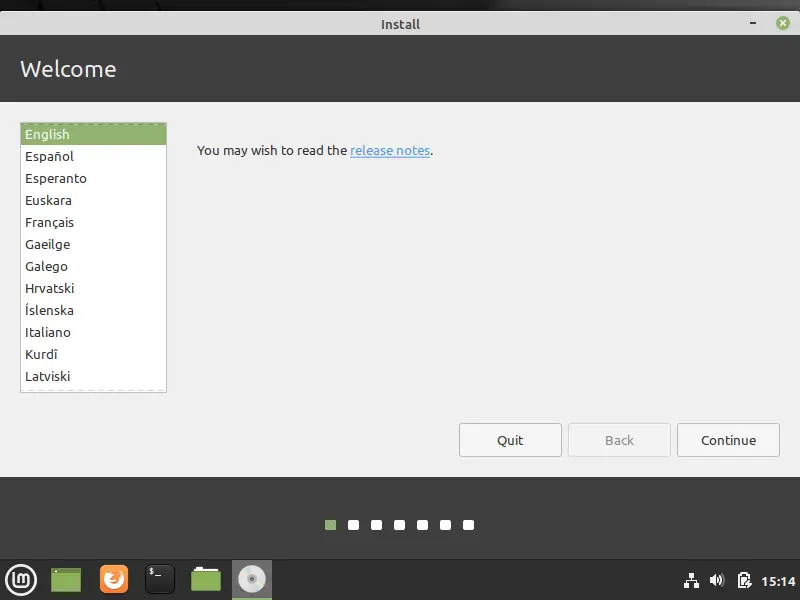
2. Select the installation language
In the first part of the process, you have to choose the language of the installation and the system. Linux Mint is such a popular system that it is available in many languages. So you should have no problem finding yours. Select it and click on the Continue button.
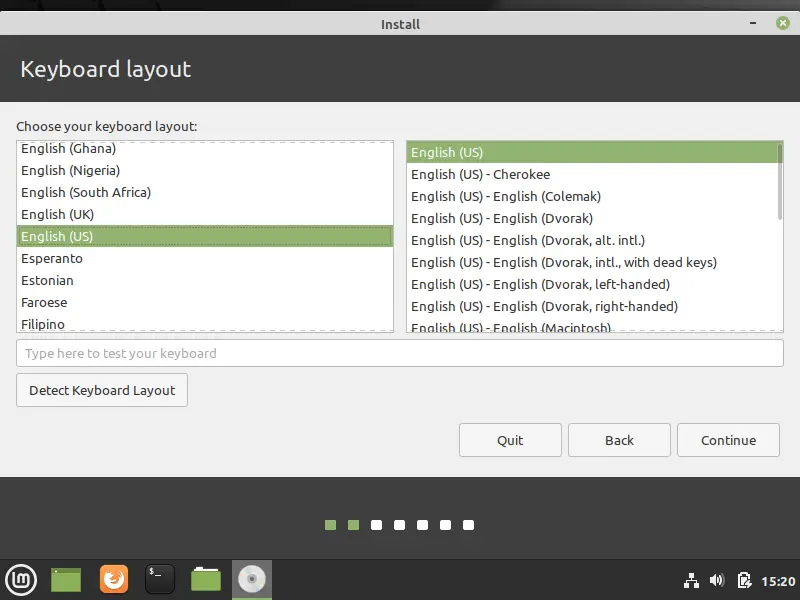
3. Choose the keyboard layout
Now on the next screen, choose the keyboard layout and as in the language, there are so many that you should have no problem finding yours.
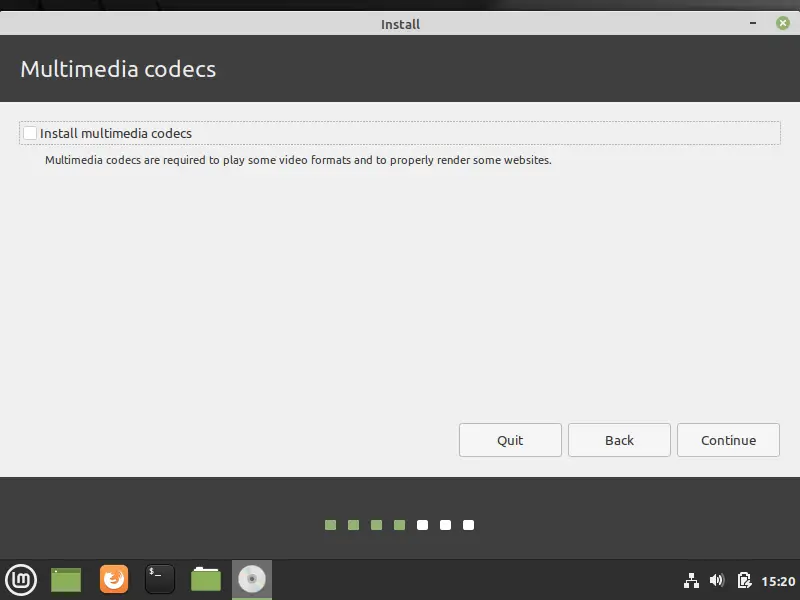
4. Install the Multimedia codecs?
On the next screen, you have the option to install the Multimedia codecs. This makes it much easier to use the distribution once installed.
5. Prepare the partitions
Now comes the complicated and delicate part. The preparation of the partitions. In this case, I have a disk with an already created partition, and Kali Linux is installed on it.
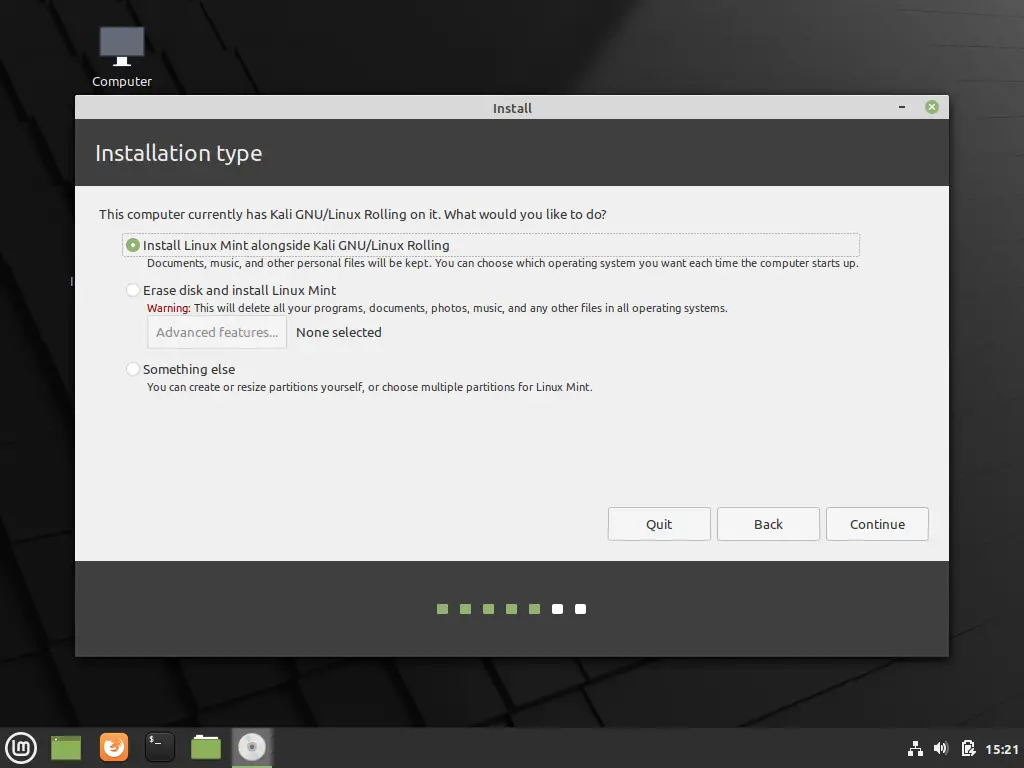
Then we have 3 options: The first one is to install Linux Mint together with Kali Linux (or another System) leaving the installer to choose the size of the partitions. This option is recommended for beginners if you want; the second is to delete the whole disk and install Linux Mint. It is also simple and thought for beginners but you will lose the data of the other partition; Finally, there is the Something Else option that allows you to manually manage the partitions.
Choose this option.

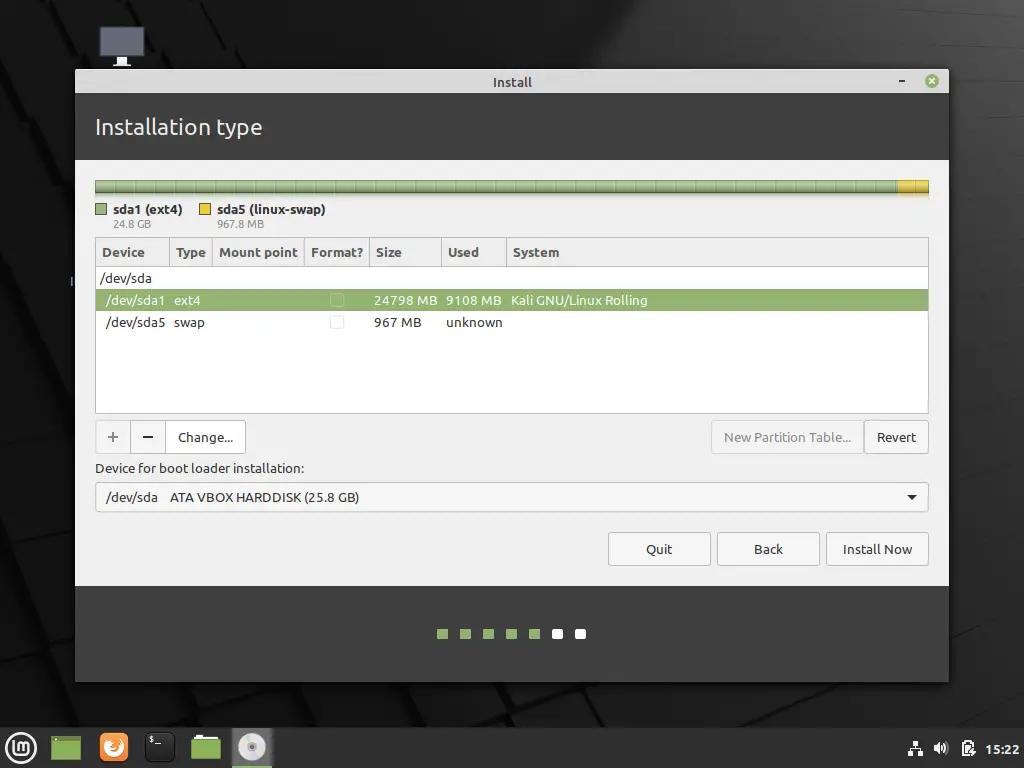
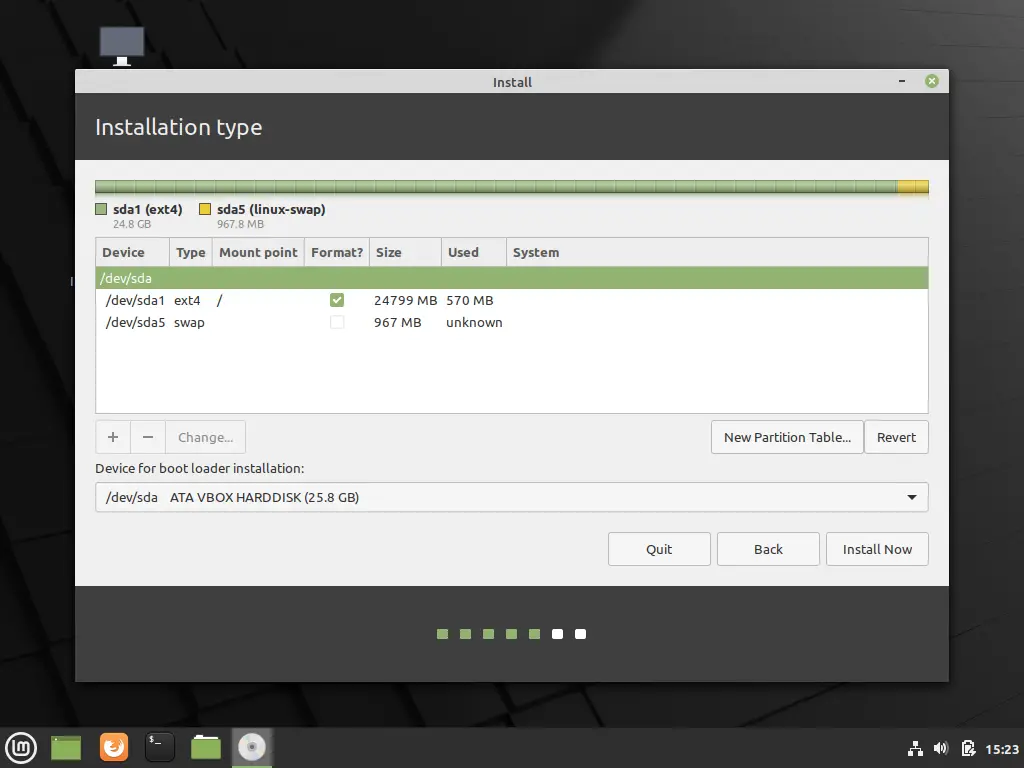
As I said there is a partition already created and recognizes the system that is installed. Just select the partition where the system will be installed and click the Change button.
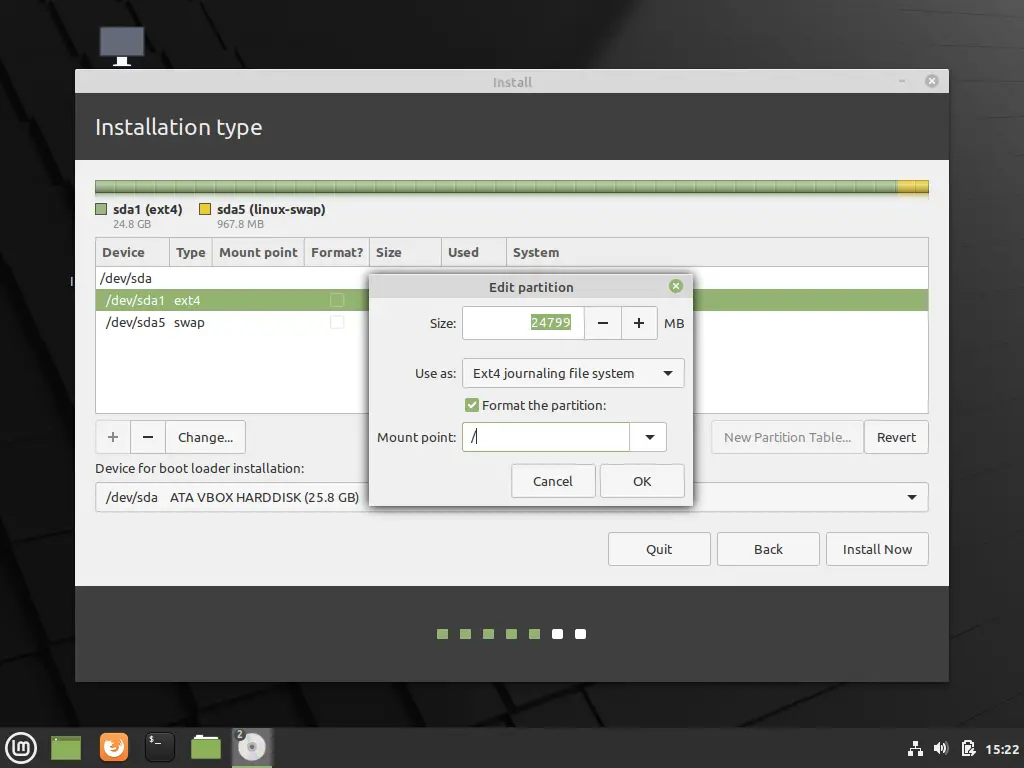
And then a very simple window will be shown where we can choose how to use the partition. First, choose the file system then the mount point as well as the size, and choose if we want to format it.
Leave the options as in the image and click OK.
Then you’ll see the warning that you can’t undo the operation and the changes on the disk.
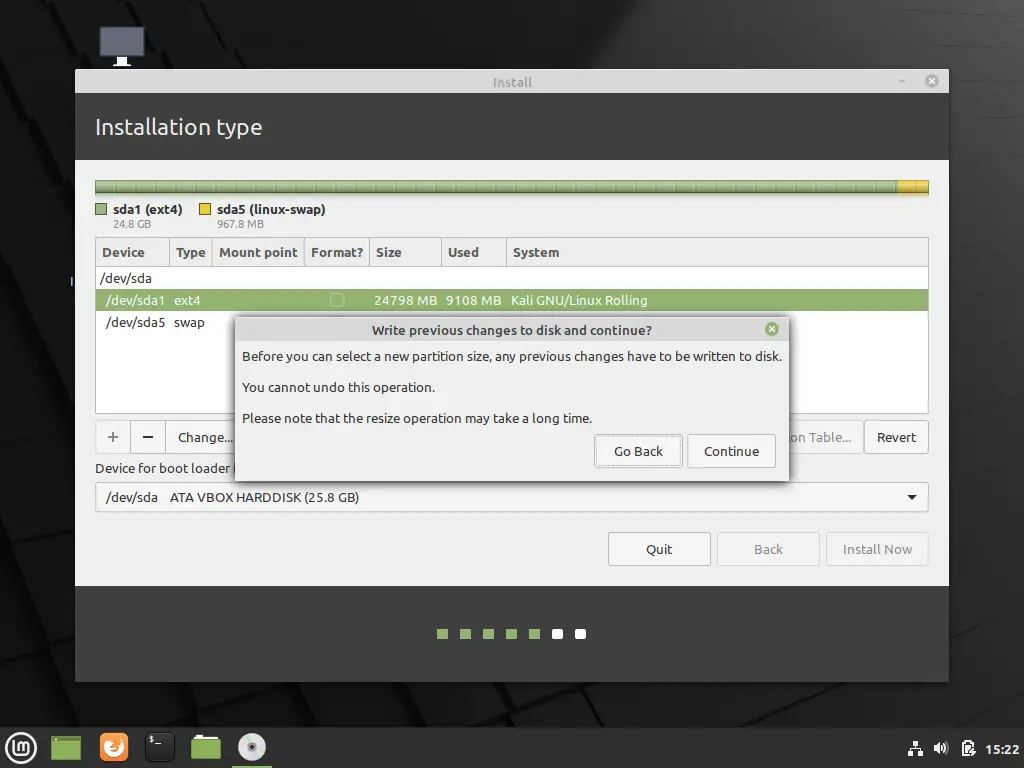
After the changes, you will see how the partitioning proposal looks like. Click on Install Now to start the installation.
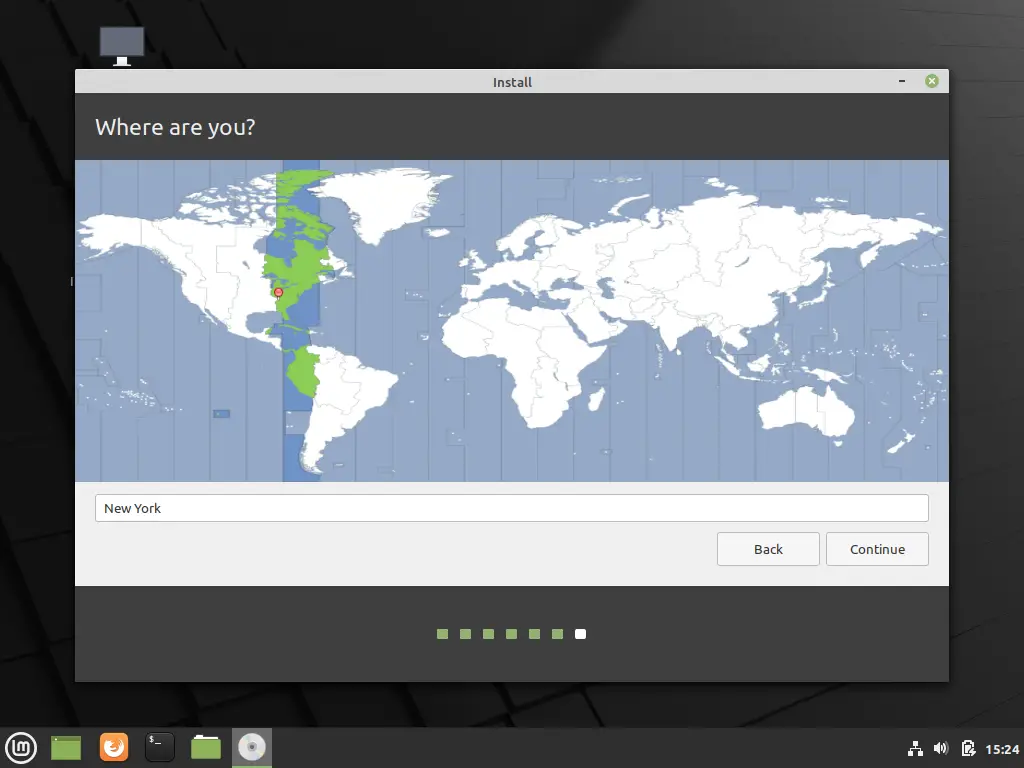
6. Choose Your Location
While installing the system, you can also choose your location.
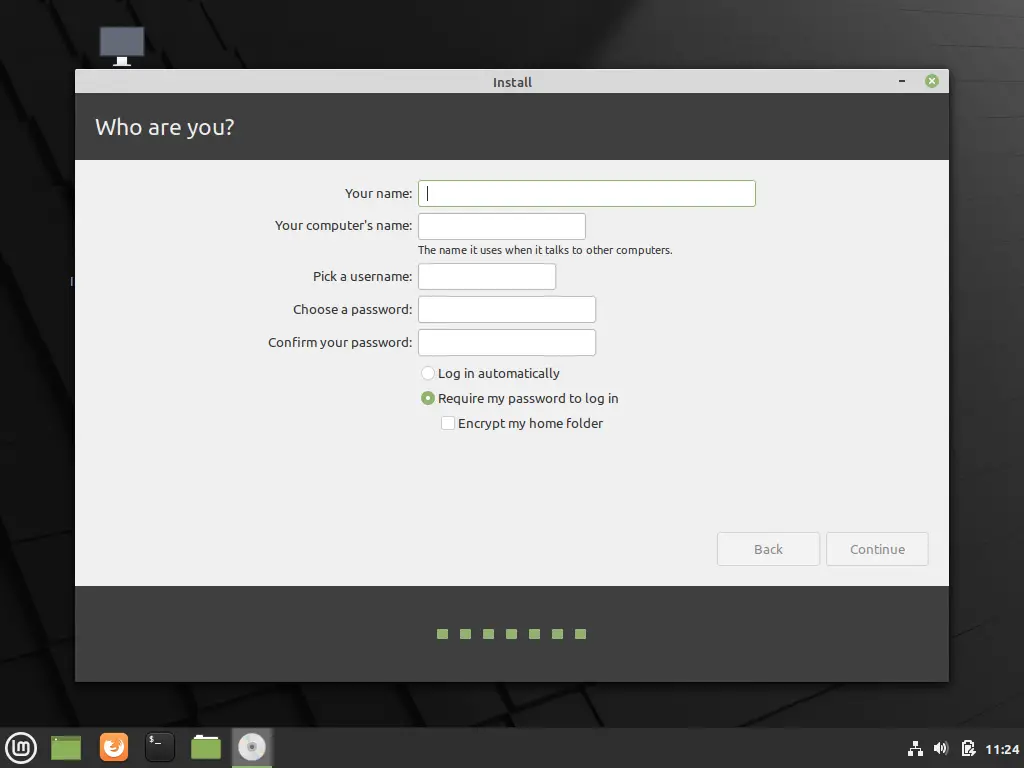
7. Create User
After clicking Continue, a screen will appear where you will have to create your user and define the password. You can also choose whether you want to log in automatically or encrypt your home folder.
8. Continue installation
Then the installation will continue as normal.

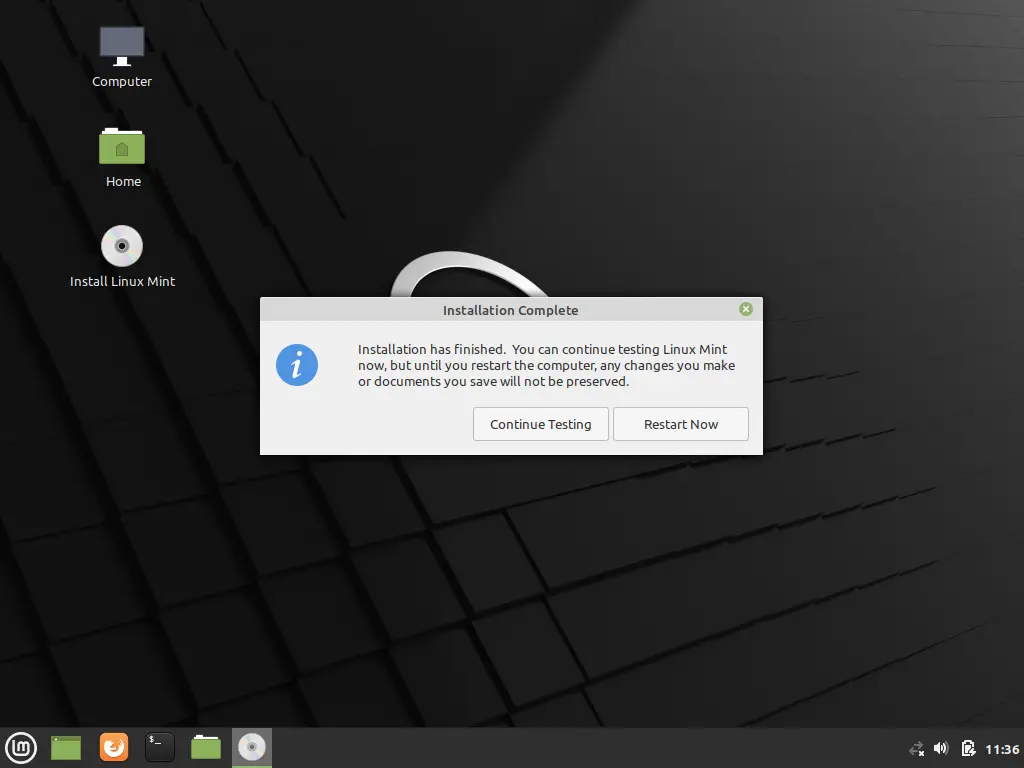
9. Restart to finish the installation
And when it’s finished, you will be shown a message informing you that you can reboot to enjoy the system already installed.
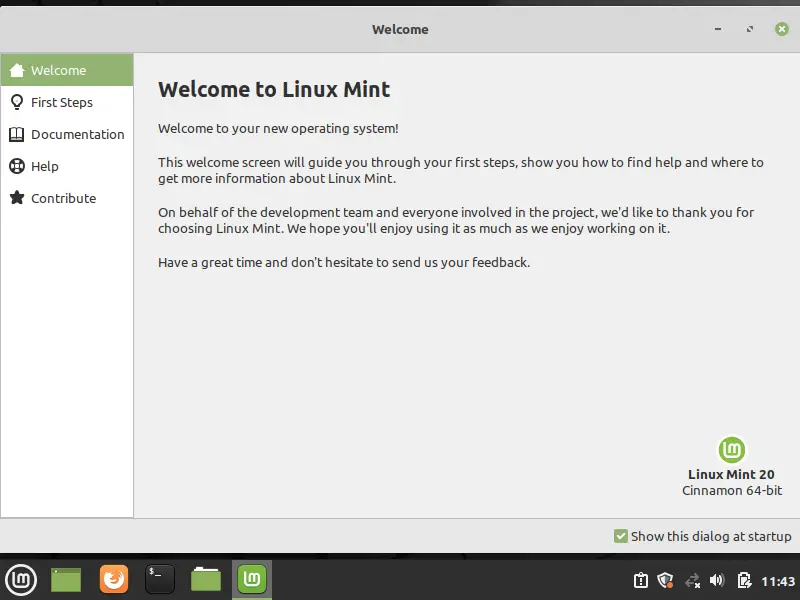
When you reboot you will see the fabulous welcome screen of Linux Mint where you can take your first steps.
And now you know how to install Linux Mint.
Conclusion
The popularity of Linux Mint is not the result of chance but the consequence of hard work. Today in this post, you have noticed that the installer is quite good, reliable, easy to use, and fast.
What do you think about Linux Mint? Let us know in the comments.