Kali Linux is a Debian-based Linux distribution designed for digital forensics and penetration testing. It is a complete package of tools that can be used for hacking or penetration testing. It has over 300 hacking and security-related tools pre-installed in it.
Kali Linux is the most popular penetration testing software in the world. It features timely security updates, support for the ARM architecture, a choice of four popular desktop environments, and seamless upgrades to newer versions.
Features,
- Open-source
- More than 600 penetration testing tools included
- Wide-ranging wireless device support
- Custom kernel, patched for injection
- Developed in a secure environment
- Multi-language support
Refer features page for additional details.
In this post, you will learn how to install Kali Linux.
The installation process of Kali Linux is super easy. You need to download the.iso file and create a bootable USB. Then boot from USB and then start the installation. It is wizard-driven.
Let’s see all these steps in detail below.
1. Download Kali Linux and Create Bootable USB
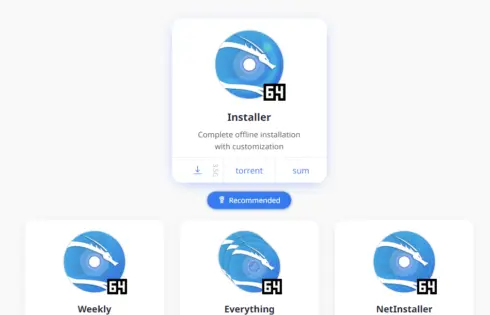
Go to the download page and download the Kali Linux 64-bit installer. The size is big so make sure you have a good internet connection. You will also find a 32-bit installer, the installer for ARM 64, the Net installer, etc.
Choose the version as per your hardware and preference.
Create a Bootable USB Drive once the download is complete. Connect it and restart your computer or virtual machine.
2. Choose the Installation Option
The first image you will see is from the main menu of the installer.
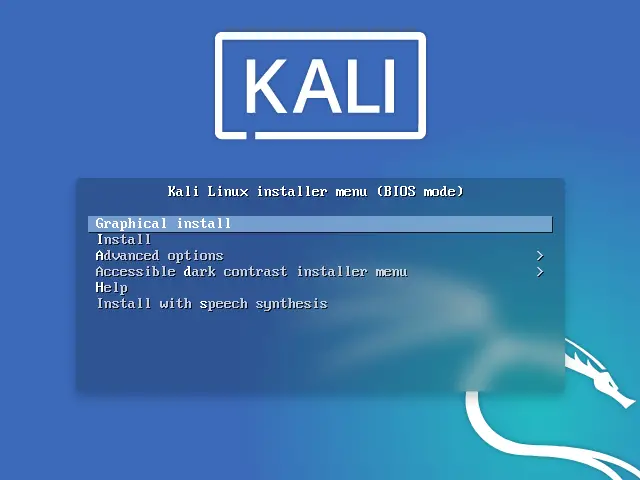
In this first image, you should choose the Graphical Install option. This will start the installer.
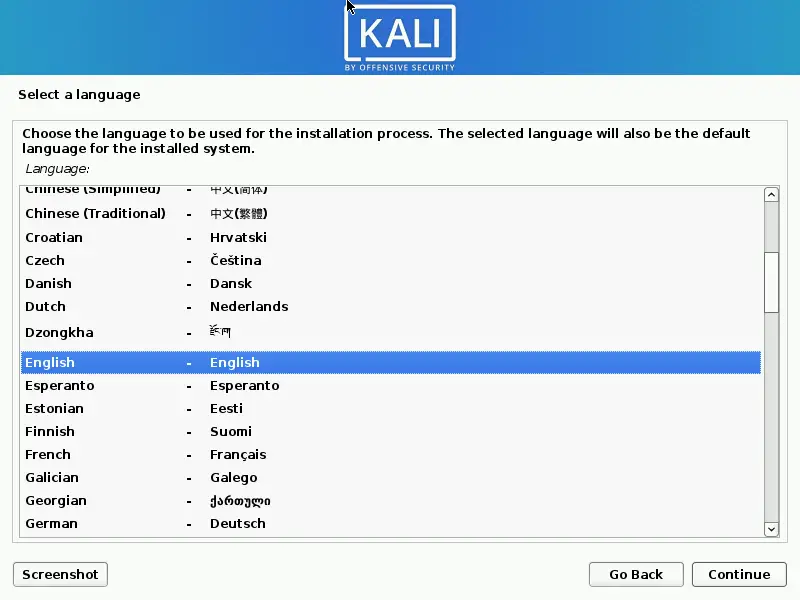
3. Select a Language
Then, you will be able to choose the language of the installation and the system in general. Kali supports many so you will not have problems finding yours.
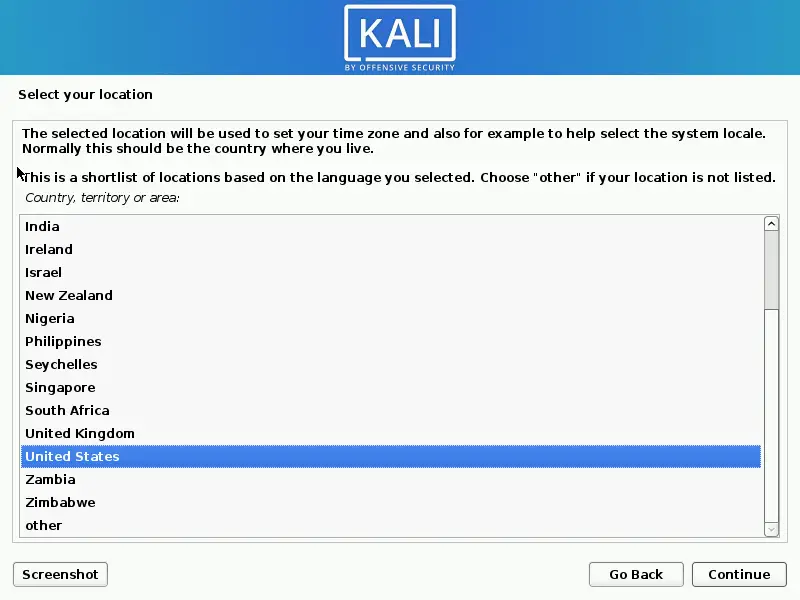
4. Select your location
On the next screen, you will have to choose the country where you are located. This is to help with the configuration of the system.
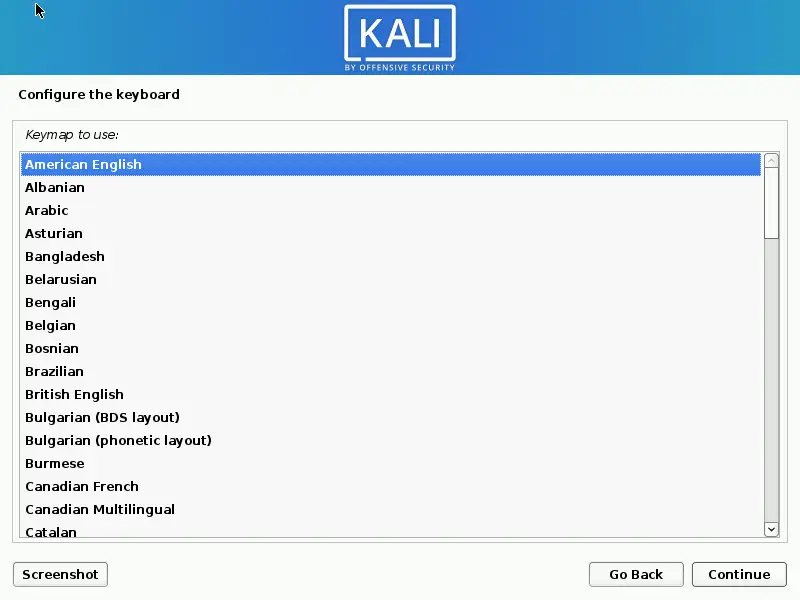
5. Configure the Keyboard
Now it is the turn of the keyboard. In this screen, you will be able to choose the layout of the keyboard. As with the language, there are many keyboard layouts and you should have no problems finding yours.
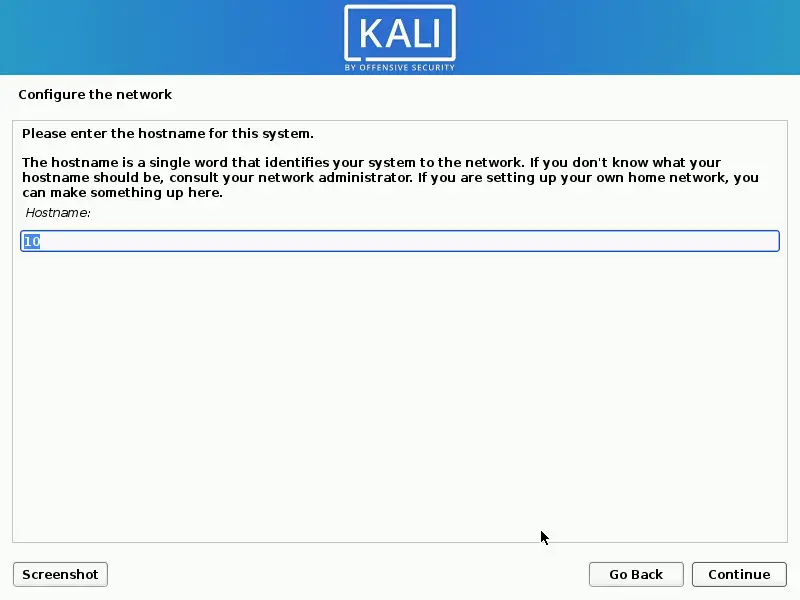
6. Configure the Network
Next, it’s time to define the hostname. Place yours and click on Continue.
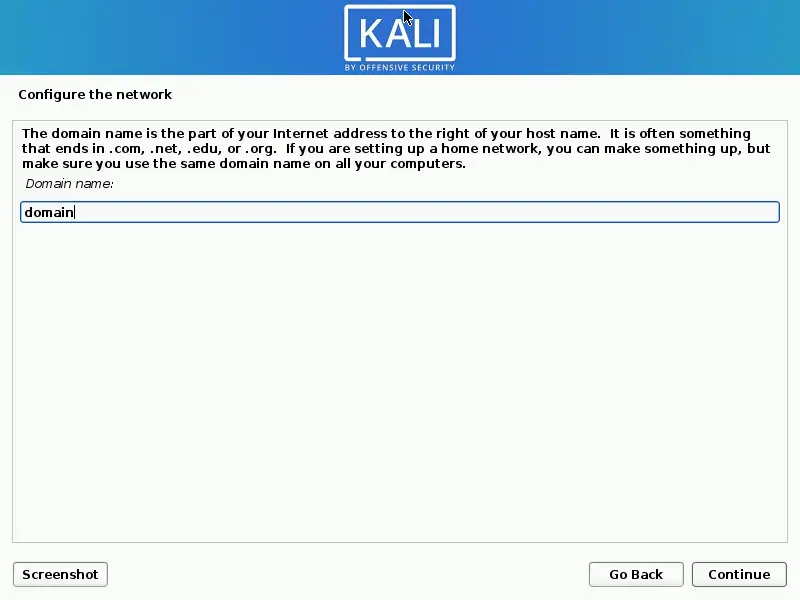
7. Define the domain
And now define the domain. Again, set yours and click Continue.
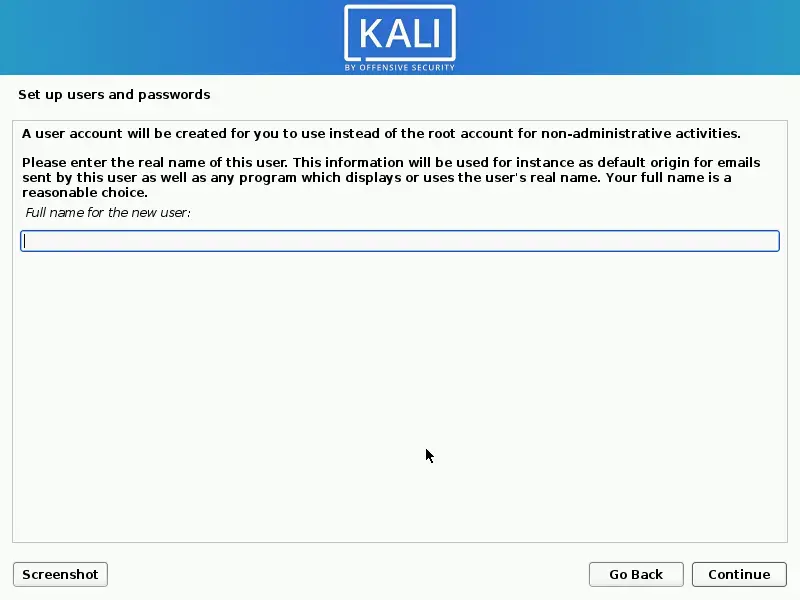
8. Set up users and password
Like any Linux distribution, Kali works with users. So you have to write the full name of the user. Click on Continue.
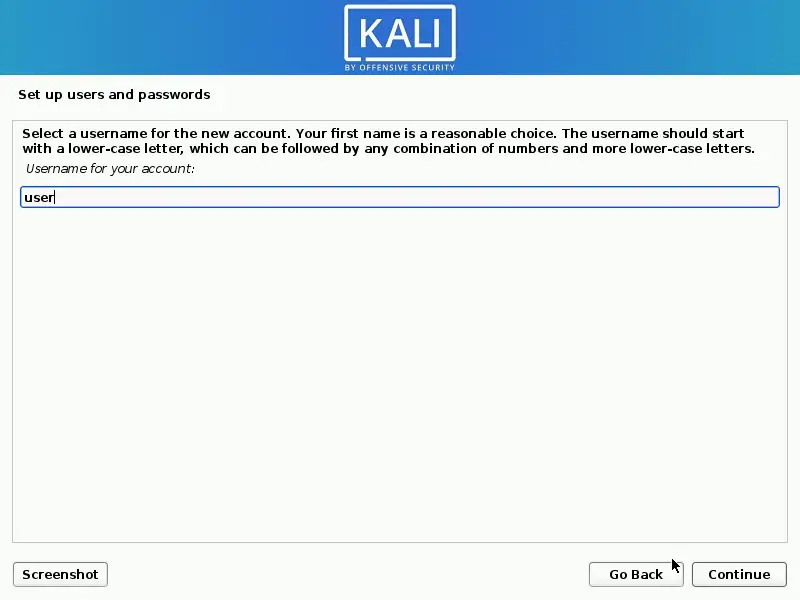
Now choose a user name. In this case, I have chosen “user”.
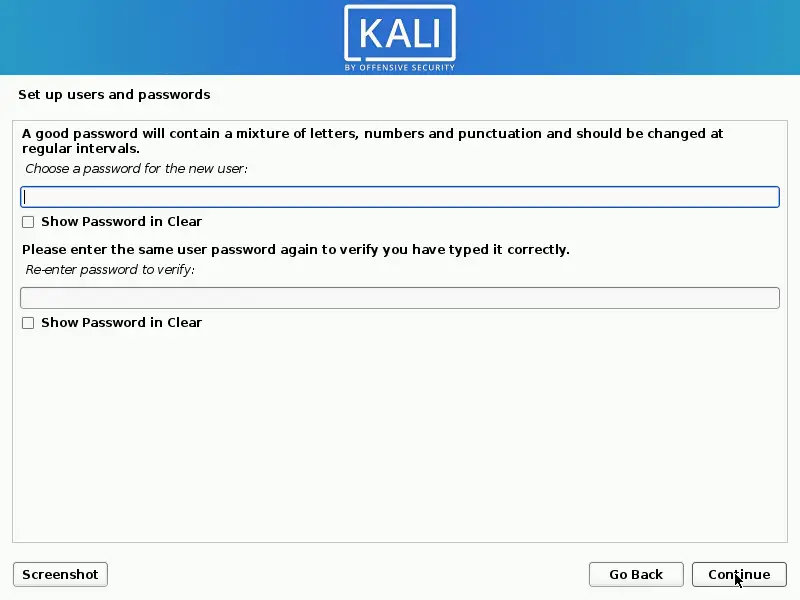
Then, write a password for the user. You have to confirm it.
Now comes the partitioning part
9. Create Partition
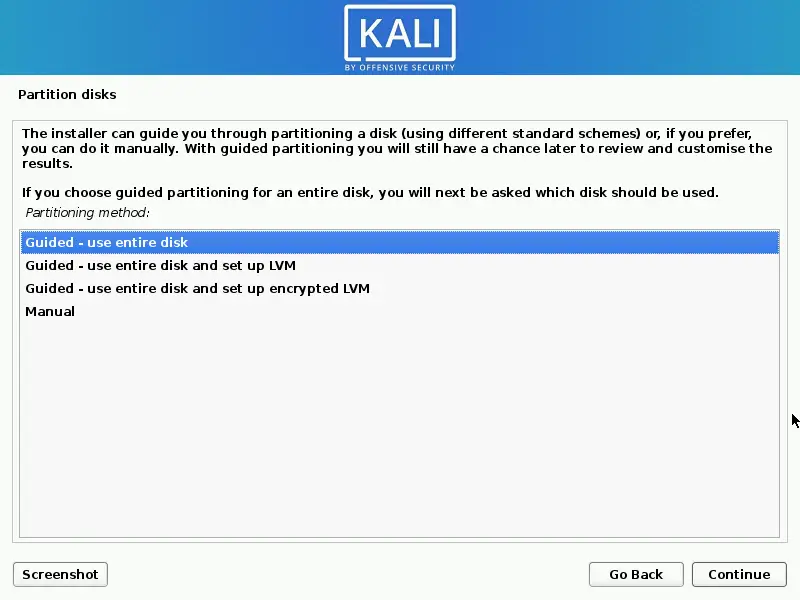
This section is the most important. In it, we will work with the disk and define where Kali is going to be installed.
On this screen, you will see several options. If you only want to have Kali on your disk, the first option is for you. Of course, keep in mind that this option will remove the information you have.
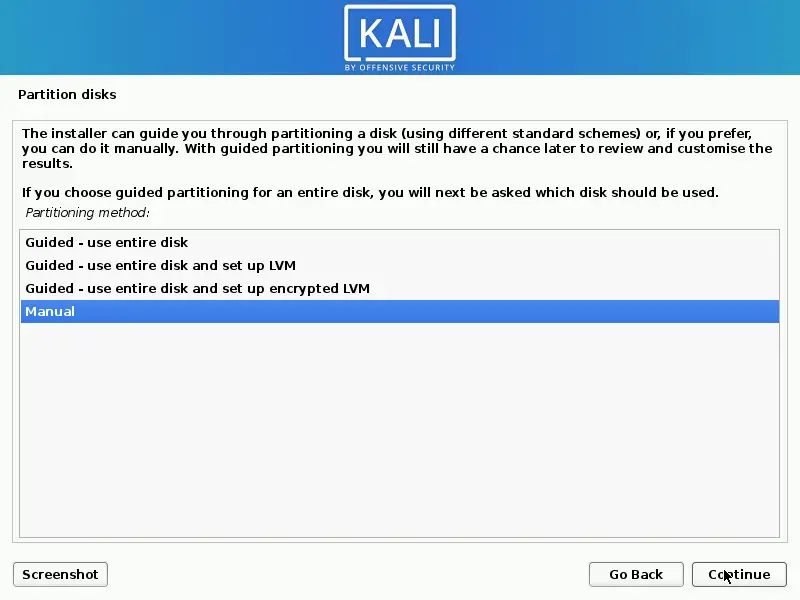
In this case, I will choose Manual. Select it and click Continue.
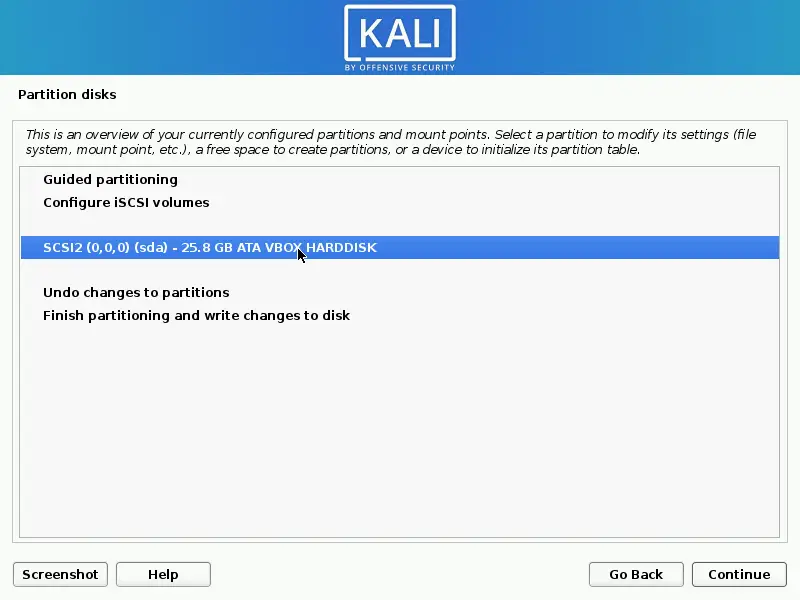
On the next screen, you will see the hard drive connected to the system. In this case, I only have one that is from the 25.8G virtual machine. Select it and click on Continue.
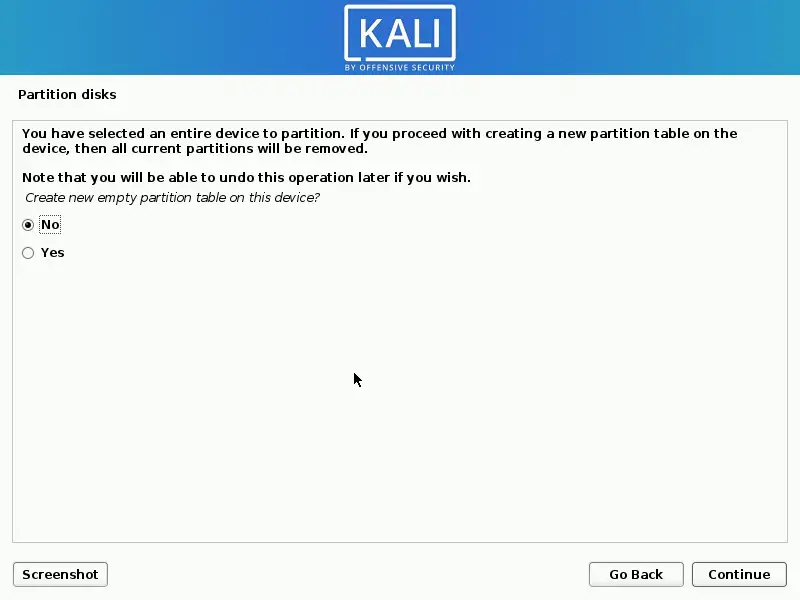
As it is a virtual machine and an empty disk, the disk has no partition table. So, create one by selecting the Yes option and click Continue.
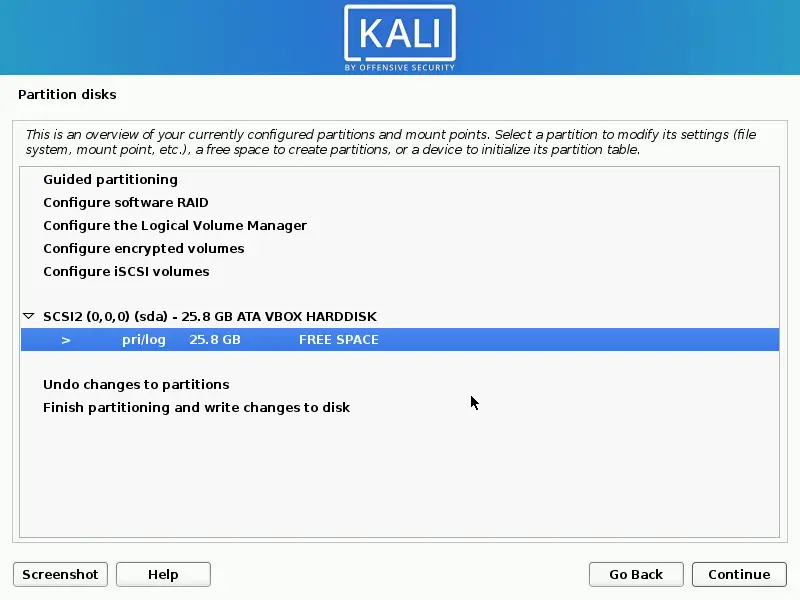
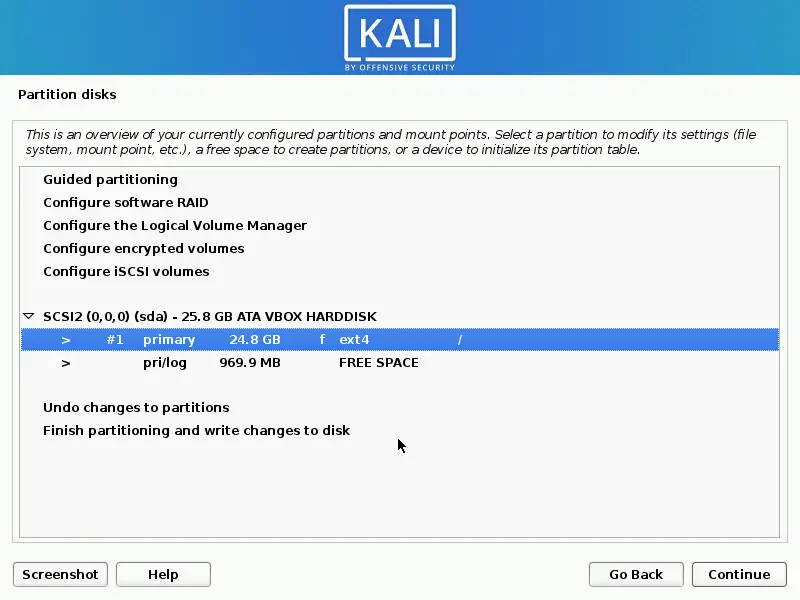
This screen reflects that the disk is now available for work. Select the Free Space option and click Continue.
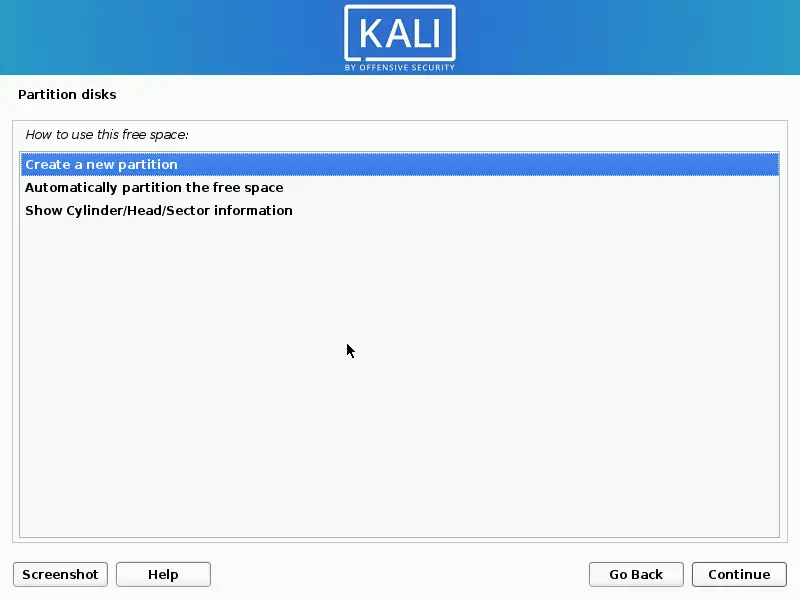
10. Creating the system partition
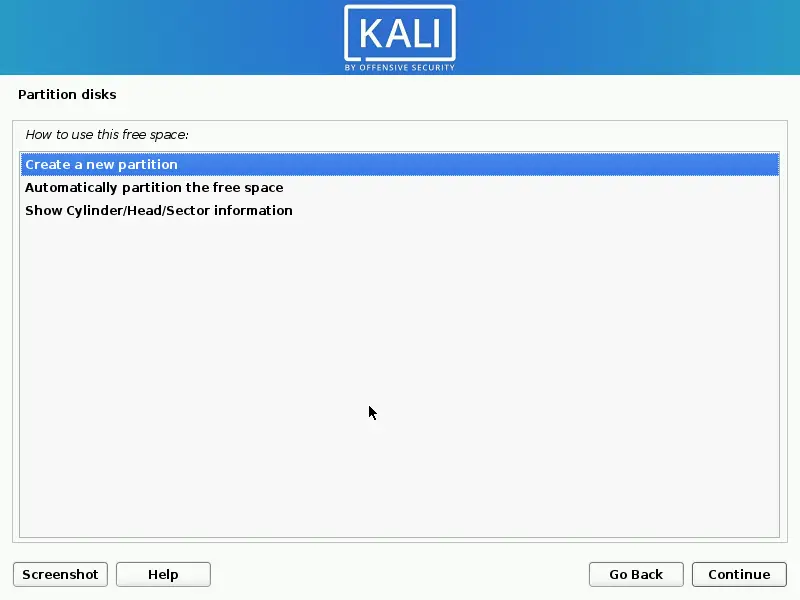
Create a new partition where we will install the system. To do this, choose the first option and click Continue.
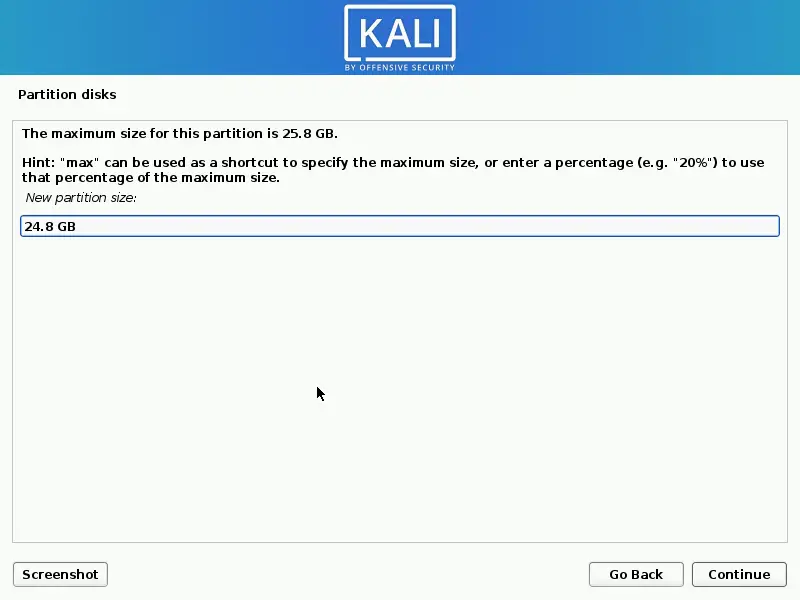
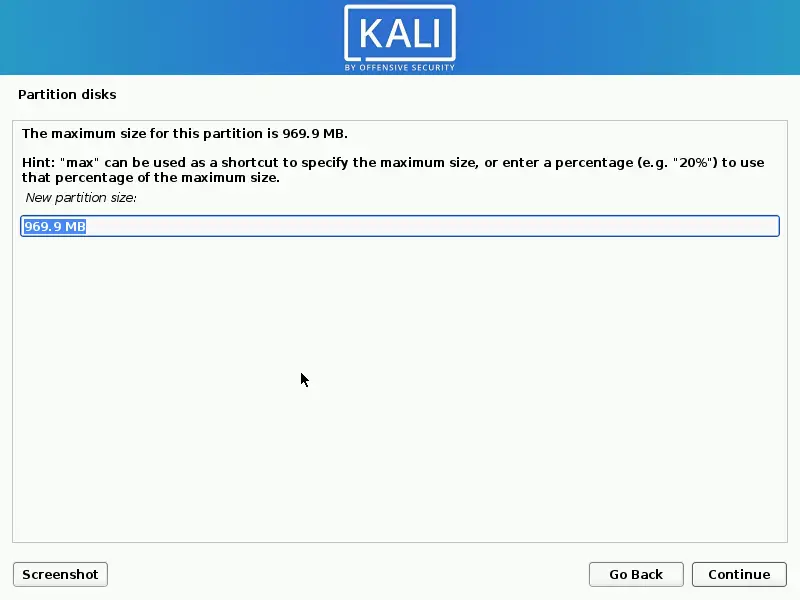
Now choose the size of the partition, in this case, I will create it of 24.8G so that the remaining is for the swap.
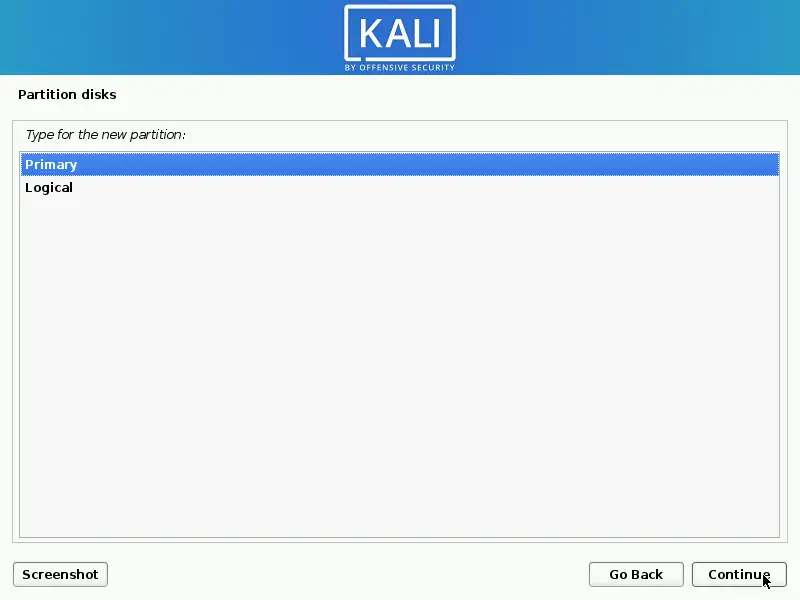
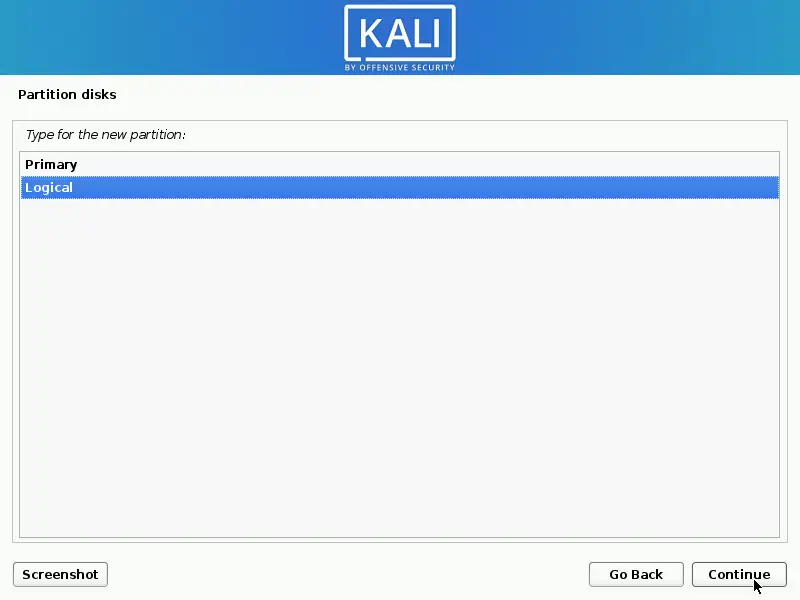
Then select the type of partition, if it will be primary or logical. Choose Primary in this case.
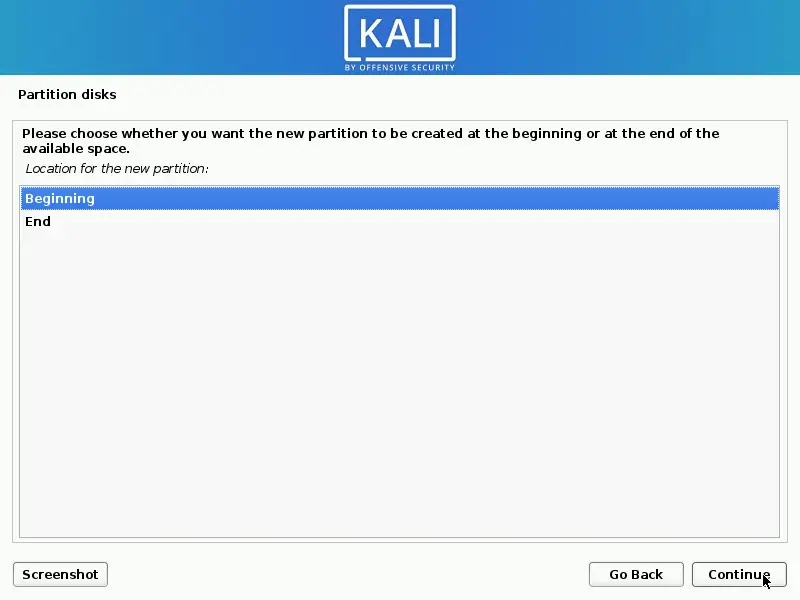
Now choose the location of the partition. Select Beginning and click Continue.
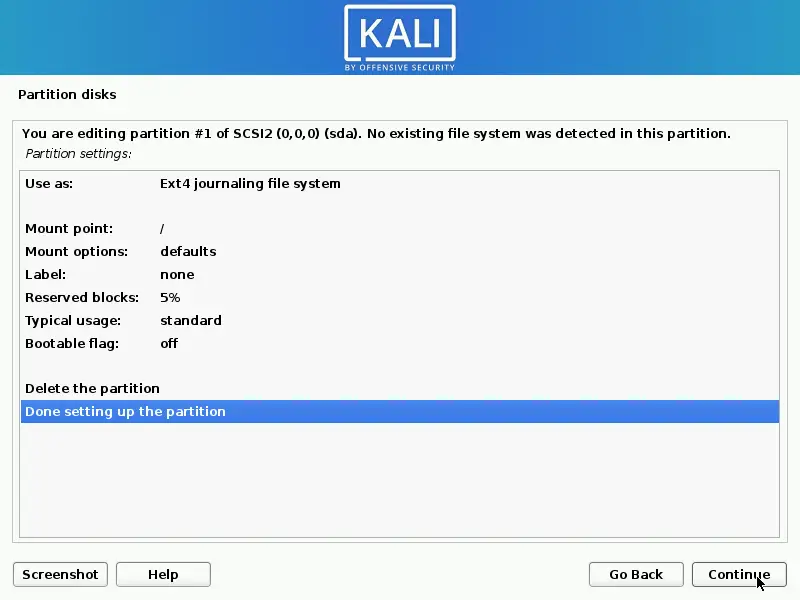
Then, you will have a proposal similar to this correct one. If not, double-click on each option and leave it as in the image. Then, select Done setting up the partition and click Continue.
The disk will look like this.
11. Creating the Swap partition
Now, it is the turn of the Swap partition that Linux uses. So, select the free space and click Continue.
Again, create a partition.
And assign all the remaining sizes. This will automatically define it.
Choose the type Logical and click Continue.
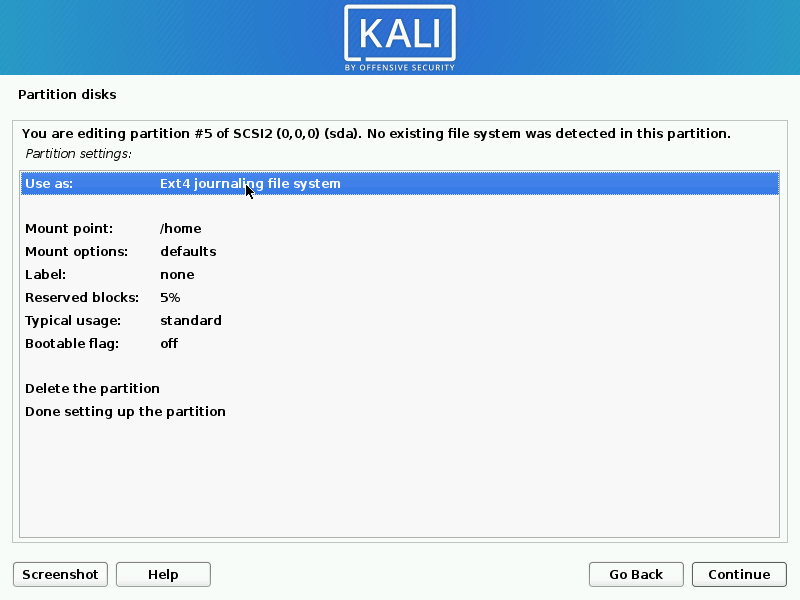
In the partition proposal, in the first field called Use As double click to change the proposal.
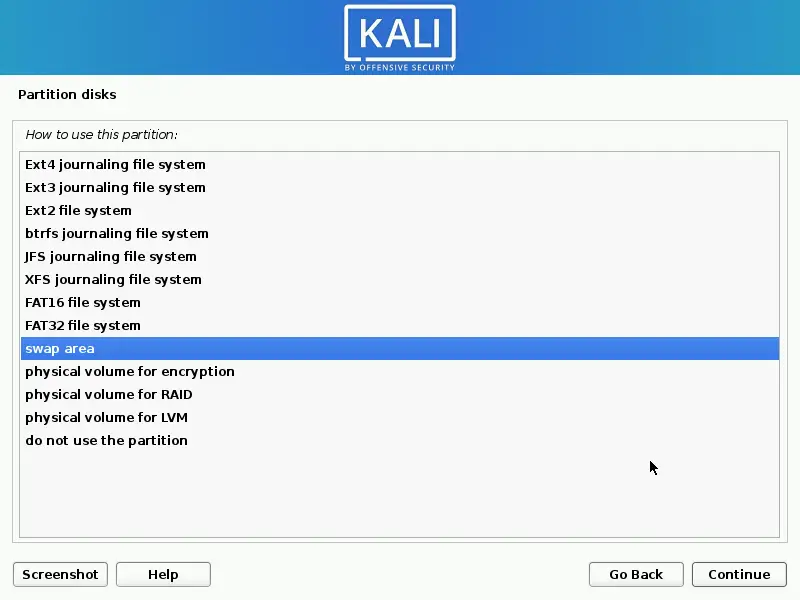
Then, on the screen that appears select Swap Area and clicks on Continue.
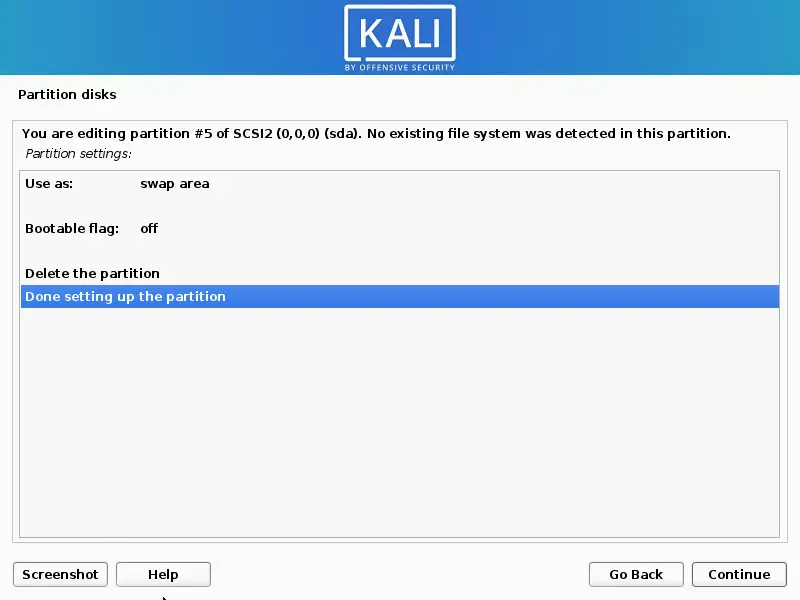
Now see how to change the partitioning proposal. Select Done setting up the partition and click Continue.
This is the final proposal of the disk.
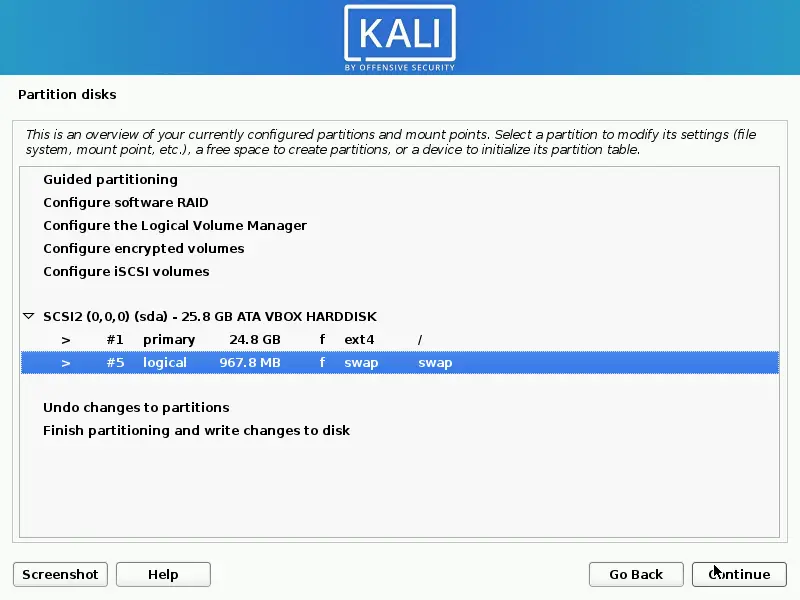
In short, we need an EXT4 file system partition with mount on / and a Swap partition.
Select the Finish Partitioning… option and click Continue.
We will be asked for confirmation because this cannot be reversed. Be careful you could lose information. Select Yes and click Continue.
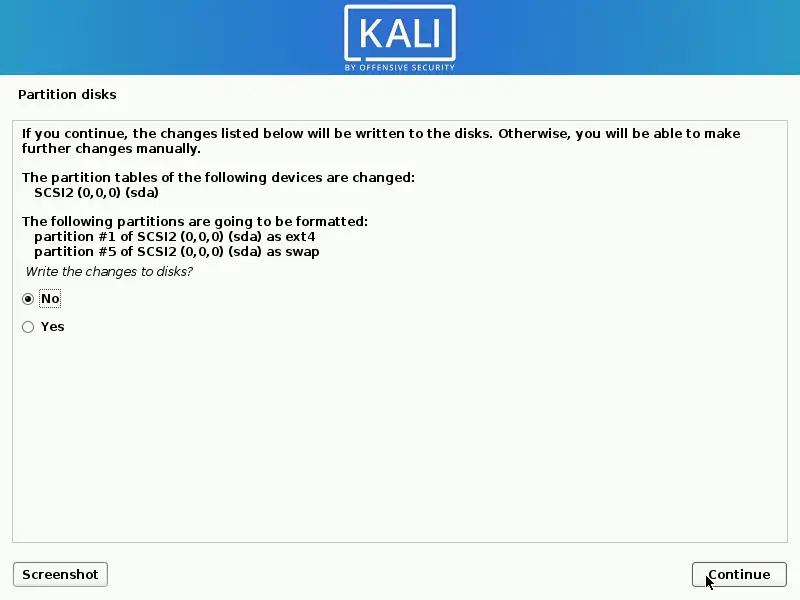
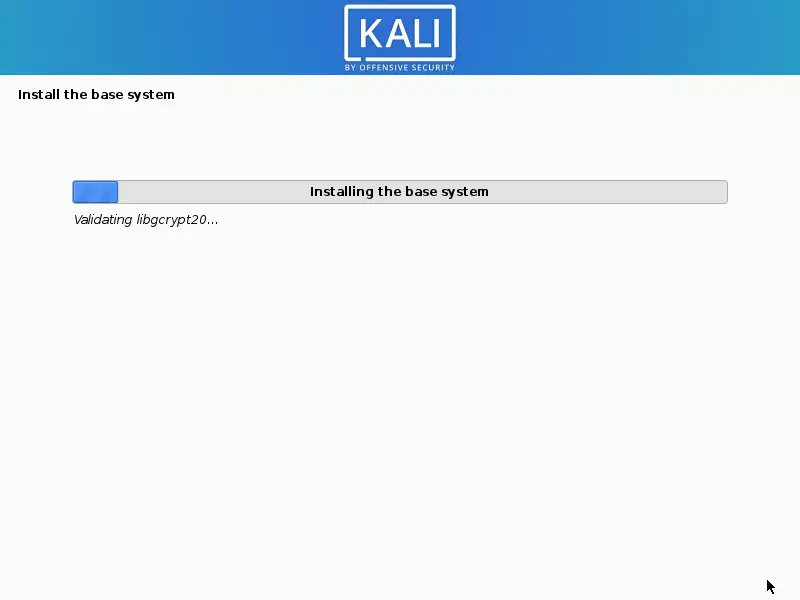
This will start the base system installation process.
12. Continue installation
After the disks are formatted and prepared, the whole process will begin.
13. Select Software
After the base system is installed, a menu will appear where we can select even more packages to be installed.

Once you have chosen the packages, another installation process will follow.
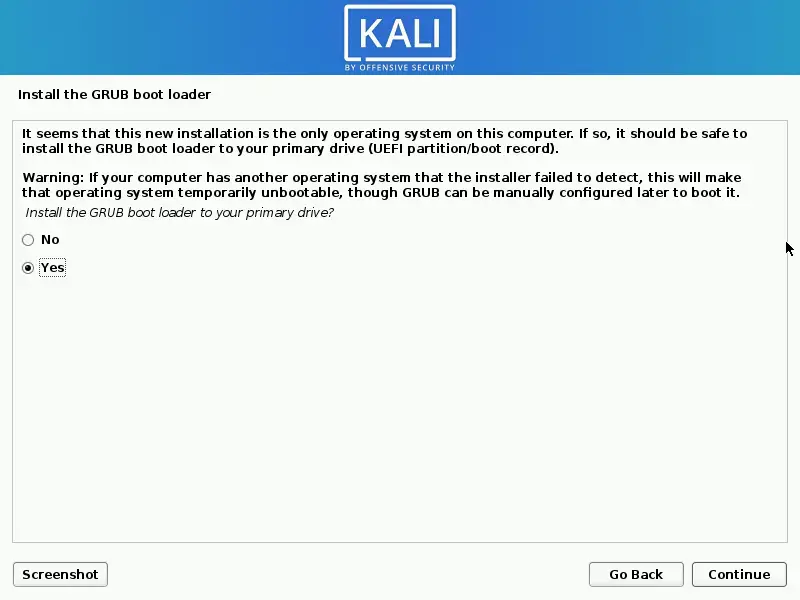
14. Install the GRUB boot loader
Then, you will have to choose whether or not to install the grub that is the boot loader. In my case, I have chosen yes.
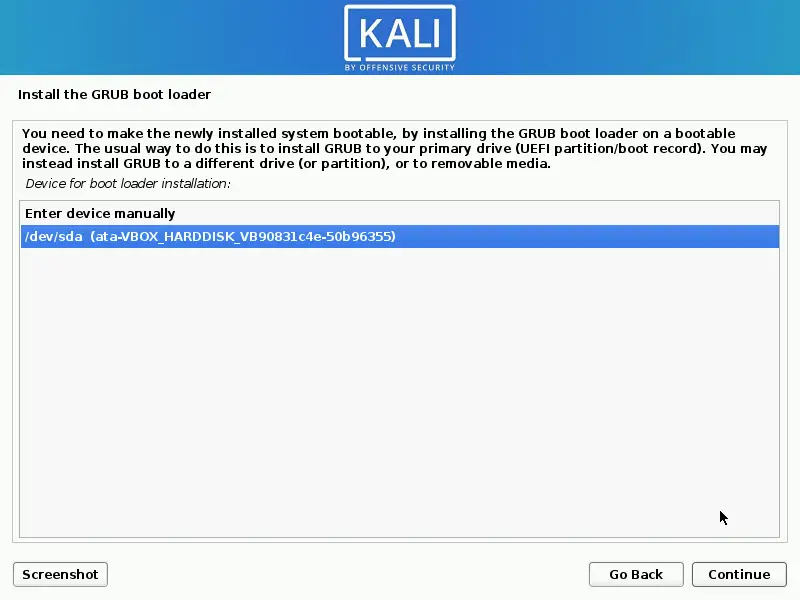
Now you have to choose where to install the grub. The normal way is to do it at the root of the hard disk. Select the hard disk and continue the installation.
15. Finish the installation
If everything went well, you will see a message that the installation was successful.
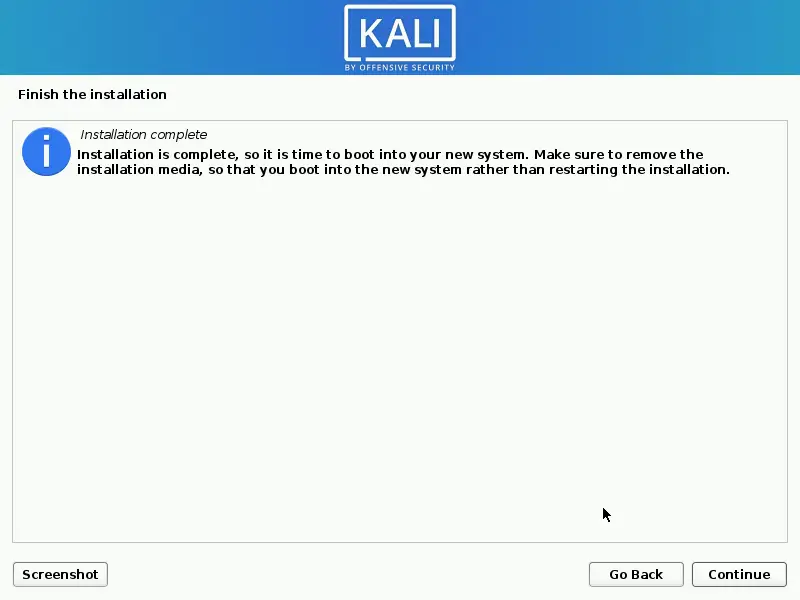
Restart and log in to your new Kali Linux.
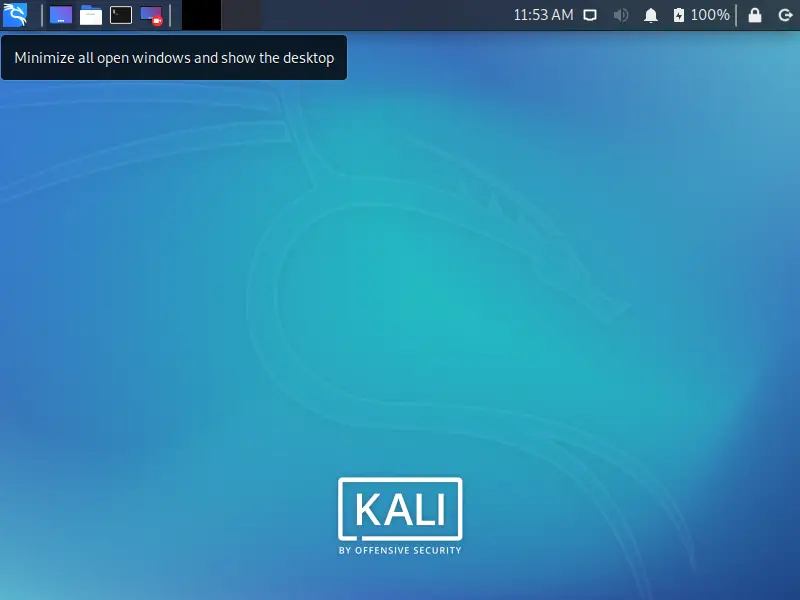
Now you know how to install Kali.
Conclusion
Kali is a distribution focused on security and ethical hacking. If you are preparing for Cyber Security Certification, then learning Kali Linux is a must. So go ahead install it and start learning. You can also install it on a virtual machine to avoid errors.
What do you think about Kali?
Leave us a comment.