Adobe Acrobat Reader is an application that allows you to view, sign, collect and track feedback, and share high-quality PDFs for free. Just like Foxit Reader. However, it also has a paid version that extends this functionality to include password support and the ability to export to Excel.
It is perhaps the most popular PDF viewer among Windows users and it is possible to have it in Ubuntu 20.04. This is especially useful if you get files sent to you from Windows that this application only supports.
Therefore, in this post, we will show you step-by-step instructions on how to install Adobe Acrobat Reader on Ubuntu 20.04.
Install Adobe Acrobat Reader on Ubuntu/Linux Mint
First, open a terminal and download the Acrobat Reader DEB package. You can do it with the help of the wget command.
wget ftp://ftp.adobe.com/pub/adobe/reader/unix/9.x/9.5.5/enu/AdbeRdr9.5.5-1_i386linux_enu.deb -O adobe.deb
This downloads a file called adobe.deb which is the package you need to install.
But, first, add support for the i386 architecture in Ubuntu.
sudo dpkg --add-architecture i386
sudo apt update
And install dependencies with the command
sudo apt install libxml2:i386 libcanberra-gtk-module:i386 gtk2-engines-murrine:i386 libatk-adaptor:i386
Next, install Adobe Acrobat Reader on Ubuntu 20.04
sudo apt install ./adobe.deb
Run Adobe Acrobat Reader from the main menu or by executing
acroread
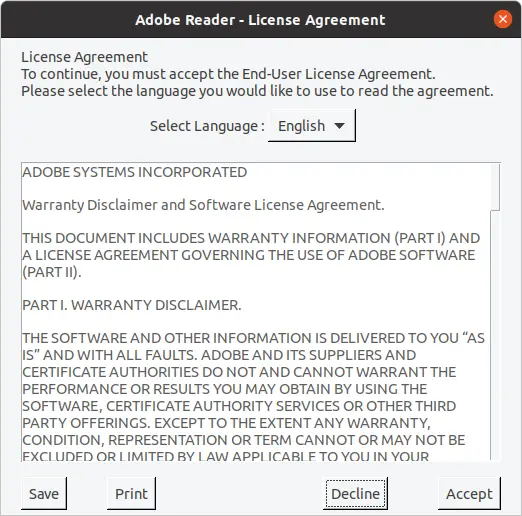
As soon as you open it, you see the licensing terms that you have to accept in order to use the program.
When you do, you see Adobe Acrobat Reader
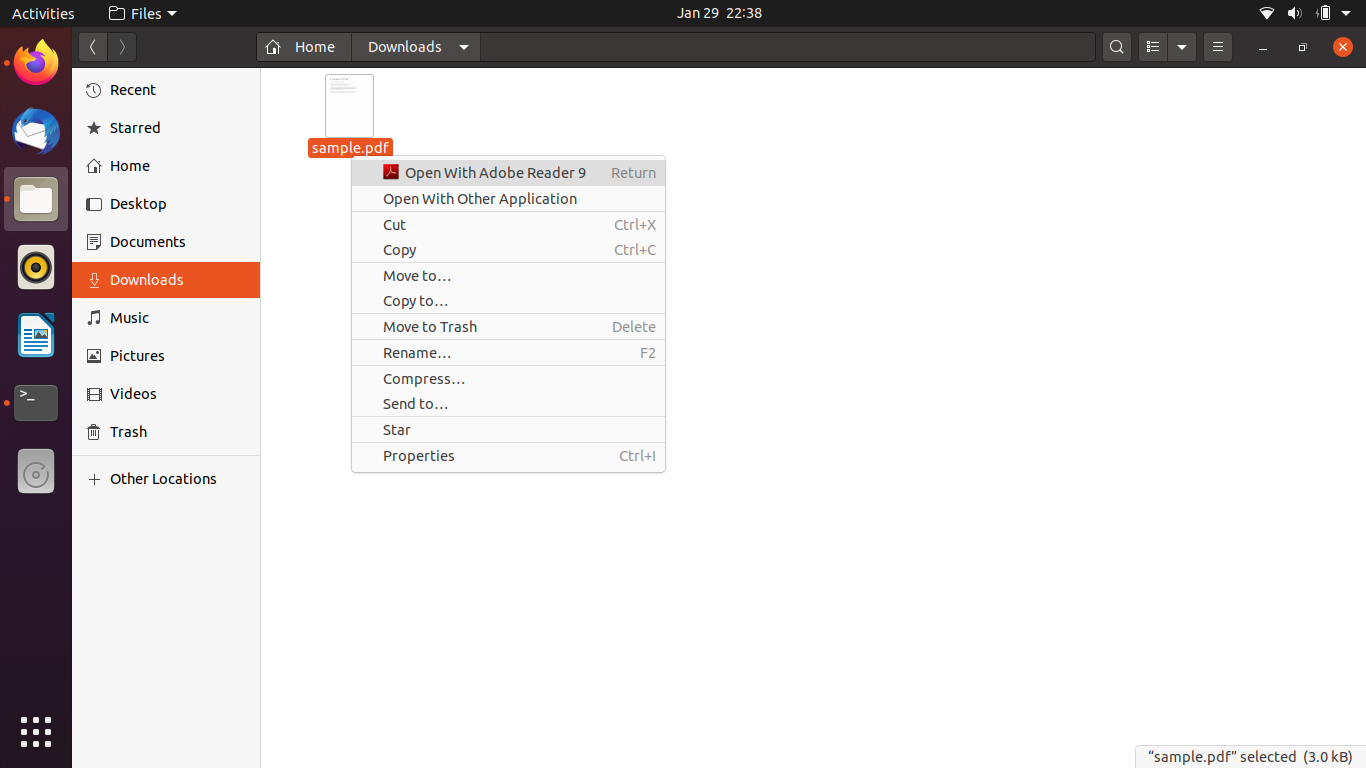
Another option is to open a PDF file from the file browser using the right mouse button.
Note: Adobe’s support for Linux is not good. So much so that this version is quite old compared to the current version for Windows or macOS. So install it only if necessary.
Removing Acrobat Reader on Ubuntu 20.04
If you have finished using the program, you can uninstall it from your system to save disk space.
To do this, simply run
sudo apt autoremove acroread
Then nothing of the program will be left on your system.
Conclusion
Some applications are so popular that we always want to install them on any operating system we use. Probably the best example is Adobe Acrobat Reader which has the reputation of being perhaps the best PDF viewer out there. So in this post, you’ve learned how to install it on Ubuntu 20.04 while we didn’t get the latest stable version due to Adobe’s carelessness, we do have a robust version that can get the job done.
So, do you like Adobe Acrobat Reader, have you used it, or do you prefer other options?
Please leave us a comment and share the post.
Articles without a date is totally useless. This could be decades old and totally wrong.
You are right
Hi. The Adobe Reader 9 appears in the Main Menu, but it does not open. (Therefore, I do not have the opportunity to accept the License Terms.) What do I do?