One aspect that is quite important and useful is learning how to install fonts in an operating system. Current operating systems indeed have some very nice and successful fonts, but there are also many alternatives and many of them are free. So, it is possible to add them to the system to use them in all kinds of projects.
Install fonts on Ubuntu 20.04
First of all, let’s download a font called Cristal that we will use for this example. You can download it using this link or by running:
wget http://dl.dafont.com/dl/?f=crystal -O cristal.zip
Then decompress it with the unzip command or from the file browser.
Installing fonts on a modern system is no big deal and Ubuntu is no exception. So much so that we can do the installation in two ways.
The first is graphically using the tools provided by Ubuntu. The second is manual, which makes it faster and more flexible, although many don’t like to use the terminal.
In any case, you can choose whichever method best suits your needs and preferences.
Method 1: Installing Fonts with the Font Manager
This method, apart from being the easiest, is also one of the most recommended because it limits almost to zero the possibility of making mistakes.
Usually, this font manager for GNOME environments like Ubuntu is not available by default. However, it is easily installable from the official repositories of the distribution.
So, open a terminal and run these couple of commands to install Font Manager
sudo apt update
sudo apt install font-manager
And now you can run it from the main menu.
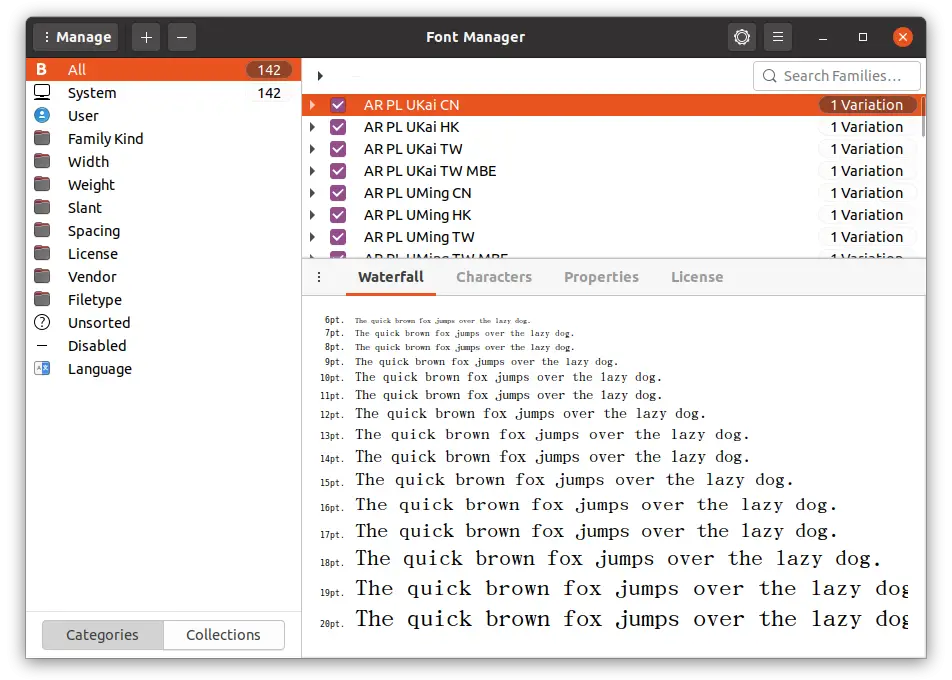
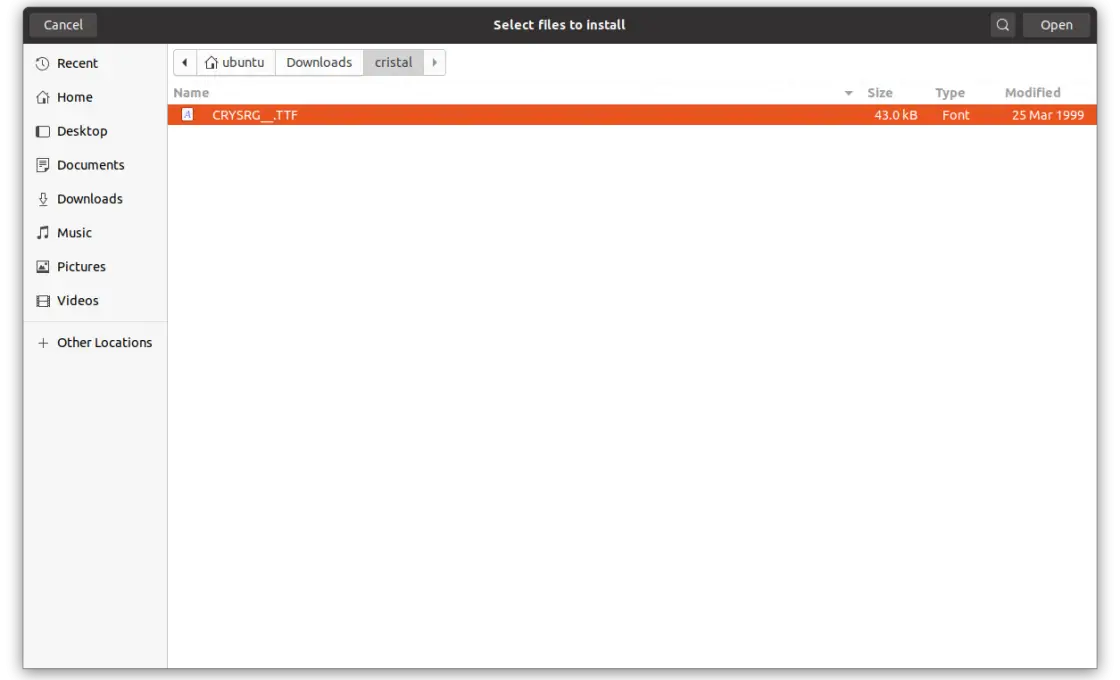
To add a source, it is necessary to click on the + button and locate the TTF file manually.
In this way, it will be installed in the system but only for the user who executes the program.

Method 2: Installing the font manually – Current User
If you don’t like to clutter your system with programs that you might only use once, you can install the fonts manually. In this case, you can choose to make the font available for one user or the whole system.
To install a font for a user, simply copy it to the ~/.fonts directory, which you can also create if it does not exist.
mkdir ~/.fonts/
And then copy the TTF file of the downloaded font into the folder.
cp CRYSRG__.TTF ~/.fonts/
Then you need to refresh the system fonts cache.
sudo fc-cache -f -v
Now if you are the current user, you will be able to use the installed font without any problems.
Method 2-2: Install the Font globally
It is often desirable to make fonts available to all users of the system. In this case, what we have to do is to copy the font file to another location on the system, which is /usr/local/share/fonts/ if it does not exist, we can create it.
sudo mkdir -p /usr/local/share/fonts/
And there copy the TTF file of the font:
cp CRYSRG__.TTF /usr/local/share/fonts/
You also have to refresh the font cache:
sudo fc-cache -f -v
Now you can use the font in any of your programs or projects.
Removing Fonts on Ubuntu 20.04
In case you want to do the reverse process, i.e. remove a font from the system, you can do it via the Font Manager or by deleting the file from the folder where you installed it.
sudo rm /usr/local/share/fonts/[font].TTF
Or
rm ~/.fonts/[font].TTF
After you have done this, simply refresh the font cache and you will have removed the font completely.
sudo fc-cache -f -v
Conclusion
The sources of a system are what allow better visualization of the system. In this simple post, you have been able to notice the different ways we have to install them in Ubuntu 20.04 either for one user or for all.
What are your favorite fonts? Which one do you use? Let us know in the comments. Please share this post.