Imagine being able to share an important secret like a password over the Internet. Sounds dangerous, doesn’t it? However, You can do it securely use a great application made in Python. Today, you will learn how to install Snappass on Ubuntu 20.04.
What is Snappass?
According to the tool’s GitHub profile:
This is a web app that lets you share passwords securely.
Yes, just like that. With Snappass you can share a password via internet with the certainty that it is encrypted using Fernet. So for each password a unique and random key is generated that is never stored, but sent as part of the password link.
This way, the password is secure even if someone accesses the link or the database. It is a marvel and the best of all is that it is free and open source, so you can use it almost without limitations.
Let’s go for it.
Install SnapPass in Ubuntu
SnapPass is not present in the official Ubuntu repositories, but as it is an application made with Python, you can do it without too much difficulty. However, you have to meet some requirements first.
1. Install Redis in Ubuntu
SnapPass has Redis as a dependency, so you have to install it before starting the process. First, open a terminal and make sure that the server is fully updated
sudo apt update
sudo apt upgrade
After this, you can install Redis with the method you like best. In this case, you have to use the version that comes in the official Ubuntu repositories. So, you have to run
sudo apt install redis-serverThen, you have to check if the service is working properly.
sudo systemctl status redis-serverWith Redis working properly, you can continue.
2. Installing PIP on Ubuntu
As SnapPass is an application created with Python, you can take advantage of this and use PIP for the installation. So if you don’t have it installed, then you need to do it.
sudo apt install python3 python3-pip Next, you have to make sure that the path where PIP installs the packages is in the user’s PATH.
nano ~/.bashrcand at the end of the file, you have to add the following:
export PATH=$PATH:/home/user/.local/binSave the changes and close the editor. To apply the changes, you have to close the session and reopen it. Or run.
source ~/.bashrc3. Install SnapPass on Ubuntu
Now you are ready for SnapPass. Using PIP, install it by running:
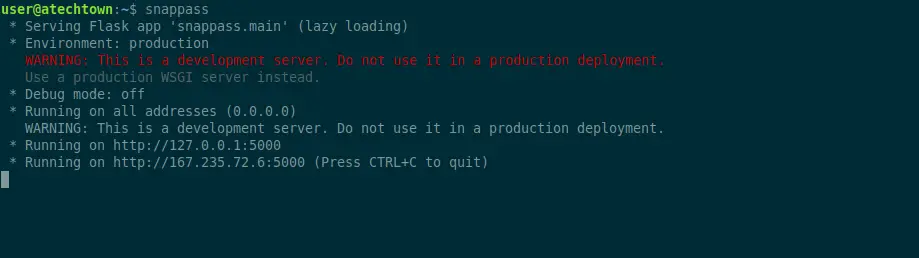
pip install snappassAt the end of the screen output, you will see the following
Successfully installed Flask-2.1.2 Jinja2-3.1.2 MarkupSafe-2.1.1 Werkzeug-2.1.2 async-timeout-4.0.2 click-8.1.3 deprecated-1.2.13 importlib-metadata-4.11.4 itsdangerous-2.1.2 packaging-21.3 pyparsing-3.0.9 redis-4.3.3 snappass-1.6.0 wrapt-1.14.1Now all that’s left is to run it
snappassAnd you will get an output like this
Using SnapPass to share passwords
Now what you have to do is to access your server through a web browser, and you will see this screen
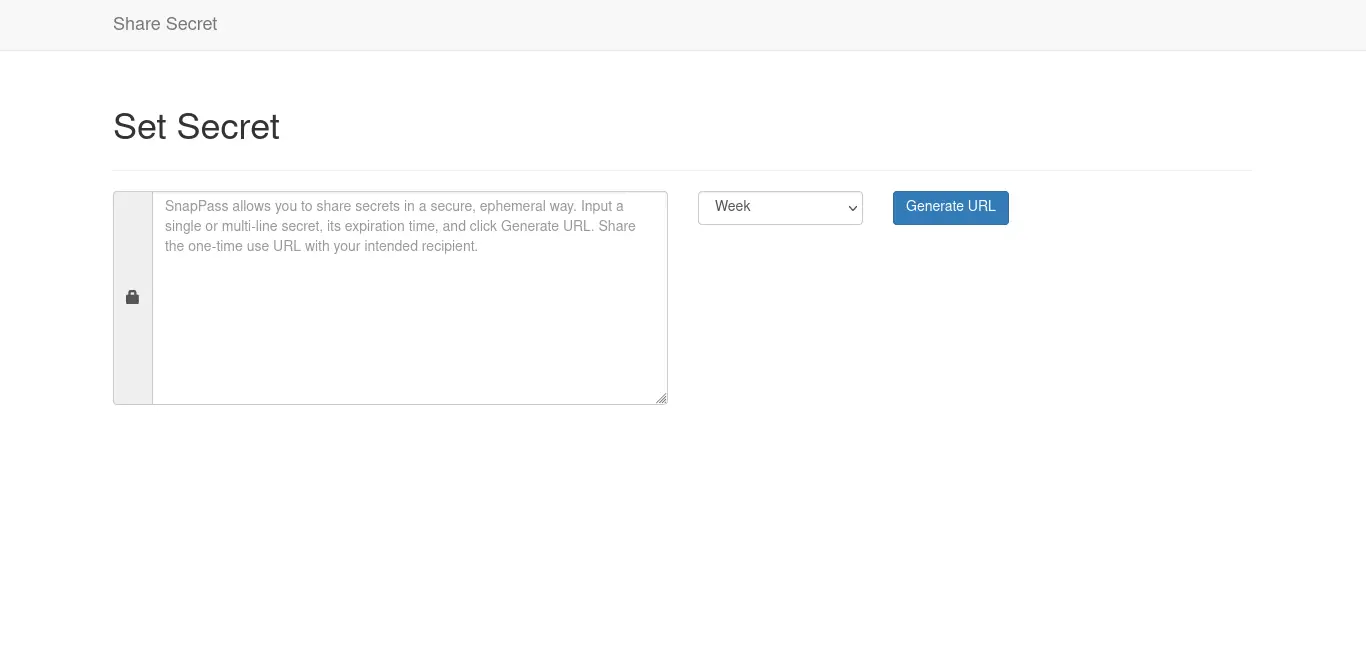
As you can see, the SnapPass interface is easy. You just have to type a text that you want to share as a password, set the link expiration and generate the URL.
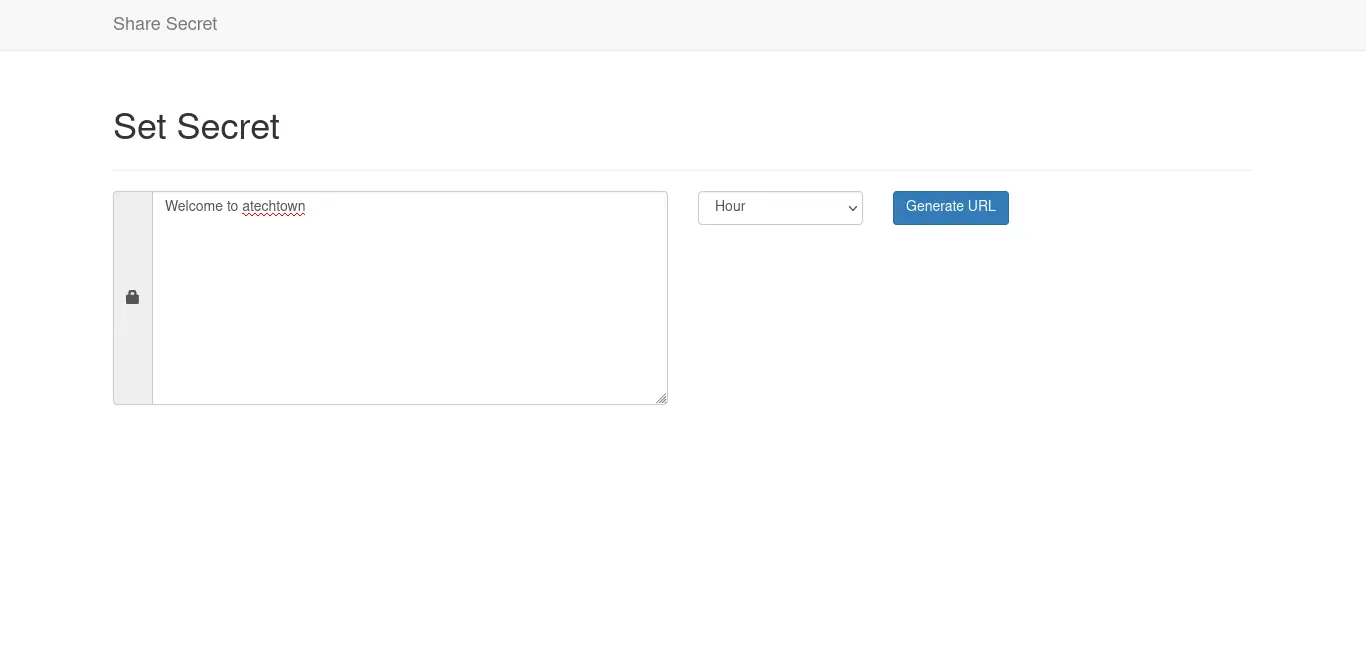
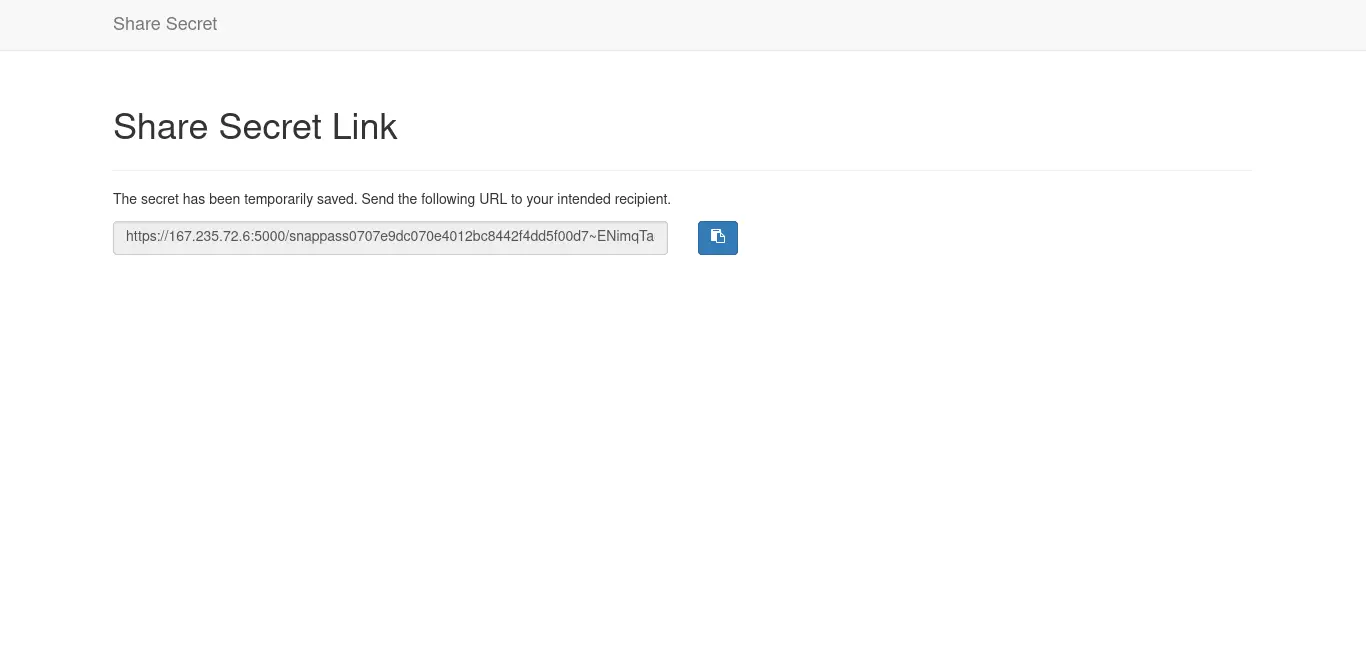
Then, you just need to get it and share it.
Conclusion
Throughout this post, you learned how to install SnapPass. With this application, sharing a secret phrase as a password is possible quickly, easily but above all reliably.
I hope you liked this post and help us to grow by sharing it.