Visual Studio Code has gradually gained great popularity on Linux. This text editor is used by many developers thanks to its ability to install Plugins, but also thanks to its functionalities. That is why I have prepared this post, so you can learn how to install Visual Studio Code in Manjaro.
Although on Linux we are always served with applications for developers, it is also true that a little competition benefits the collective. That is why Microsoft decided to release versions of Visual Studio Code for Linux. This has been a revolution because we are talking about one of the best advanced text editors out there.
In short, Visual Studio Code is a source code editor developed by Microsoft for Windows, Linux, macOS, and Web. This text or code editor includes support for debugging, integrated Git control, syntax highlighting, smart code completion, snippets, and code refactoring. That’s why you are in the presence of one of the best in its entire area.
In addition to all the functions mentioned above, Visual Studio Code includes support for many programming languages and has many plugins that further increase the possibilities with the tool.
Because of all this, many developers and enthusiasts use it every day for their tasks. Today, you will be able to install Visual Studio Code on such a popular Linux distribution as Manjaro.
Let’s get started.
Installing Visual Studio Code on Manjaro Linux
The process of installing Visual Studio Code on Manjaro is simple, although it involves several steps. First, you need to upgrade the entire system
sudo pacman -SyuThen, you need to install some necessary packages from the official repositories:
sudo pacman -S --needed git base-develThen, download the package compilation instructions:
git clone https://aur.archlinux.org/visual-studio-code-bin.gitThis will download a set of files had to install Visual Studio Code. Access the generated folder:
cd visual-studio-code-binNow thanks to the makepkg command perform the package build:
makepkg -siDuring the process, you will be asked to confirm the installation.
If there are no errors, you can run Visual Studio from the main menu.
Option 2 to install Visual Studio Code: Using snap
Although on distributions like Ubuntu or Linux Mint I don’t usually recommend Snap unless necessary, on others like Manjaro, it is one of the easiest and most stable options to get applications that are not in the official repositories.
If you don’t have snap, then you can install it with this command
sudo pacman -S snapdThen, you have to enable and start its service
sudo systemctl enable --now snapd.socketThen create a symbolic link to be able to run the applications installed with snap without problems.
sudo ln -s /var/lib/snapd/snapd/snap /snapNow install the core package with snap
sudo snap install coreFinally, install Visual Studio Code:
sudo snap install code --classic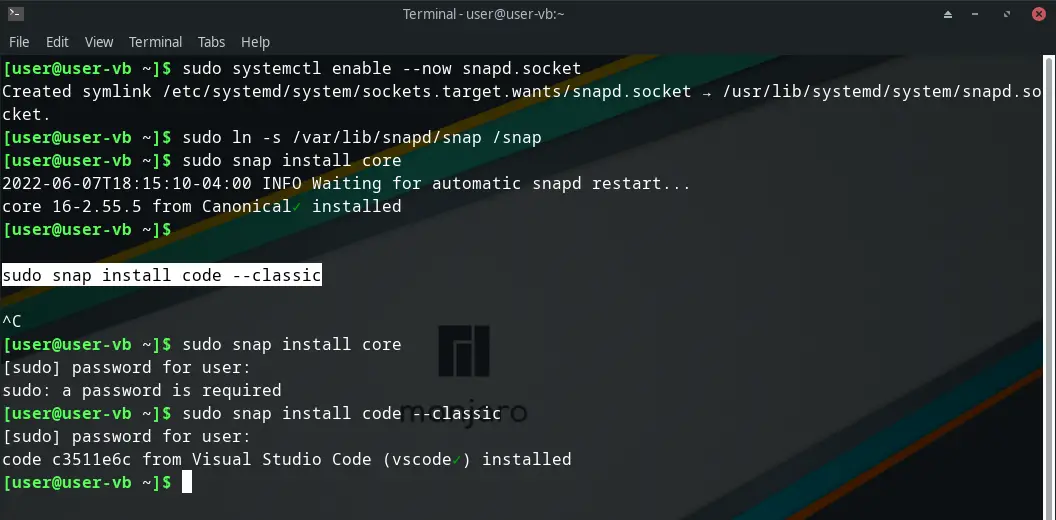
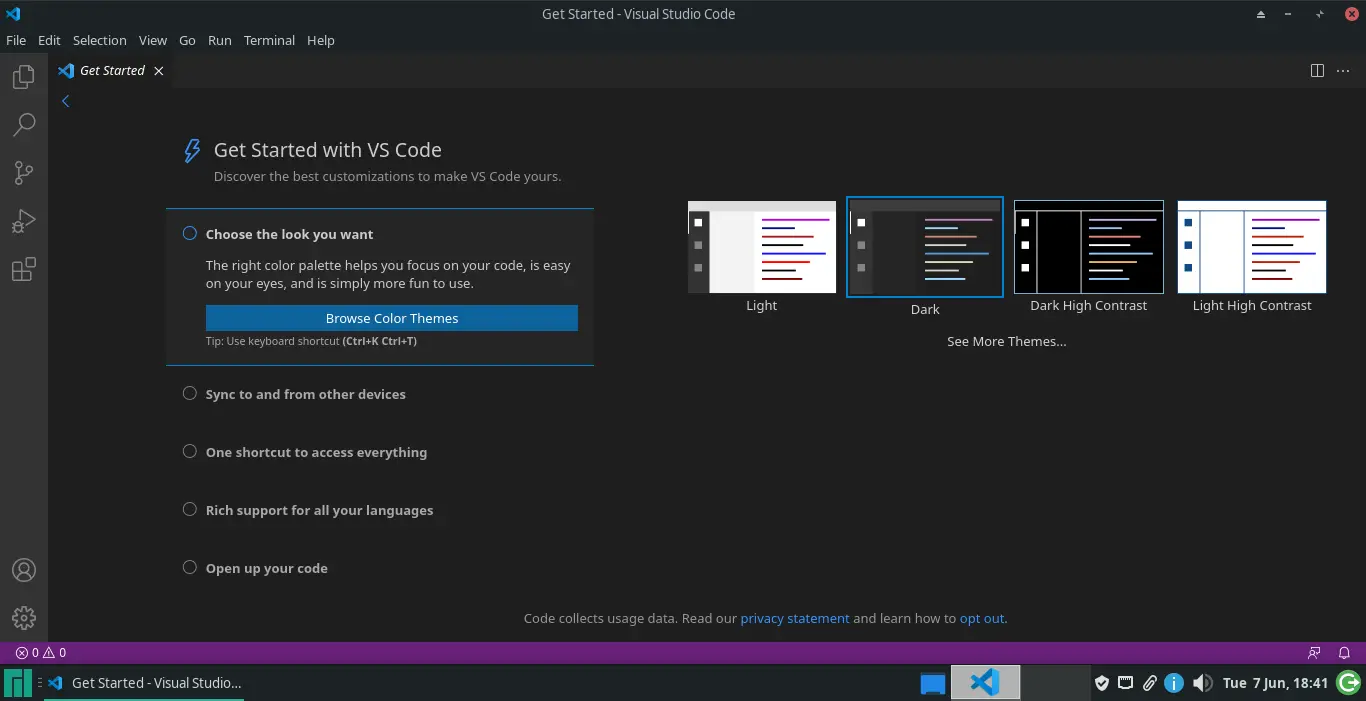
It only remains to run it from the main menu.
Uninstalling Visual Studio Code
If you no longer want to use Visual Studio Code, then you can remove it from the system. So, If you installed it using the first method, then just run.
sudo pacman -R visual-studio-code-binIf you used snap for this purpose, then all that is left to do is run
sudo snap remove codeThat’s all.
Conclusion
In this post, you learned how to install Visual Studio Code on Manjaro quickly and easily. I also showed you how to install it using two different methods. I hope you liked the post and help us to keep growing by sharing the post.