The first thing we are going to think if we talk about web servers is Apache and Nginx. And it is that these two web servers are the most used around the world thanks to the speed, stability, and flexibility that both provide. However, there are other solutions that we have to consider. Today, you will learn how to install Lighttpd on Linux Mint 20.
What is Lighttpd?
Before we start, it’s worth telling you a bit about Lighttpd. In a nutshell, it is a secure, fast and flexible web server that is optimized for high-performance environments. One of its main advantages is that it consumes very few resources compared to other web servers, and is especially fast for running AJAX applications.
As it could not be otherwise, it is open source, and we can use it in almost any production environment thanks to its license. Finally, it is important to know that Lighttpd is available for many Unix-based operating systems, such as Linux and its different distributions.
In summary, if you like a fast and resource-efficient web server, don’t hesitate and choose Lighttpd.
If you want additional information about Lighttpd, I recommend you to visit its website or directly the official documentation of Lighttpd.
Install the Lighttpd Server on Linux Mint
Linux Mint is a derivative of Ubuntu, which in turn has one of the most essential package repositories on Linux. This means that Lighttpd is present in these repositories, so you can do the procedure without problems.
So, open a terminal or connect via SSH to your server
ssh [user]@[your-server]
Then, make sure that Linux Mint is updated
sudo apt update
sudo apt upgrade
Now just run this command to install Lighttpd
sudo apt install lighttpd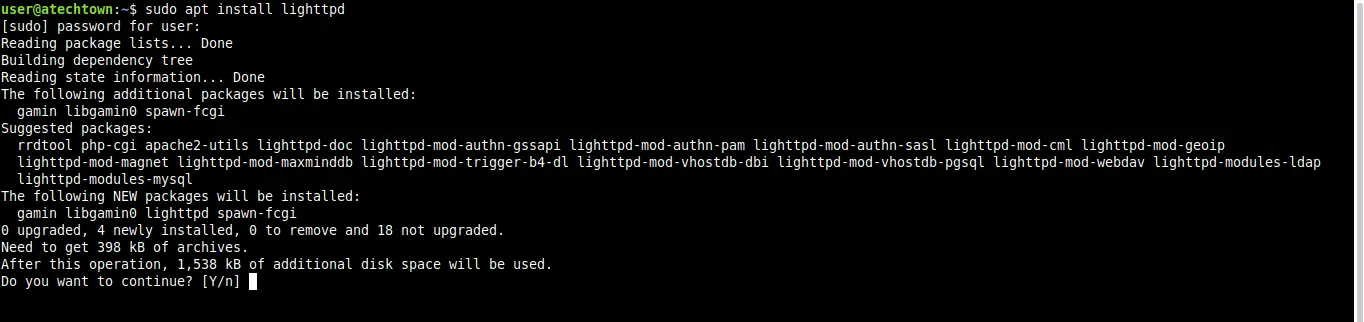
You can also check the version that has been installed
lighttpd -v
lighttpd/1.4.55 (ssl) - a light and fast webserver
This is enough.
Configuring Lighttpd in Linux Mint
Once you have installed the web server, you need to start it with the systemctl command
sudo systemctl start lighttpdThe next step you need to do is to enable it to start up with the system
sudo systemctl enable lighttpdFinally, you can check the status of the service to make sure that everything is in order:
sudo systemctl status lighttpdIf everything is OK, you will see a screen output like this:
● lighttpd.service - Lighttpd Daemon
     Loaded: loaded (/lib/systemd/system/lighttpd.service; enabled; vendor preset: enabled)
     Active: active (running) since Mon 2022-06-06 23:44:45 UTC; 1min 38s ago
   Main PID: 3395 (lighttpd)
      Tasks: 1 (limit: 4556)
     Memory: 1.3M
     CGroup: /system.slice/lighttpd.service
             └─3395 /usr/sbin/lighttpd -D -f /etc/lighttpd/lighttpd.conf

Jun 06 23:44:45 imaginelinux systemd[1]: Starting Lighttpd Daemon...
Jun 06 23:44:45 imaginelinux systemd[1]: Started Lighttpd Daemon.
The next step you have to do is to open the ports in the firewall. This is so the system will accept requests on ports 80 and 443.
sudo ufw allow 80/tcp
sudo ufw allow 443/tcp
Now access with a web browser to http://localhost and you should see this image:
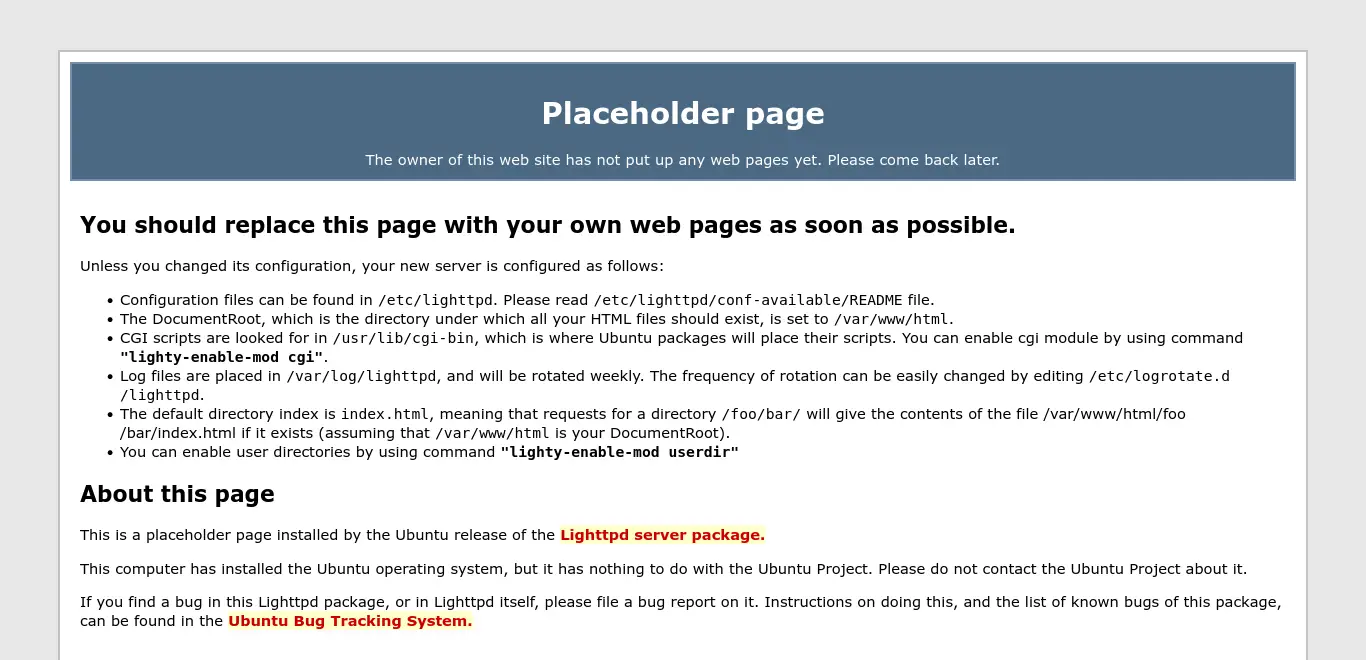
So, Lighttpd is installed and working.
Enable PHP support in Lighttpd
If you are going to have a server with Lighttpd, you will most likely need PHP. Therefore, in this section, you will learn how to enable PHP support for Lighttpd.
First, install PHP and some of its modules on the system:
sudo apt install php7.4 php7.4-fpm php7.4-mysql php7.4-cli php7.4-curlNext, you need to edit the PHP configuration file.
sudo nano /etc/php/7.4/fpm/pool.d/www.confAnd locate the line that starts with listen and leave it like this:
listen = 127.0.0.1:9000Save the changes and close the file.
Now you have to edit another PHP configuration file.
sudo nano /etc/lighttpd/conf-available/15-fastcgi-php.confReplace the lines
"bin-path" => "/usr/bin/php-cgi",
"socket" => "/var/run/lighttpd/php.socket",
For these:
"host" => "127.0.0.1",
"port" => "9000",
Save the changes and close the editor.
It only remains to enable the modules that will allow integrating PHP and Lighttpd:
sudo lighty-enable-mod fastcgi
sudo lighty-enable-mod fastcgi-php
And restart the services for the configurations to take effect:
sudo systemctl restart lighttpd php7.4-fpmThis should be enough. However, it is a good idea to test PHP.
So, create a new file and add some PHP code
sudo nano /var/www/html/test.phpFor example:
<?php
phpinfo();
?>
Save the changes and close the editor.
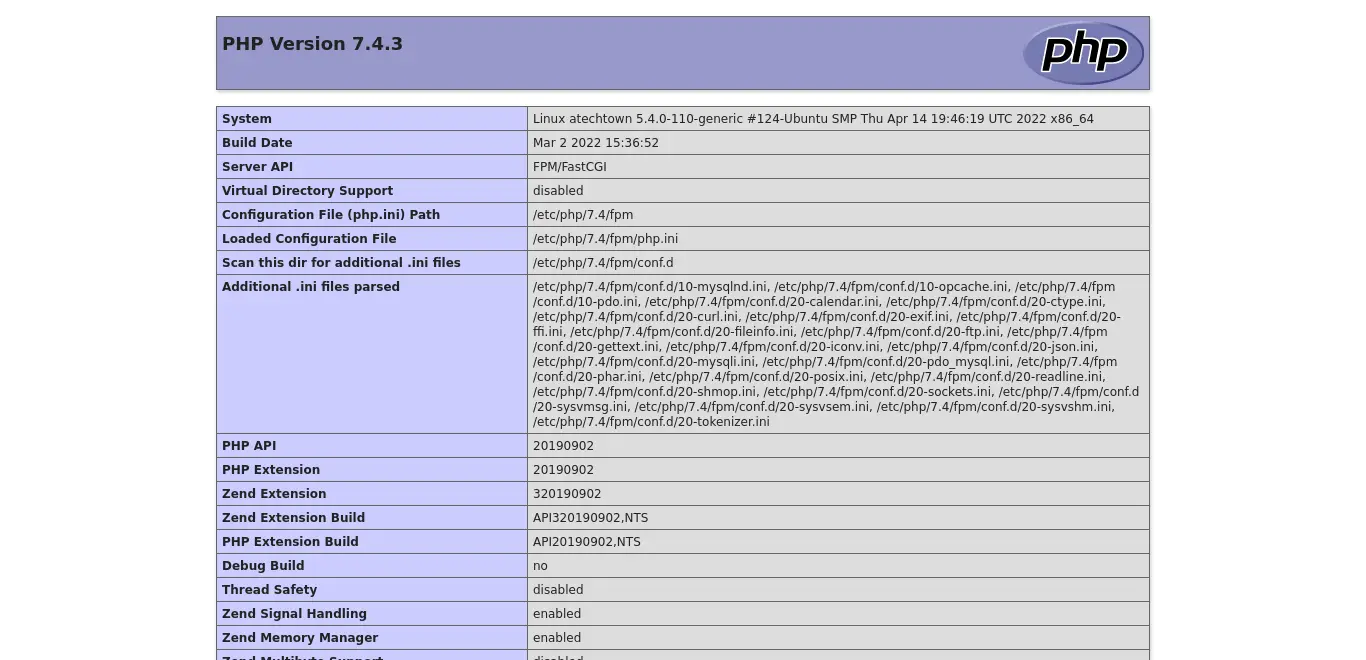
Now open the file from the web browser, for example, http://localhost/test.php.
Conclusion
Thanks to this post, you learned how to install Lighttpd on Linux Mint. I hope you liked the post, so you can get started with this great web server focused on speed and resource efficiency.