Visual Studio Code is a powerful open-source text editor created by Microsoft. It is so powerful that many developers use it to write code in languages such as PHP, HTML, or Python. It has Git integration, syntax highlighting, integrated terminal, and a large number of plugins that even improve the application.
One of the best things about the program is that it is cross-platform. That is, we can install it on any operating system we want. And this includes the great Ubuntu 20.04.
This tutorial presents you with two different ways to achieve the goal. You don’t have to do both, just follow the one you like best. So, let’s start.
Install Microsoft Visual Studio Code using snap
Visual Studio Code is available as a Snap package. This makes the installation quite easy to do.
Snap packages have the main advantage that they are self-contained, i.e. there is only one package for the program and its dependencies. Although it is also true that it increases the size of the installation.
For more information about Snap packages, read our post:
So you like Snap packages, this could be the right method.
Open a terminal from the main menu or by pressing CTRL + ALT + T
When the terminal has been started, run the following command:
sudo snap install --classic code
And that’s enough. It will start the download and installation process and you will quickly have the program accessible from the main menu.
Install Visual Studio Code using the official repository
The other method is to use the repository offered by Microsoft. This method has the main advantage that it is very easy to update the program because it will be done together with the rest of the system.
On the other hand, DEB packages are still lighter than snap packages. This can become important on computers with little hard disk space.
So, open a terminal and install some packages needed to add the repository.
sudo apt install software-properties-common apt-transport-https wget
Now import the GPG key from the repository for Ubuntu to recognize:
wget -q https://packages.microsoft.com/keys/microsoft.asc -O- | sudo apt-key add -
Then, add the repository by running:
sudo add-apt-repository "deb [arch=amd64] https://packages.microsoft.com/repos/vscode stable main"
Refresh APT:
sudo apt update
And finally, install it by running the following command:
sudo apt install code

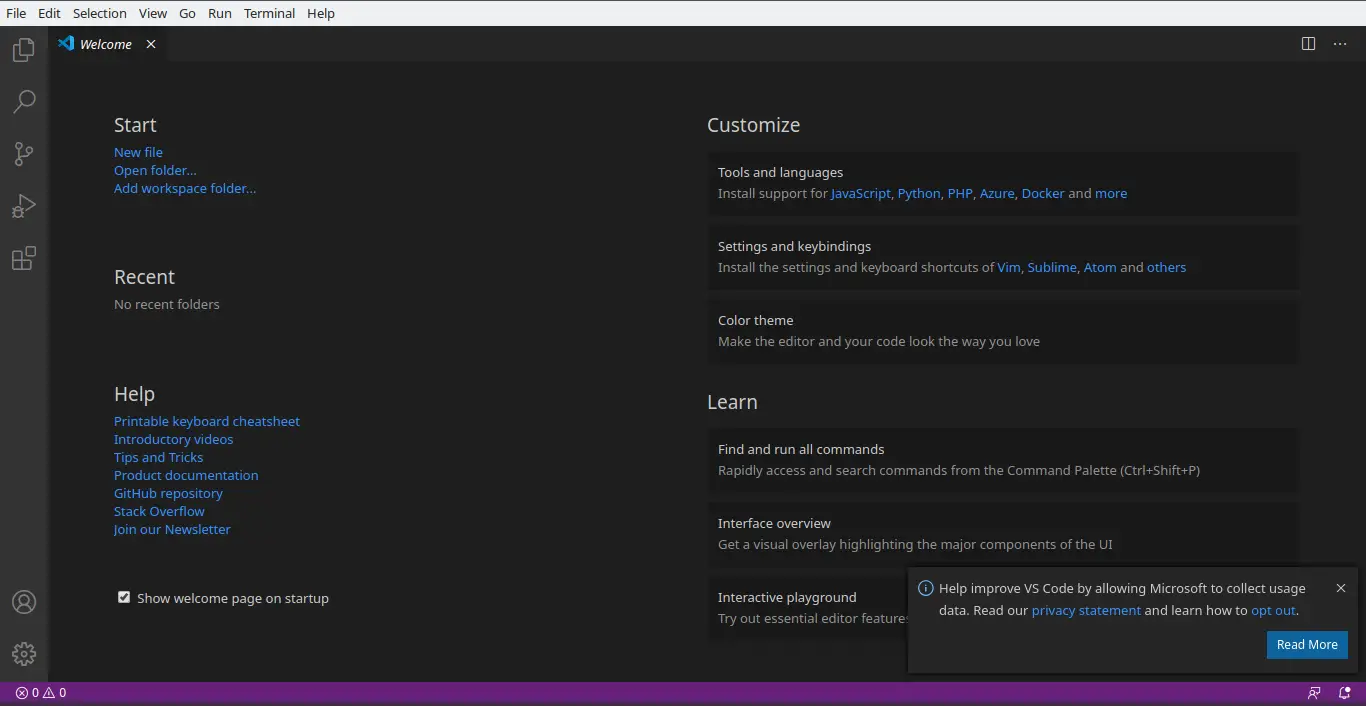
When finished, run it from the main menu.
The main advantage of using this method is that it makes it very easy to update the program. Just run it:
sudo apt update
sudo apt upgrade
And so Visual Studio Code will be updated along with the rest of the programs in the system.
Congratulations!
Conclusion
Throughout this guide, you have learned two methods to install this wonderful program on Ubuntu 20.04. Each of them with its advantages and disadvantages but in the end brings us this great program in our Ubuntu.
On the other hand, this program is also the bet of many developers for many programming languages. Therefore, it is convenient to know how to install it.