At present, it is not possible to imagine application development without a version control system. Although there are several very good ones, the most used and popular is one created by Linus Torvalds. So, installing Git on Ubuntu 20.04 is essential if you’re a developer who wants to create interesting things.
GIT
Git is the most popular version control system today. It is also one of the most popular and widely used tools for developers.
A version control system allows you to monitor and track the various stages of software development. Besides this, a version control system stands out for allowing the incorporation of development branches.
In this sense, Git has always stood out for its power and flexibility. So it is possible to create a local or remote repository by facilitating cooperation between users. Also, it has third-party applications that make it even easier to use.
Every developer needs to have GIT, and if you add Ubuntu 20.04 to that, you’ve already gone part of the way.
Thanks to the flexibility of Linux, Git can be installed on Ubuntu 20.04 in several ways. In this post, you will learn 2 ways to do it. Remember, you do not have to use both methods just one.
Installing Git on Ubuntu 20.04
The first way to install Git on Ubuntu 20.04 is through the official distribution repositories.
First, open a terminal from the main menu or start an SSH session and refresh APT.
sudo apt update
When the process is over, you can search for Git on the repositories.
sudo apt search git
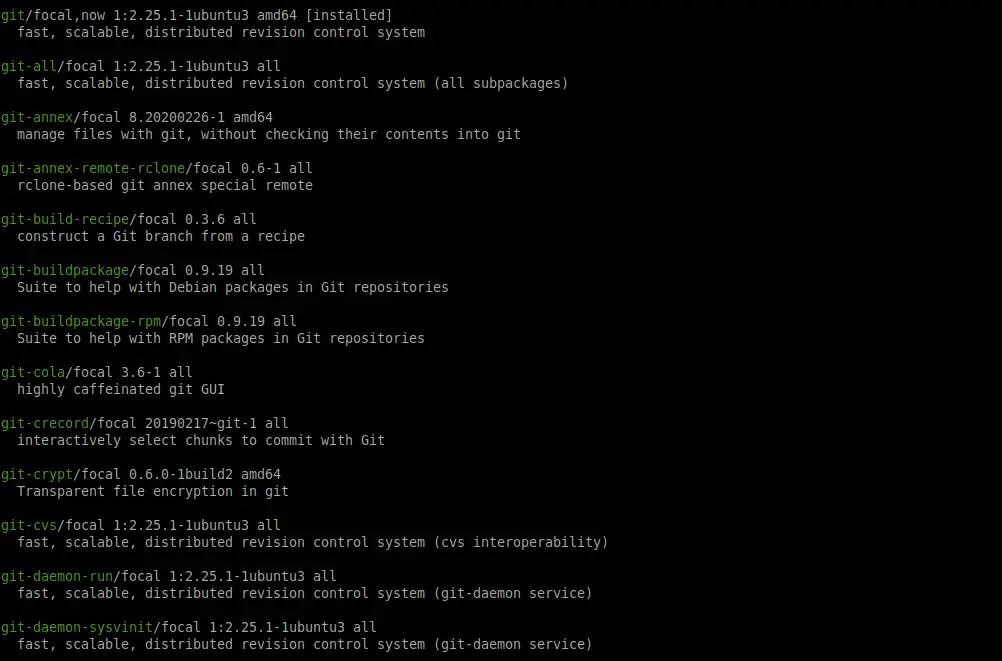
And there you’ll see many GIT-related packages such as plugins and third-party applications. To install GIT just run the following command:
sudo apt install git
And there the process will begin.
Once the process is finished, you can check the installed version.
git --version
git version 2.25.1
And then you can start using Git.
Get the latest version of GIT using the PPA
GIT has a quite active development so they frequently release new versions. So to have the latest stable version available, you need to add the GIT PPA repository for Ubuntu 20.04
The procedure is quite simple. First, add the repository.
sudo add-apt-repository ppa:git-core/ppa

This same repository will update APT. So during the process, you will see updated information downloaded from the system.
At the end of the process, you can install GIT.
sudo apt install git
And finally, check the installed version.
git --version
git version 2.28.0
This equally easy to do method is important if we want to take advantage of the new features of each GIT release.
Conclusion
Through this post, you’ve learned something about Git. This version control system is so indispensable in professional application development that it’s almost mandatory to install it. And that’s something you learned today.
Also, you can read about the best GIT clients:
Now it’s up to you to do the rest.