RabbitMQ is a software that acts as a Message Broker or, in other words, the place where we publish messages when we want to have asynchronous communication in our application. With it, you can define queues, and applications can connect to those queues and transfer/read messages in them.
Yes, it is possible to see RabbitMQ as an intermediary whose job is to make sure that the messages that a producer sends are routed to the right consumer. That is why it becomes very necessary in environments where there are too many applications and where it is required to centralize all communications.
Let’s go.
RabbitMQ Installing in Ubuntu 20.04
Before starting with the process, you have to make sure that the server has no other programs included. That is to say that it is a clean installation of the system.
Besides this, RabbitMQ consumes resources according to the number of messages and nodes added. However, it should be powerful to avoid risks.
Finally, you need sudo or root access to complete this tutorial.
Install Erlang on Ubuntu 20.04
Erlang is a programming language used to build massively scalable soft real-time systems with requirements on high availability. This language is required for you to install RabbitMQ on the system. So installing Erlang will be the first step of this post.
So, open a terminal or connect via SSH and update the whole system
sudo apt update
sudo apt upgrade
Next, you have to add the Erlang repository for Ubuntu 20.04. But first, add the GPG key of it to the repository.
curl -fsSL https://packages.erlang-solutions.com/ubuntu/erlang_solutions.asc | sudo gpg --dearmor -o /etc/apt/trusted.gpg.d/erlang.gpgNext, add the repository:
echo "deb https://packages.erlang-solutions.com/ubuntu $(lsb_release -cs) contrib" | sudo tee /etc/apt/sources.list.d/erlang.listRefresh the repositories with APT:
sudo apt updateAnd now install Erlang:
sudo apt install erlangWith Erlang already in the system, you can continue with the post.
Installing RabbitMQ on Ubuntu 20.04
The best way to install RabbitMQ on the system is to do it using the official repositories of the application for our system.
So add the RabbitMQ repository with the following command:
curl -s https://packagecloud.io/install/repositories/rabbitmq/rabbitmq-server/script.deb.sh | sudo bashRefresh APT, again:
sudo apt updateAnd now install RabbitMQ with the following command:
sudo apt install rabbitmq-server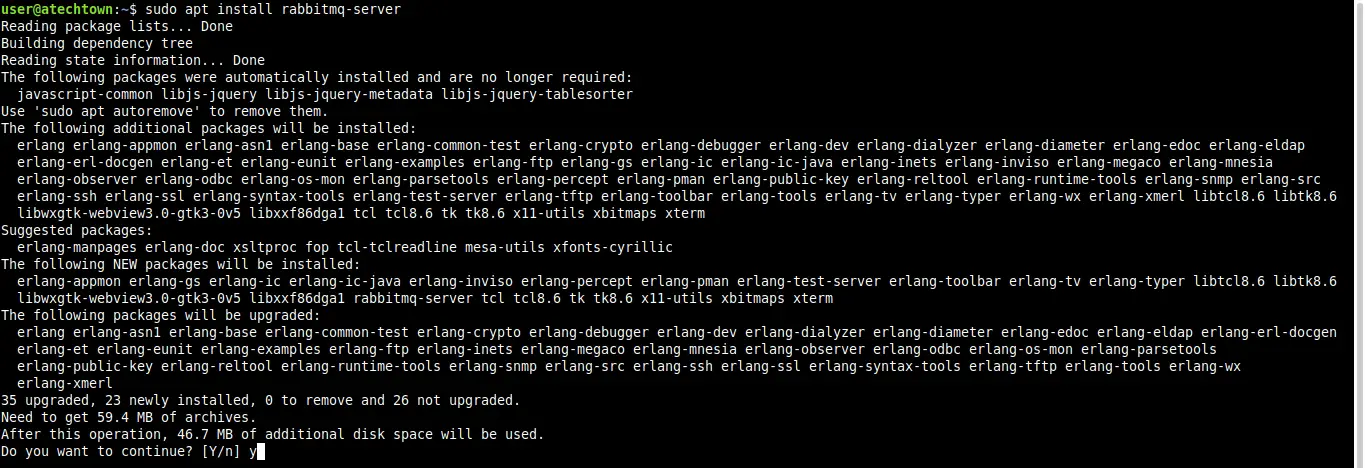
As soon as the installation is finished, you can enable the service to start the application:
sudo systemctl enable rabbitmq-server --nowSample Output:
Synchronizing state of rabbitmq-server.service with SysV service script with /lib/systemd/systemd-sysv-install.
Executing: /lib/systemd/systemd/systemd-sysv-install enable rabbitmq-server
And check the status of the service:
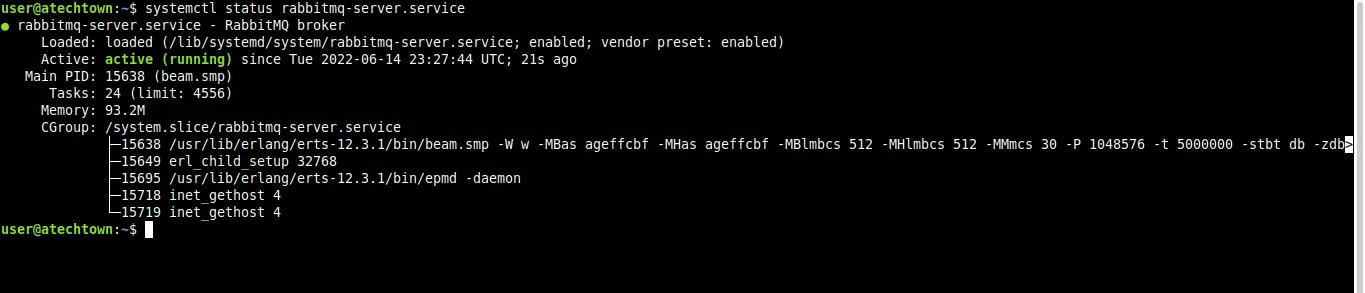
systemctl status rabbitmq-server.service.You will get an output screen like this:
Configuring RabbitMQ
The first thing you have to do is to enable the web interface to better manage it. This can be done like this:
sudo rabbitmq-plugins enable rabbitmq_managementOutput:
Enabling plugins on node rabbit@imaginelinux:
rabbitmq_management
The following plugins have been configured:
  rabbitmq_management
  rabbitmq_management_agent
  rabbitmq_web_dispatch
Applying plugin configuration to rabbit@imaginelinux...
The following plugins have been enabled:
  rabbitmq_management
  rabbitmq_management_agent
  rabbitmq_web_dispatch

started 3 plugins.
To access it, you have to introduce some changes to the firewall.
sudo ufw allow 5672/tcp
sudo ufw allow 15672/tcp
Then, you can create a new user to access RabbitMQ:
sudo rabbitmqctl add_user admin pssang
Adding user "admin" ...
Done. Don't forget to grant the user permissions to some virtual hosts! See 'rabbitmqctl help set_permissions' to learn more.
Replace admin with your username; and pssang with a stronger and more secret password.
And then assign a role to this user.
sudo rabbitmqctl set_user_tags admin administrator
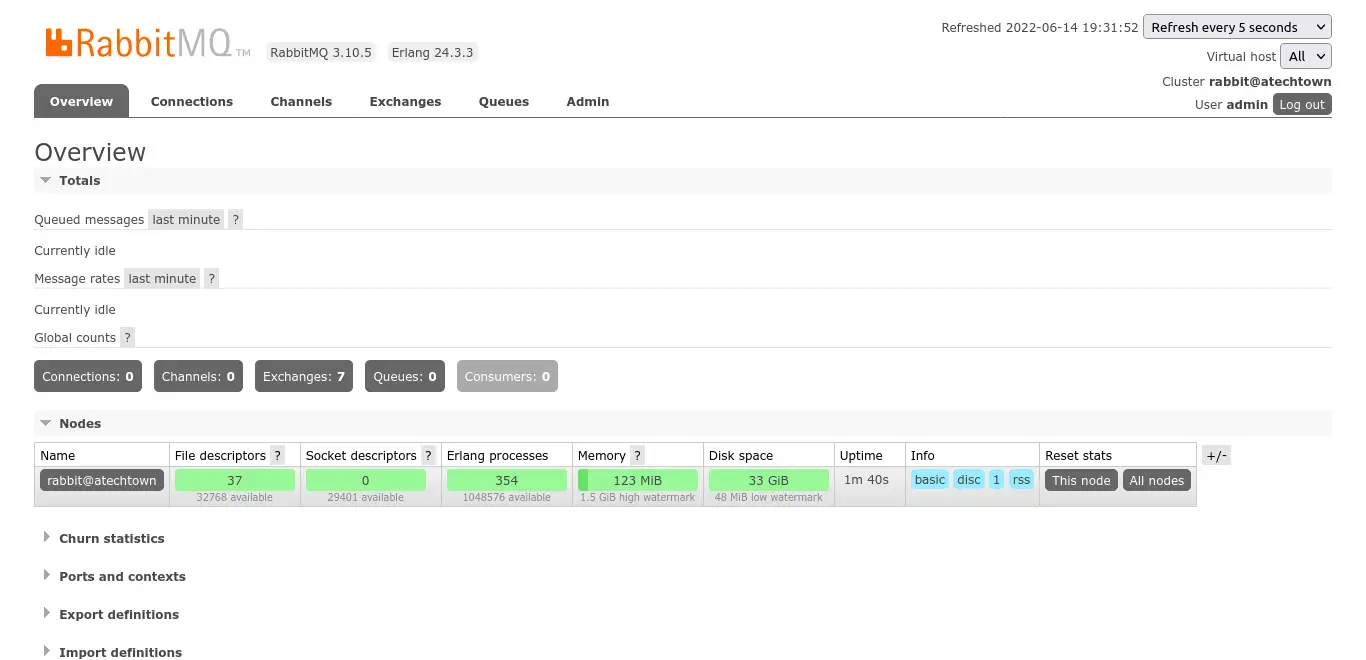
Setting tags for user "admin" to [administrator] ...And now you can access the web interface from a web browser by going to http://server:15672.

Log in and you will see the control panel
This is enough. Congratulations!
Conclusion
RabbitMQ is an important application on servers with many applications that require communication with each other. The installation of it is not difficult, as you have seen in this post.
I hope you liked it, and you can help us to grow by sharing the post.