Linux is the ideal system for the deployment and administration of network infrastructures. This is due to the security, stability, and efficiency of the system. So, today you will learn how to install Teleport on Ubuntu 20.04
What is Teleport?
According to the official documentation of the tool:
Teleport is a Certification Authority and Access Plane for your infrastructure. With Teleport you can:
- Set up Single Sign-On and have a single place to access your SSH servers, Kubernetes, Databases, Desktops, and Web Apps.
- Use your favorite programming language to define access policies to your infrastructure.
- Share and record interactive sessions in all environments.
This means that from a single application, we will be able to manage our infrastructure, whether it uses Kubernetes or other technologies. Furthermore, we will be able to access each of the cluster nodes via SSH and even access their database managers.
Teleport has full support for Linux and macOS, so we will be able to deploy both the master server and clients. In the case of Windows, the support is more limited, but it does have the possibility to install client packages.
Before we start…
We need to know a few things before starting the tutorial. First, we need a valid domain name to set up access to the Teleport web interface.
Secondly, the server has to be somewhat powerful, I recommend 8Gb of RAM and 3 CPU cores. However, this is not so demanding, and you can do some tests; another aspect of the server is that it is advisable to do it in a clean installation of the system to avoid possible conflicts.
Another important aspect is that the server has to have a FQDN configured to be accessible from the other nodes.
Finally, your user must be able to execute commands as superuser, either with sudo or directly as root user.
Install Teleport on Ubuntu 20.04
First, establish a connection via SSH to your server. Once you are connected, you can run the following command to make sure the system is fully updated:
sudo apt update
sudo apt upgrade
Teleport is not present in the official distribution repositories, but has a dedicated repository for Ubuntu.
First, add the GPG key:
curl https://deb.releases.teleport.dev/teleport-pubkey.asc | sudo apt-key add -Then add the Teleport repository.
sudo add-apt-repository 'deb https://deb.releases.teleport.dev/ stable main'.Once the process is finished, we have to refresh APT.
sudo apt updateAnd finally, install Teleport with the following command:
sudo apt install teleport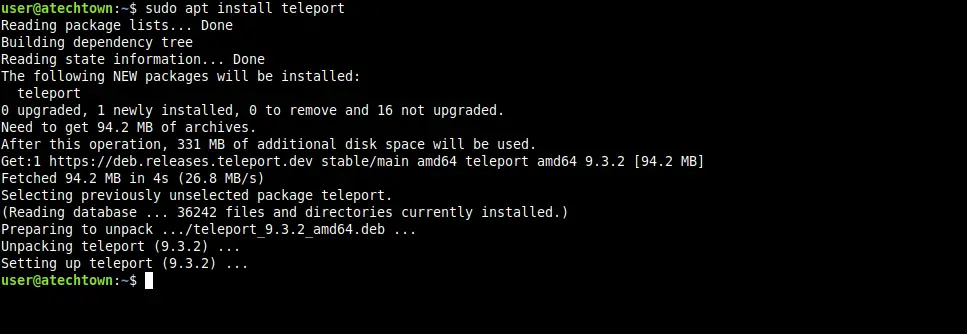
When the process is finished, we have to configure it.
Configure Teleport for its first use
Security is an essential element of Teleport, which means that we have to do some preliminary steps before using it.
First, we have to generate our certificates thanks to the openssl command
openssl req -x509 -nodes -newkey rsa:4096-keyout /var/lib/teleport/teleport.key \
-out /var/lib/teleport/teleport/teleport.pem -sha256 -days 3650 \
-subj “/C=US/ST=NewYork/L=NewYork/O=Atechtown website/OU=Org/CN=servtest.ga”
Replace servtest.ga with your domain name and the rest of the certificate options like country, state, locale, and company name.
At the end you will have a result screen like this if all goes well:
writing new private key to '/var/lib/teleport/teleport.key'.Now we have to generate a new configuration file thanks to the teleport command
sudo teleport configure -o /etc/teleport.yaml
--cluster-name=imaginelinux \
--public-addr=servtest.ga:443 \
--cert-file=/var/lib/teleport/teleport.pem \
--key-file=/var/lib/teleport/teleport.key
Of course, replace the domain and cluster name values with your own.
With the configuration file already created, we can now start and enable the Teleport service.
sudo systemctl enable --now teleport
sudo systemctl status teleport
Now we can create a new user with some specific roles
sudo tctl users add imaginelinux --roles=editor,accessAgain, you can assign more roles and change the username. In addition to this, if you add the --logins option and add some usernames to it, then they will be enabled to do logins. For example,
sudo tctl users add imaginelinux --roles=editor,access --logins=root,ubuntu,imaginelinux,userAt the end you will have an output screen like this:
2022-06-03T22:33:26Z WARN             Starting Teleport with a self-signed TLS certificate, this is not safe for production clusters. Using a self-signed certificate opens Teleport users to Man-in-the-Middle attacks. config/configuration.go:745
User "imaginelinux" has been created but requires a password. Share this URL with the user to complete user setup, link is valid for 1h:
https://servtest.ga:443/web/invite/3033c4f16e08ee4ed4aab8c6a1d3c998

NOTE: Make sure servtest.ga:443 points at a Teleport proxy which users can access.
Accessing the Teleport web console
Thanks to the above command, you will be able to get the link that you will need to use to access Teleport and create the new account. This link has an expiration time of 1 hour.
When you log in, you will see this screen
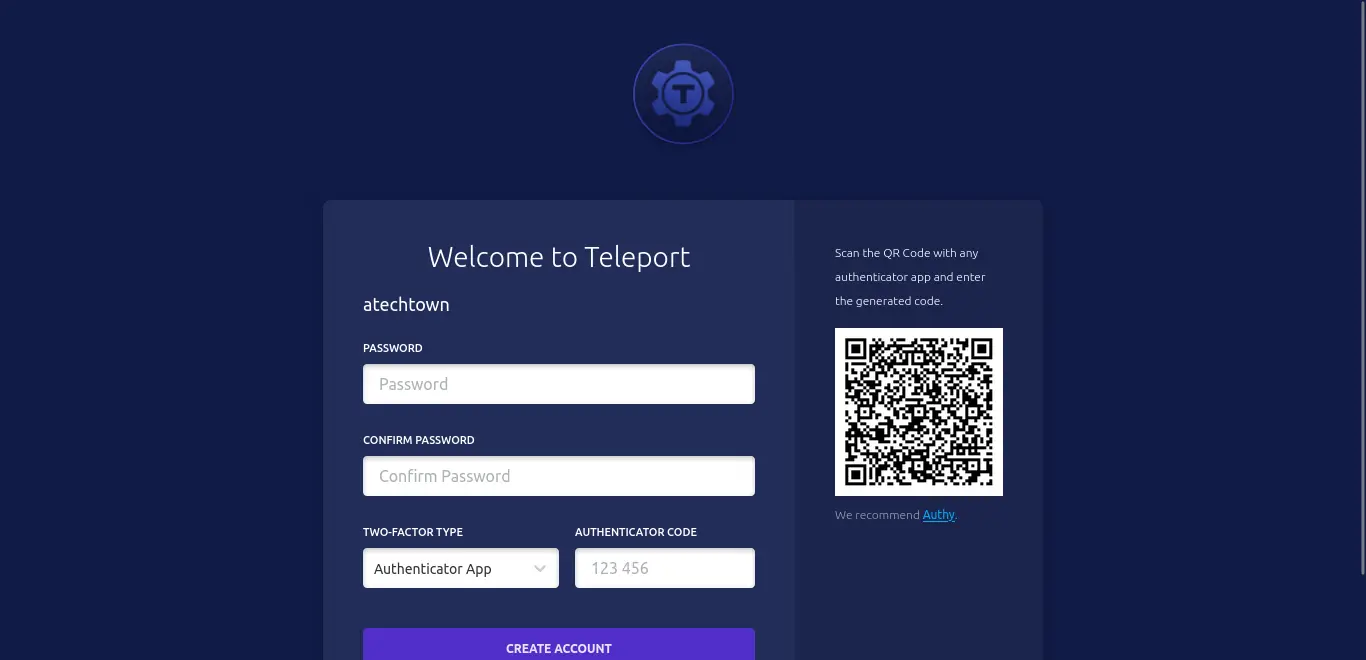
In it, you will have to define a password and to further increase security, you have to scan the QR code to get the code to enter.
Once the account is created, you can start working.
Conclusion
Teleport is an incredible tool with which we can quickly visualize a server infrastructure without too many problems. A pillar of this application is the security, and so we can rely on it.
Before we say goodbye, I want to tell you that the tool is powerful, and you should take a look at the official documentation to expand your knowledge.
Finally, help us to grow by sharing this post with your friends.