Having control of your system also means knowing what the temperature of your computer is at any given moment. Although this may sound difficult, the reality is that it is not and it helps to prevent errors and hardware damage. Therefore, we have prepared the following post for you to learn how to Install Psensor Temperature Monitoring Application on Ubuntu 20.04.
Introduction
Temperature is a factor that is convenient to take care of in our computers and especially in laptops. Because it is possible that the temperature can directly affect the performance of the system. In addition to this, you should also keep an eye to see if something is wrong with the graphics card or the fan cooler.
Fortunately in Linux we have a marvel called lm-sensors which are kernel level sensors that we can use to monitor the temperature. The only drawback that may exist (and this depends on the user) is that it has a terminal interface. This may cause a rejection by some desktop users. But don’t worry, there is a solution.
What is PSensor?
PSensor is an open source application whose mission is to provide a graphical interface for lm-sensors in this way, the visualization will be available to everyone and with a few clicks.
Some of its functions are to present graphs and alerts for
- The temperature of the motherboard and CPU sensors (using lm-sensors).
lm-sensors). - NVidia GPUs (using XNVCtrl).
- ATI GPU temperature (using ATI ADL SDK).
- Hard disk temperature (using hddtemp, libatasmart or udisks2).
- Fan rotation speed.
- And also the CPU load.
Let’s start.
Installing and configuring lm-sensors in Ubuntu 20.04
Before starting PSensor we have to install the sensors on the system. Remember that PSensor is a graphical interface but it is lm-sensors that does the work on the backend.
The lm-sensors package is present in the official repositories of the distribution so we can install it without too much trouble.
Open a terminal, and update the whole system
sudo apt update
sudo apt upgrade
After that, you can install the necessary package using this command
sudo apt install lm-sensorsWhen the sensors are fully installed, it’s time for us to start them:
sudo sensors-detectThis is enough. Now we can check the temperature of our system
sudo sensorsYou will get an on-screen output expressed in degrees Celsius, if you want it to be expressed in degrees Fahrenheit you have to run
sudo sensors -fNow we know that the sensors are working.
Install PSensor in Ubuntu 20.04
PSensor is also present in the official Ubuntu repositories, so all you have to do is the following
sudo apt install psensorAfter that you can run it from the main menu.
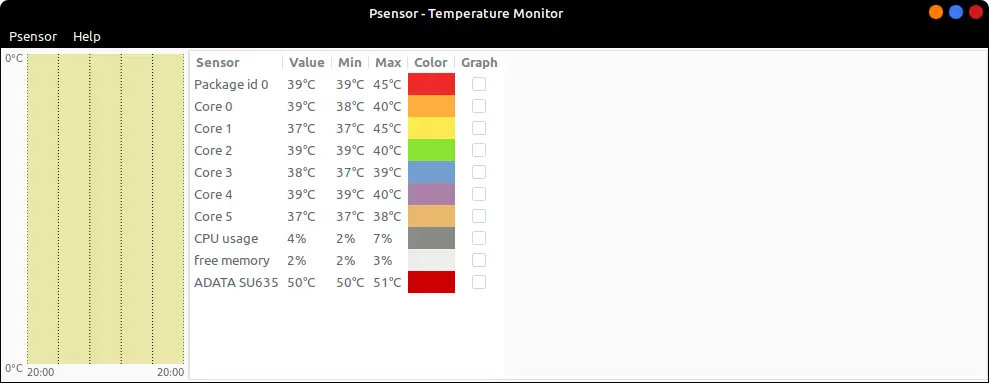
The PSensor interface in Ubuntu 20.04
The graphical interface of PSensor is quite simple. As you can see, you will have a main window where it is divided into columns with the minimum and maximum values.
Also, you can check the preferences
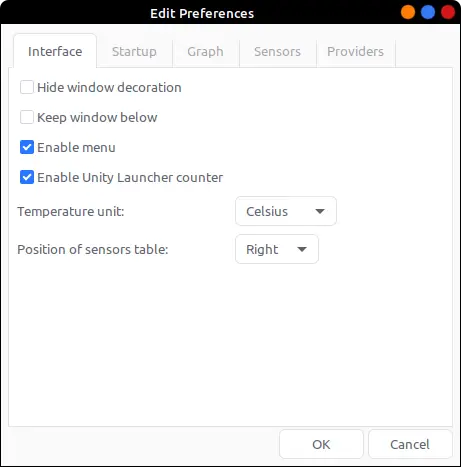
The reality is that it is quite simple and explicit.
Remove PSensor in Ubuntu 20.04
If you don’t want to use PSensor anymore, the best thing to do is to remove it from the system. This way you can save some space on your system.
sudo apt remove psensorThis way you won’t have it on your system anymore.
Conclusion
In this post, you have learned how to install a temperature sensor for your system. This way, you will be able to easily monitor the whole system for serious temperature errors.
I hope you liked this post and you can share it with all your friends.