Not so long ago, having your own private cloud sounded almost impossible. Well, today, it is no longer impossible thanks to solutions like Nextcloud. Sounds interesting? In this post, you will learn how to install Nextcloud on Ubuntu 22.04.
Introduction
Nextcloud is a fork of a very popular software called Owncloud. So, it is a web application that allows us to host files in the Cloud and, in addition, allows us to view them directly from a website or apps, share them.
In short, with Nextcloud you can deploy your private cloud that you could use in a personal, educational or business environment. This is possible because it is open source and has a permissive license.
From the technical perspective, Nextcloud is built with PHP, and requires a relational database manager such as MariaDB, which is so popular.
Some features of Nextcloud are:
- Storage of any type of file. Since the cloud is yours, you choose the files to store.
- Automatic synchronization.
- Cross-platform clients that you can install on almost any system.
- Secure. Nextcloud complies with all major security standards.
- Easy to use web interface.
Nextcloud is used by all types of users because of its versatility and compatibility with many plugins.
Install Nextcloud on Ubuntu 22.04
Nextcloud is a web application that requires some configuration on the server to be able to run. It also requires PHP along with several of its modules and a database handler such as MariaDB.
Installing LAMP on Ubuntu 22.04
The first thing you have to do is to install the LAMP stack on Ubuntu 22.04 since in this guide I will be using Apache and MariaDB.
To install Apache, PHP and its required modules, and MariaDB you will need to run this command:
sudo apt install apache2 libapache2-mod-php php-cli php-fpm php-json php-intl php-imagick php-pdo php-mysql php-zip php-gd php-mbstring php-curl php-xml php-pear php-bcmath mariadb-serverWhen the whole process is finished, make sure that in the firewall you have open ports 80 and 443.
sudo ufw allow 80
sudo ufw allow 443
Now you have to configure MariaDB, setting a root password. To achieve this, run.
sudo mysql_secure_installationAs soon as you start it, you will be prompted to log in by pressing Enter. Then, you will be able to change the root password and finally, answer the following configuration questions.
Remove anonymous users [Y/n]
Disallow root login remotely [Y/n]
Remove test database and access to it [Y/n]
Reload privilege tables now [Y/n]
An optimal configuration would be to answer Y to all these questions.
After you’re done with MariaDB, it’s time to tweak PHP.
sudo nano /etc/php/8.0/apache2/php.iniAnd thanks to the editor modify these values
date.timezone = [your-timezone].
memory_limit = 512M
upload_max_filesize = 500M
post_max_size = 500M
max_execution_time = 300
You can increase these values according to the power of your server.
Save the changes and close the editor. Then apply the changes.
sudo systemctl restart apache2Create a new database on MariaDB for Nextcloud
The next step is to create a new database and user for Nextcloud.
So, access the MariaDB console:
sudo mysql -u root -pCreate the new user to avoid working with the user root.
CREATE USER 'nextcloud'@'localhost' identified by 'passw';Of course, you can change the username and the password value.
Now, create the new database:
CREATE DATABASE nextclouddb;You can also assign another name to it.
Set appropriate permissions on the new database to the user.
GRANT ALL PRIVILEGES ON nextclouddb.* TO 'nextcloud'@'localhost'; Refresh permissions.
FLUSH PRIVILEGES;And exit the console:
quit;Download and install Nextcloud
First, install the unzip and wget packages to be able to download and unzip Nextcloud.
sudo apt install wget unzipNow, perform the download:
cd /tmp/
wget https://download.nextcloud.com/server/releases/latest.zip
Now unzip the file you downloaded:
unzip latest.zipMove it to a location inside the /var/www/html/ folder, which is the default path of the Apache DocumentRoot.
sudo mv nextcloud/ /var/www/html/`.Make the user www:data the owner of the folder and set the appropriate permissions.
sudo chown -R www-data:www-data /var/www/html/nextcloud
sudo chmod -R 755 /var/www/html/nextcloud
Create a new VirtualHost for Nextlcoud configuration.
sudo nano /etc/apache2/conf-enabled/nextcloud.confAnd add the following content:
<VirtualHost *:80>
     ServerAdmin admin@example.com
     DocumentRoot /var/www/html/nextcloud
     ServerName example.com
     ServerAlias www.example.com
     ErrorLog /var/log/apache2/nextcloud-error.log
     CustomLog /var/log/apache2/nextcloud-access.log combined

    <Directory /var/www/html/nextcloud/>
    Options +FollowSymlinks
    AllowOverride All
        Require all granted
     SetEnv HOME /var/www/html/nextcloud
     SetEnv HTTP_HOME /var/www/html/nextcloud
     <IfModule mod_dav.c>
        Dav off
        </IfModule>
    </Directory>
</VirtualHost>
In this segment, the most important thing is to change the values of ServerName, ServerAdmin and ServerAlias to the appropriate ones. In this case, I am referring to the domain and email.
Save the changes, close the editor and apply the changes by enabling the Apache modules and restarting it.
sudo a2enmod rewrite dir mime env headers
sudo systemctl restart apache2
Install Nextcloud
Now you can open a web browser and log in via http://your-domain and you will see this screen.
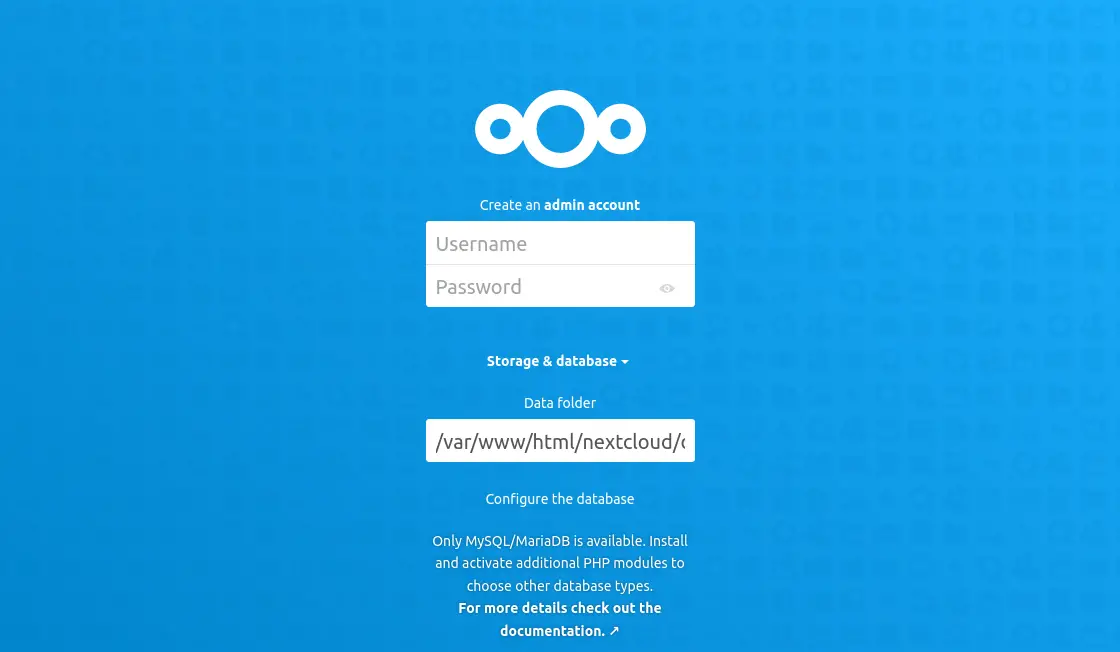
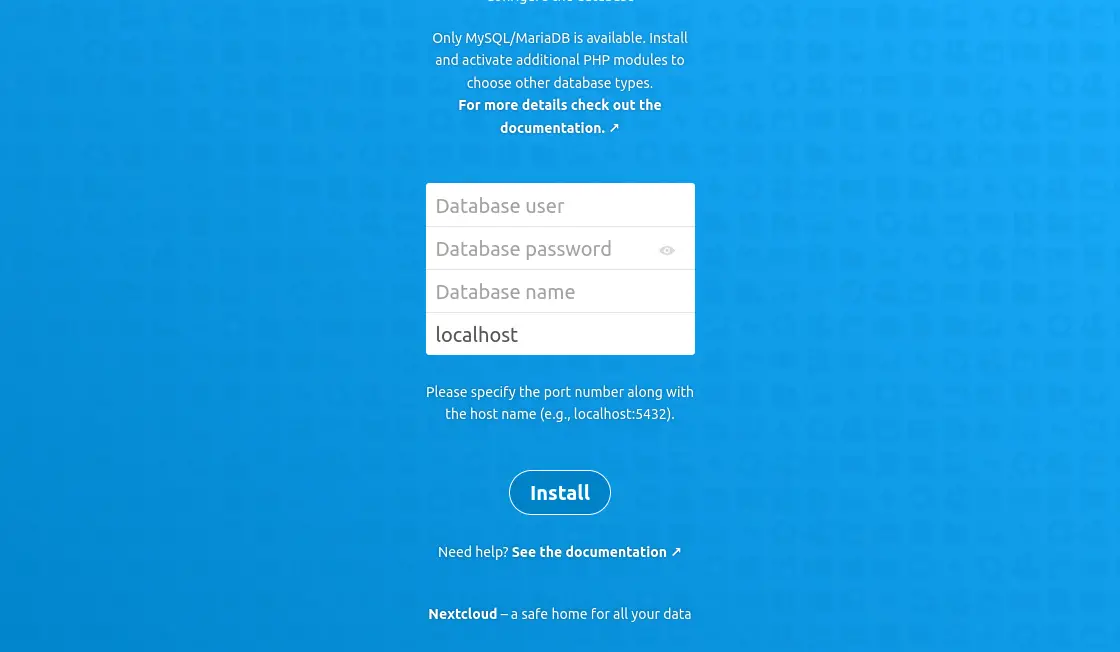
There you will have to create the admin user, which is the most critical one. Further down, you will have to configure the database settings:
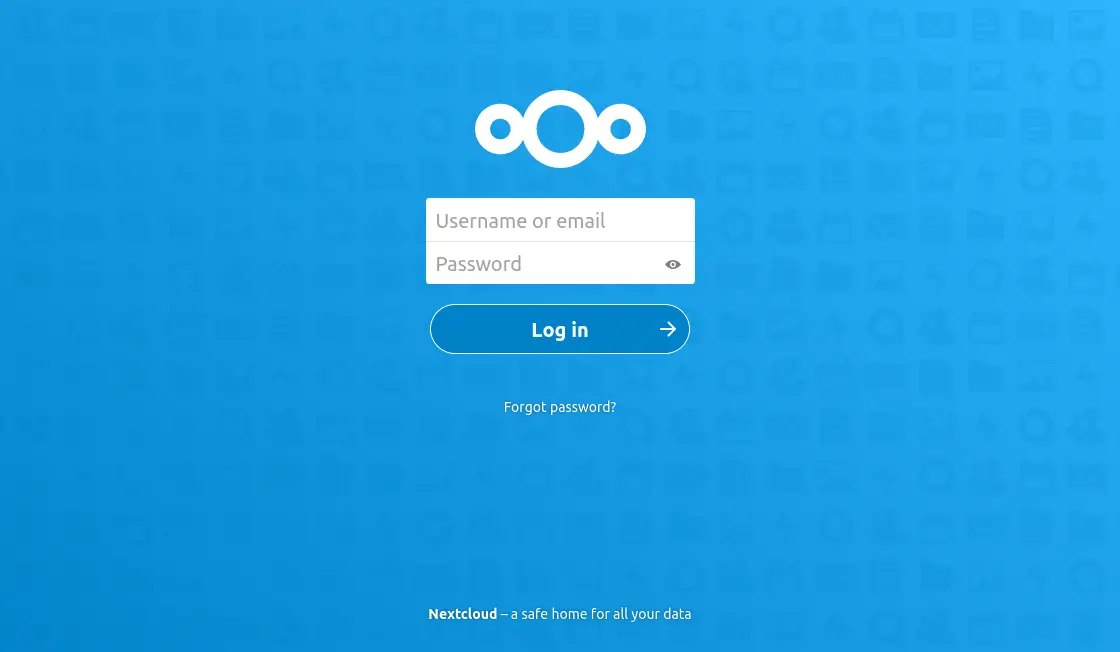
Then, you will be shown some recommended apps and then, the login screen.
Once you are logged in, you will see the welcome screen.
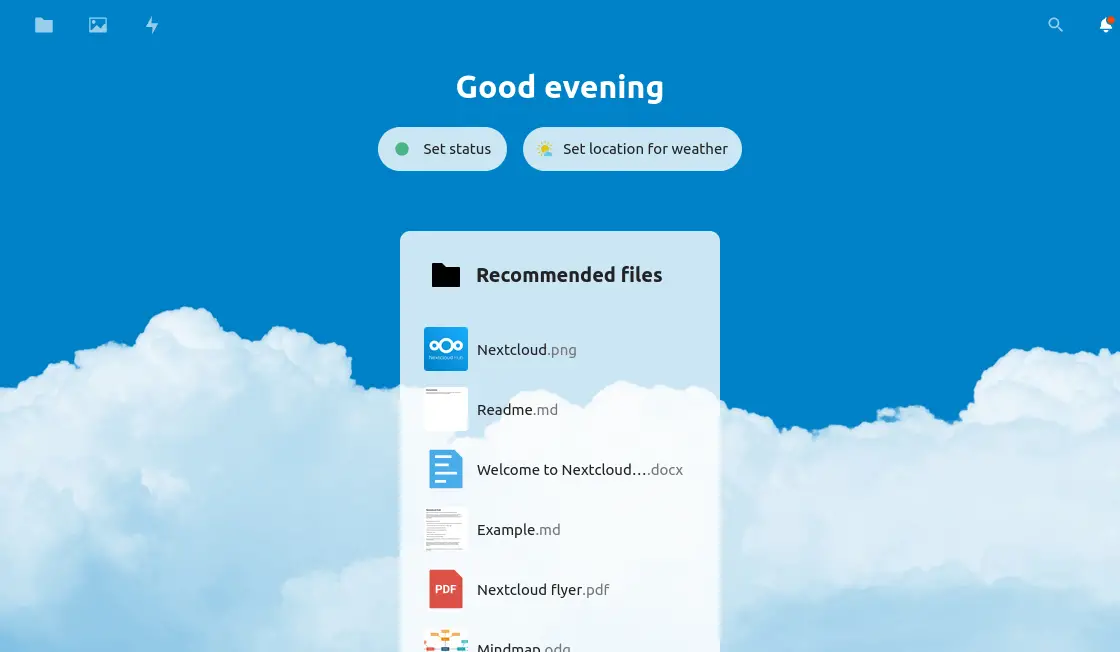
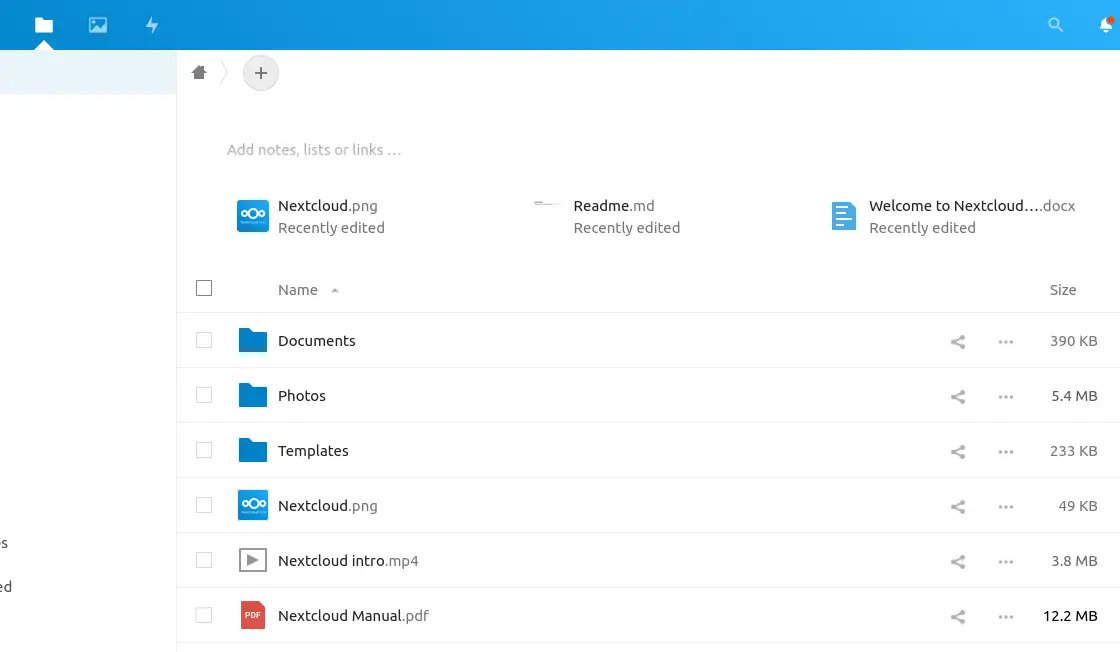
And finally, the main screen.
Conclusion
Nextcloud is an application that allows you to achieve what used to be as complex as a private cloud.
I hope you liked the post, and you venture to try it yourself. Share this post and leave us a comment.