It is common these days that the browser is the most used application of an operating system. This is because through it we can access each of the sites and applications we need. A very common case is that of the email where many people access through the web browser. However, other users prefer email desktop clients. Talking about email clients, today in this post you will learn how to install and configure Thunderbird on Ubuntu 20.04
Thunderbird for Ubuntu
The most accurate and appropriate definition of Thunderbird is provided by the project’s website
Thunderbird is a free email application that’s easy to set up and customize – and it’s loaded with great features!
Some of the features that make Thunderbird the world’s most popular email client are:
- Thunderbird is fairly easy to set up thanks to the Mail Account Setup Wizard. Thanks to this tool you only need to provide your name, email address, and password and the program does the rest.
- You can quickly add a contact to Thunderbird. One-click Address Book is a quick and easy way to add people to your address book.
- The application is open source. So, the development is active and the code auditable. It is also completely free, making it ideal for business and educational environments.
- Smart Folders.
- Also includes a powerful Add-ons manager.
- Phishing Protection
And many other features.
Install Thunderbird on Ubuntu 20.04
At Ubuntu, the installation of Thunderbird is quite simple and we have two methods to do this. One is by using the terminal and the other is by using the graphical interface only. In either case, it is quite simple to do.
Method 1: Install Thunderbird on Ubuntu 20.04 using the terminal
The first method is to use the Ubuntu terminal. This method is quite simple since the process is limited to executing two commands
So, open a terminal from the main menu or press the CTRL + ALT + T keys and run
sudo apt update
sudo apt install thunderbird
Output:
Reading package lists… Done
Building dependency tree
Reading state information… Done
The following additional packages will be installed:
thunderbird-gnome-support thunderbird-locale-de thunderbird-locale-en
thunderbird-locale-es thunderbird-locale-fr thunderbird-locale-it
thunderbird-locale-pt thunderbird-locale-ru thunderbird-locale-zh-hans
thunderbird-locale-zh-hant
Suggested packages:
ttf-lyx
The following packages will be upgraded:
thunderbird thunderbird-gnome-support thunderbird-locale-de
thunderbird-locale-en thunderbird-locale-es thunderbird-locale-fr
thunderbird-locale-it thunderbird-locale-pt thunderbird-locale-ru
thunderbird-locale-zh-hans thunderbird-locale-zh-hant
11 upgraded, 0 newly installed, 0 to remove and 524 not upgraded.
Need to get 48.6 MB of archives.
After this operation, 201 kB of additional disk space will be used.
Do you want to continue? [Y/n]
Then when the installation is finished, you can run it from the main menu.
Method 2: Getting Thunderbird on Ubuntu 20.04 using the Software Center
The next method is to install it thanks to the Software Center which is the official shop of applications in Ubuntu. This is one of the biggest shops that there is for the number of programs that it has available.
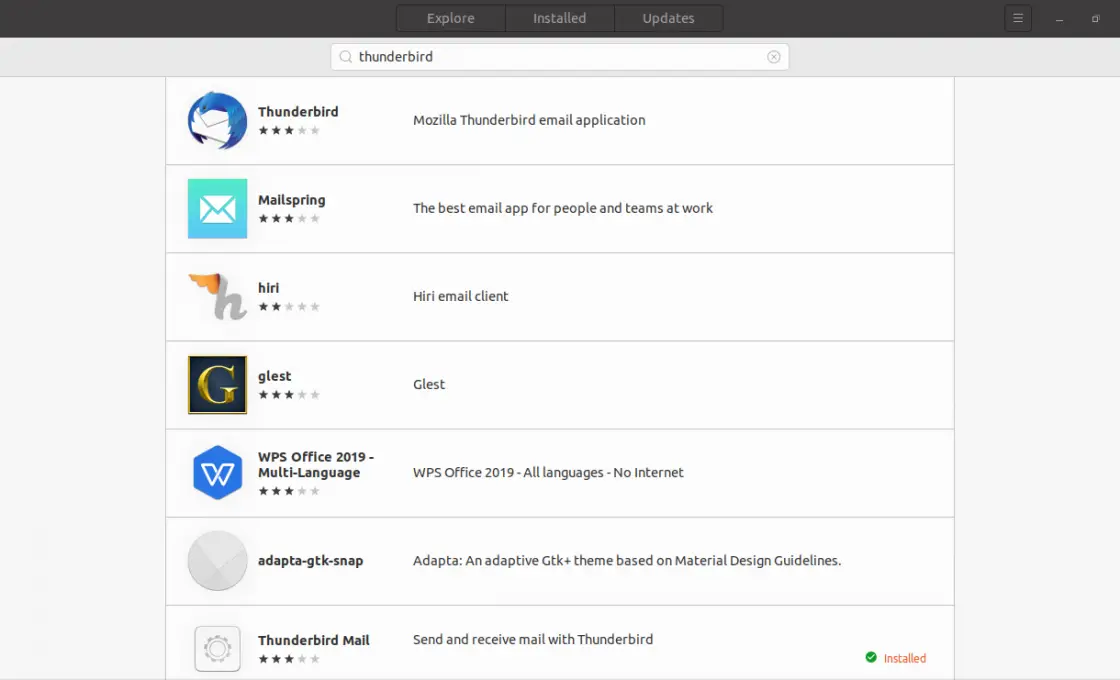
So, open it from the main menu and in the search field type “Thunderbird“.
Then, select the best result which in this case is the first one, and click on it.
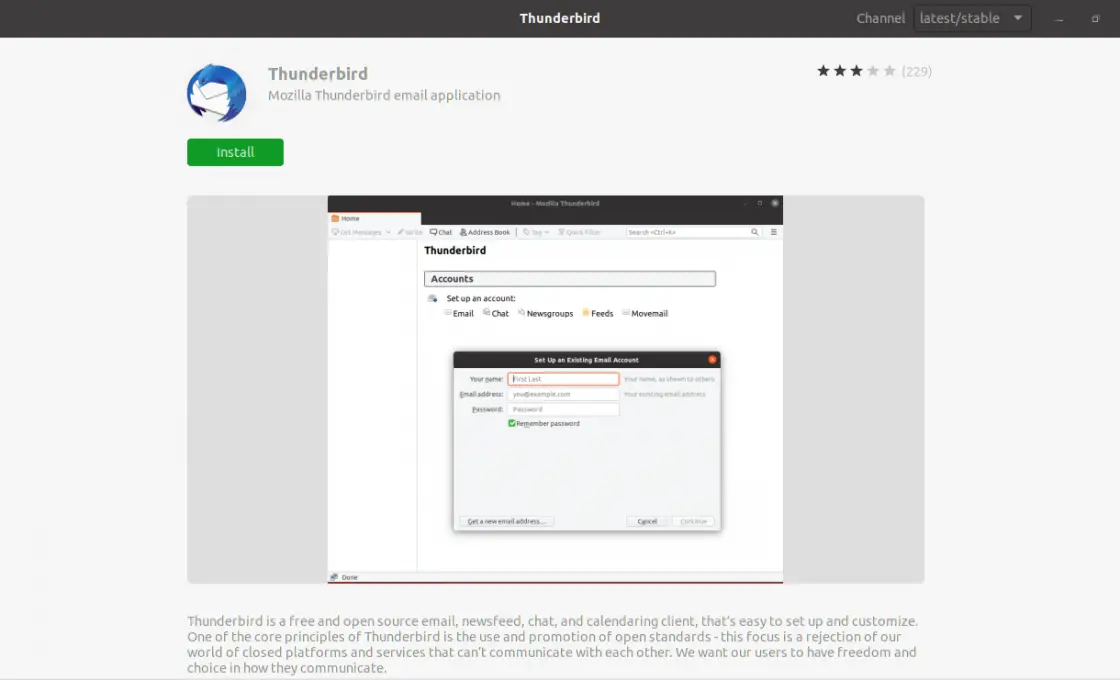
Now you will see information about the Thunderbird package. Click the install button to start the installation process.
After that, you can run it from the main menu.
Configuring Thunderbird on Ubuntu 20.04
As soon as you run Thunderbird, you will see a screen where you are asked to enter your email account details.
On this screen, you have to enter your name, your email address, and your password.
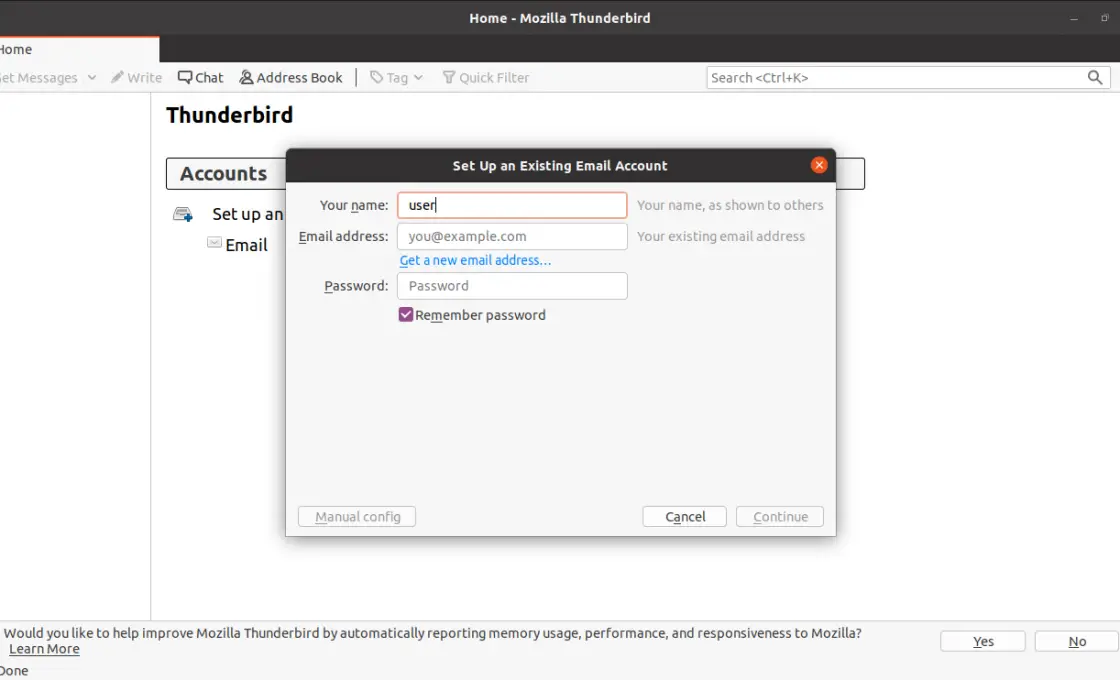
Then click the Continue button.
Thunderbird will recognize your email provider and ask you if you want to use IMAP or POP3.
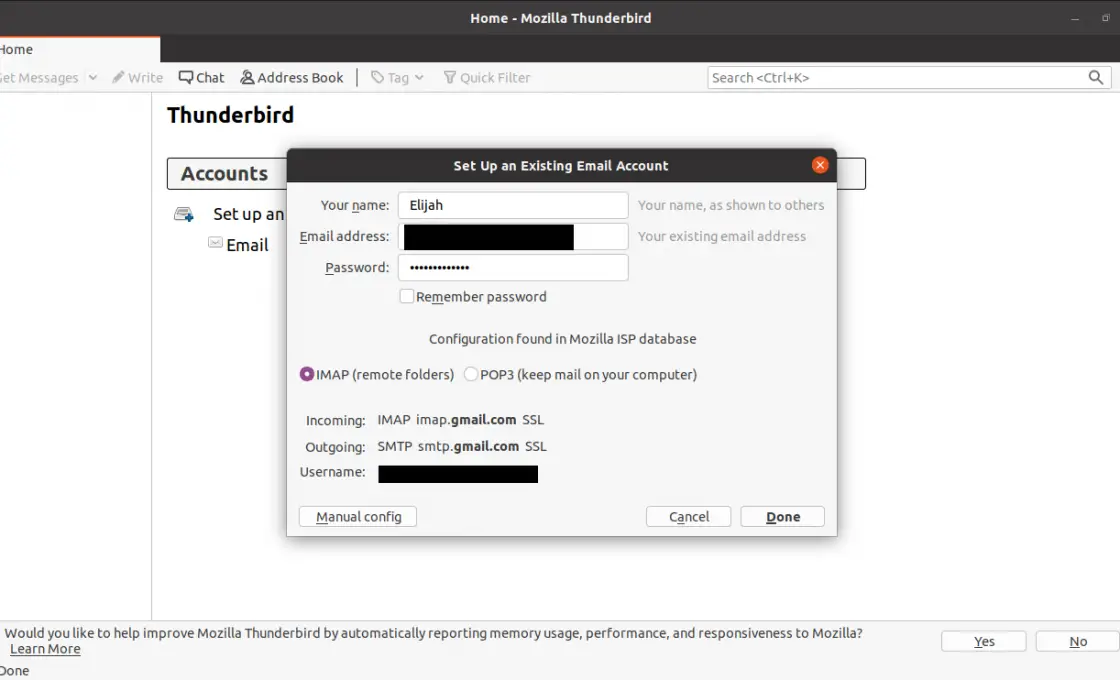
Then, click on the Done button.
A new browser window will open where you have to give access to Thunderbird through your provider. In this case, I choose Gmail as an example.
After you log in and give Thunderbird permissions, it will start synchronizing all the mail you have.
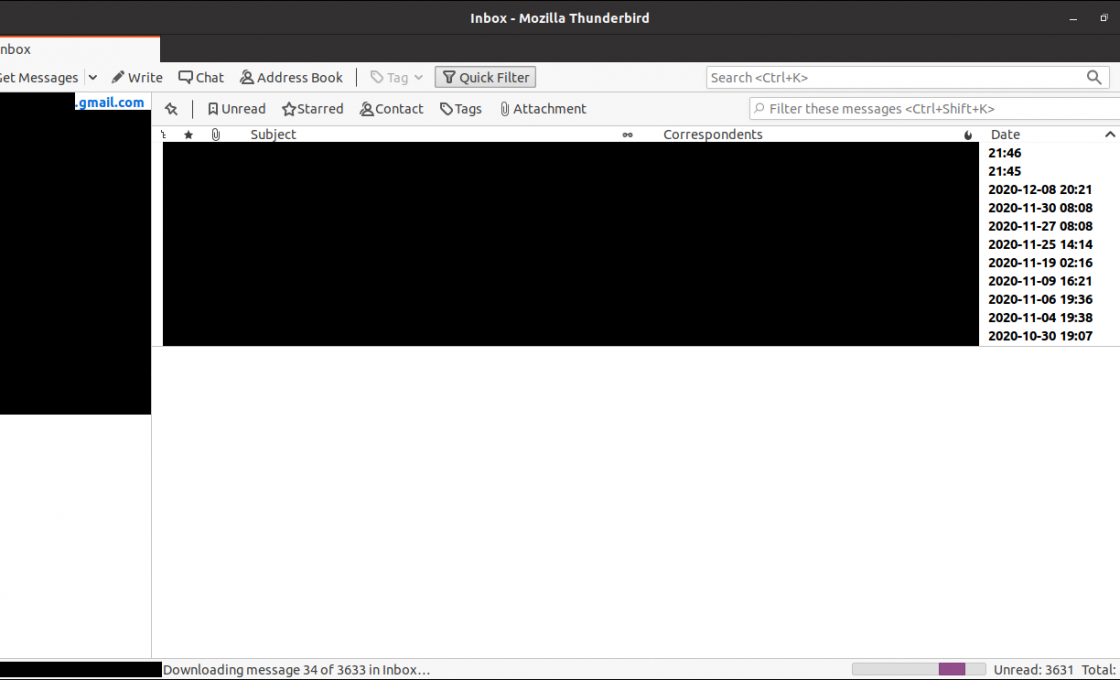
There you will see the Thunderbird interface which is quite intuitive with a very complete toolbar and menu hosted on the right side of the application.
Uninstall Thunderbird
Uninstalling Thunderbird is just as easy as installing it and depends on the method you have chosen for the installation.
If you chose option 1, just open a terminal and run
sudo apt autoremove thunderbird
After typing your password, the application will be uninstalled.
If you have chosen method 2, just type Thunderbird again in the search engine and select the result. Then, on the package information screen, you will see the red Remove button. Click on it and the uninstallation process will begin.
Conclusion
Thunderbird is a wonderful application as it is compatible with almost any mail server. In addition to this, the add-ons system allows you to extend the functionality of the application to much more. All this being open source and community and is the most popular mail client on Linux.
So, what do you think about Thunderbird? do you use it? do you like it? Leave us a comment and share our post.