It’s no secret that Minecraft is one of the most popular games out there. And of course, we can deploy our server without much trouble. So, today, you will learn how to create a Minecraft server on Ubuntu 20.04.
Why create a Minecraft server?
Minecraft’s multiplayer mode is considered its strongest point. To play it in a group, it requires servers that in many parts of the world serve as a meeting point for players.
Thanks to Minecraft’s design, it is possible to create and manage a server on your own. There we can determine the number of players, add-ons and other options to make our game experience as personalized as possible.
So in this post, we are going to help you with this process.
Create a new user for Minecraft
It is recommended to create a new system user for Minecraft. In this case, we will do it.
First, update the server so that it has all the security packages installed to make it more secure.
As root user, run:
apt update
apt upgrade
Then create the new user
useradd -m -s /bin/bash -G sudo minecraft
You can optionally assign a password
passwd minecraft
Now with the user created, we can continue.
Install Java on Ubuntu 20.04
The Minecraft server binary is made in Java. So, our first step will be to install it using the new user session we have created.
su - minecraft
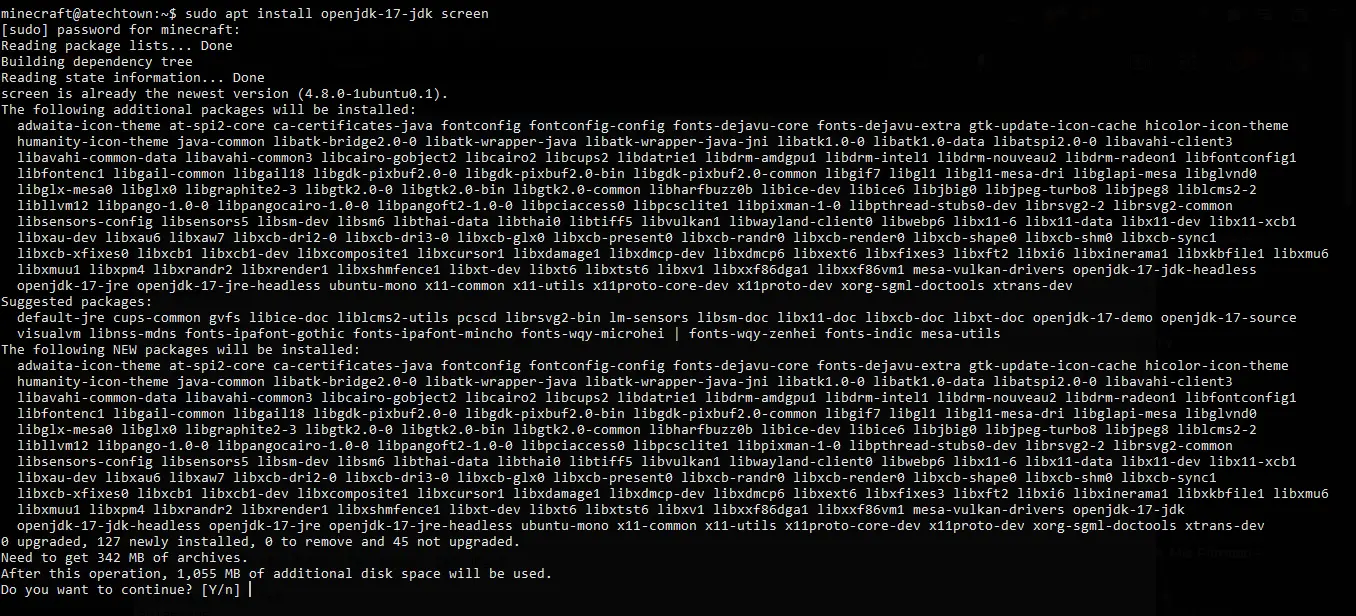
And now install Java and the screen package.
sudo apt install openjdk-17-jdk screen
After the installation, you can check the Java version by using this command
java -version
Sample Output:
openjdk version "17.0.1" 2021-10-19
OpenJDK Runtime Environment (build 17.0.1+12-Ubuntu-120.04)
OpenJDK 64-Bit Server VM (build 17.0.1+12-Ubuntu-120.04, mixed mode, sharing)
With the environment ready, let’s go for Minecraft.
Create a Minecraft server on Ubuntu 20.04
Create a new folder for Minecraft. Then access it.
mkdir minecraft
cd minecraft
Now proceed to download Minecraft using the wget command. To get the correct link to the package, you need to visit this page and verify it from there. In this case, for the latest stable version at the time of writing this post:
wget https://launcher.mojang.com/v1/objects/125e5adf40c659fd3bce3e66e67a16bb49ecc1b9/server.jar

Now we can run it. To complete this, you can run this command.
java -Xmx2048M -Xms2048M -jar server.jar nogui
In this command, the 2048M values in the -Xmx and Xms options are the amount of memory that the server will use. In this case, I have defined 2Gb of memory, but this will depend on the server itself and the purpose for which you have installed Minecraft.
When you run the command, at the end of the execution you will see an error message
You need to agree to the EULA to run the server. Go to eula.txt for more info.
So, we must accept the license terms. To achieve this, edit the file that has been created.
sudo nano eula.txt
And find the line eula and leave it like this
eula=true
Save the changes and close the editor.
Now we are going to create a script so that we can start the server without so much trouble and thanks to screen.
First create the script.
nano start.sh
And add the following
#!/bin/sh
while true
do
java -Xmx2048M -Xms2048M -jar server.jar nogui
echo "Hi"
sleep 10
done
Save the changes.
Give the script execution permissions.
chmod +x start.sh
Now to make it easier to work on the server we are going to open a new screen session for Minecraft-
sudo screen -S "Minecraft"
And now yes, run the script and create the Minecraft server in Ubuntu 20.04
./start.sh
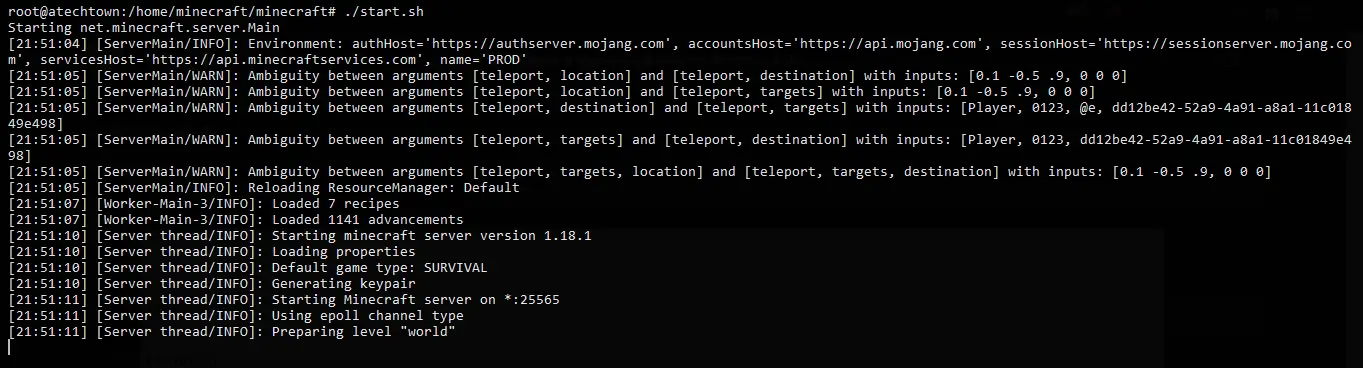
At the end of the whole command, you will see this message indicating that everything went well.
[21:52:27] [Server thread/INFO]: Done (76.190s)! For help, type "help"
Now you have created the Minecraft server.
Conclusion
In this post, you have learned how to create a Minecraft server in Ubuntu 20.04 easily and quickly. Now it’s your turn to manage it and take full advantage of it with your friends.