Jellyfin is a media server similar to Plex but has the advantage of being open source and free. In addition, it is compatible with a multitude of devices.
It should be noted that it is a community project of Free Software, run by volunteers. Which has recently released a new version, with a host of improvements, bug fixes, and a look to the future.
Thanks to Jellyfin you can have a multimedia library anywhere because you can install it on your own server anywhere in the world. There are also clients for many different operating systems such as Android, iOS, XBOX, and others.
So, let’s go for it. Let’s install the server.
Install Jellyfin media server on Ubuntu / Linux Mint
First, connect to your server via SSH and make sure it’s up to date
sudo apt update
sudo apt upgrade
Now install the apt-transport-https package from official repositories
sudo apt install apt-transport-httpsThe next step is to enable the universe repository.
sudo add-apt-repository universeThe best way to install Jellyfin is through the official repositories of the application developers. First, add the GPG key of the application to the system.
wget -O - https://repo.jellyfin.org/ubuntu/jellyfin_team.gpg.key | sudo apt-key add -Then, add the repository.
echo "deb [arch=$$( dpkg --print-architecture )] https://repo.jellyfin.org/ubuntu $( lsb_release -c -s ) main" | sudo tee /etc/apt/sources.list.d/jellyfin.listThen refresh APT
sudo apt updateAnd then you can install Jellyfin with the following command
sudo apt install jellyfinAfter the installation process is finished the next thing to do is to verify that the application has been correctly installed. For this, we have the jellyfin service that we can manage with systemctl. For example, it verifies the status of the same one
sudo systemctl status jellyfin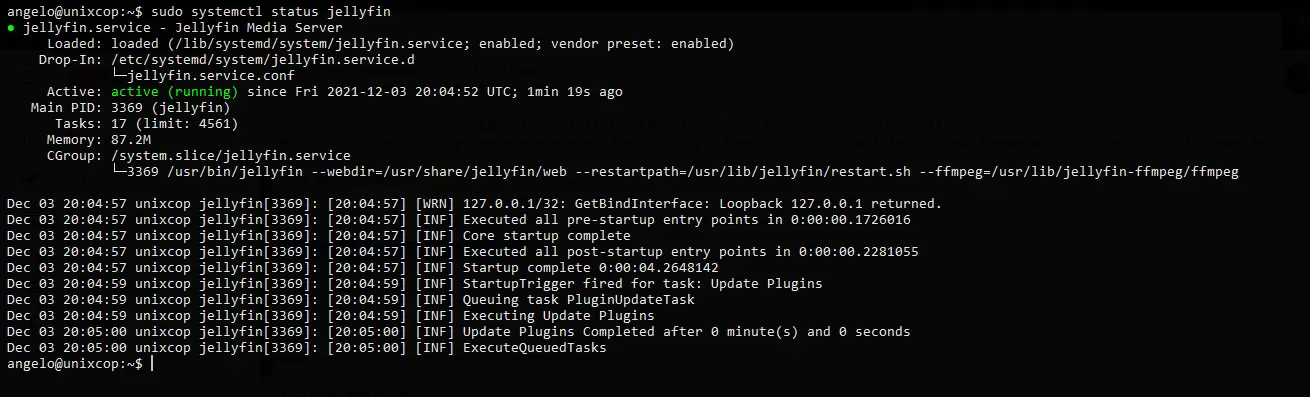
So, as you can see, Jellyfin is correctly installed and configured.
Configure Nginx as a reverse proxy (Optional)
You can configure Nginx as a Reverse proxy to prevent users from having to access through http://ip-server:8096 but a domain name. In addition to this, with Nginx, you can set security parameters.
So, install Nginx from the repository
sudo apt install nginxCreate a configuration file for Jellyfin like this
upstream backend {
     server 127.0.0.1:8096;
     keepalive 64;
 }

 server {
    listen 80;
    server_name server;

 location / {
        proxy_set_header X-Forwarded-Host $host;
        proxy_set_header X-Forwarded-Server $host;
        proxy_set_header X-Forwarded-For $proxy_add_x_forwarded_for;
        proxy_pass http://backend;
        proxy_http_version 1.1;
        proxy_pass_request_headers on;
        proxy_set_header Connection "keep-alive";
        proxy_store off;
 }
 }
In the server_name directive place your domain. Then, save the changes and close the editor.
And restart Nginx
sudo systemctl restart nginxComplete the Jellyfin installation
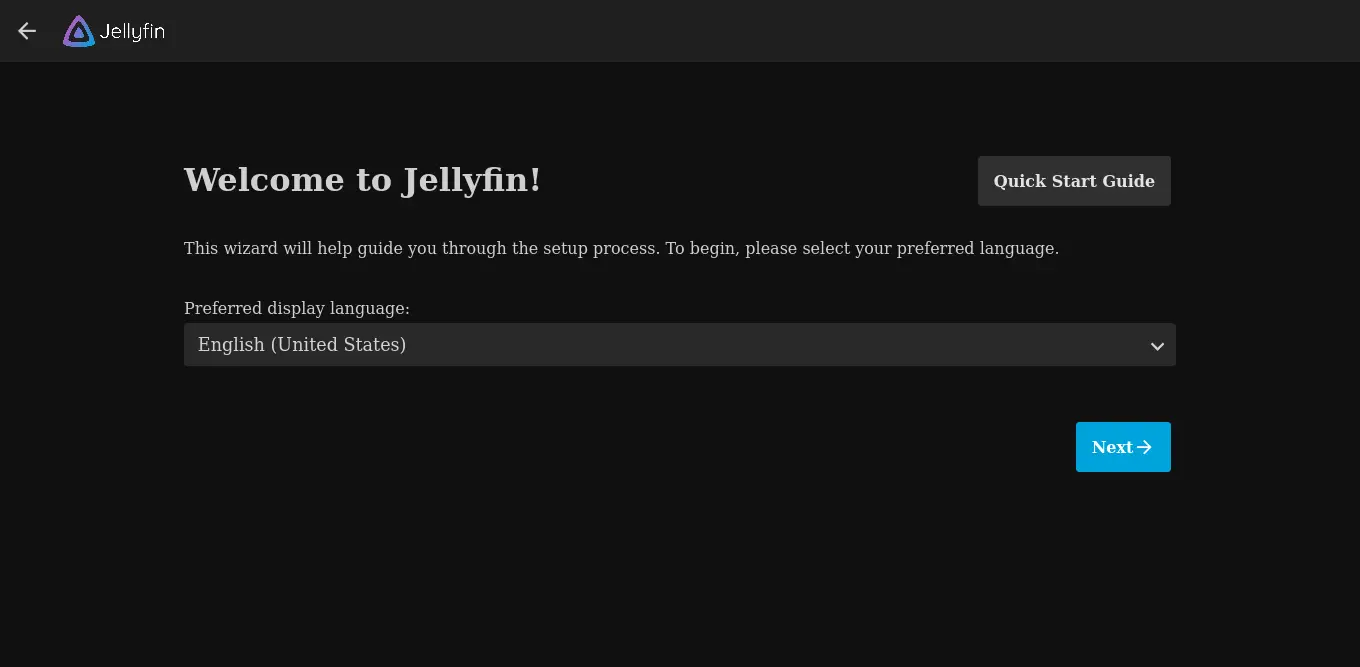
So, open your web browser and go to https://your-domain to start the installation process.
You will first see the welcome screen where you can choose the installation language. Click Next .
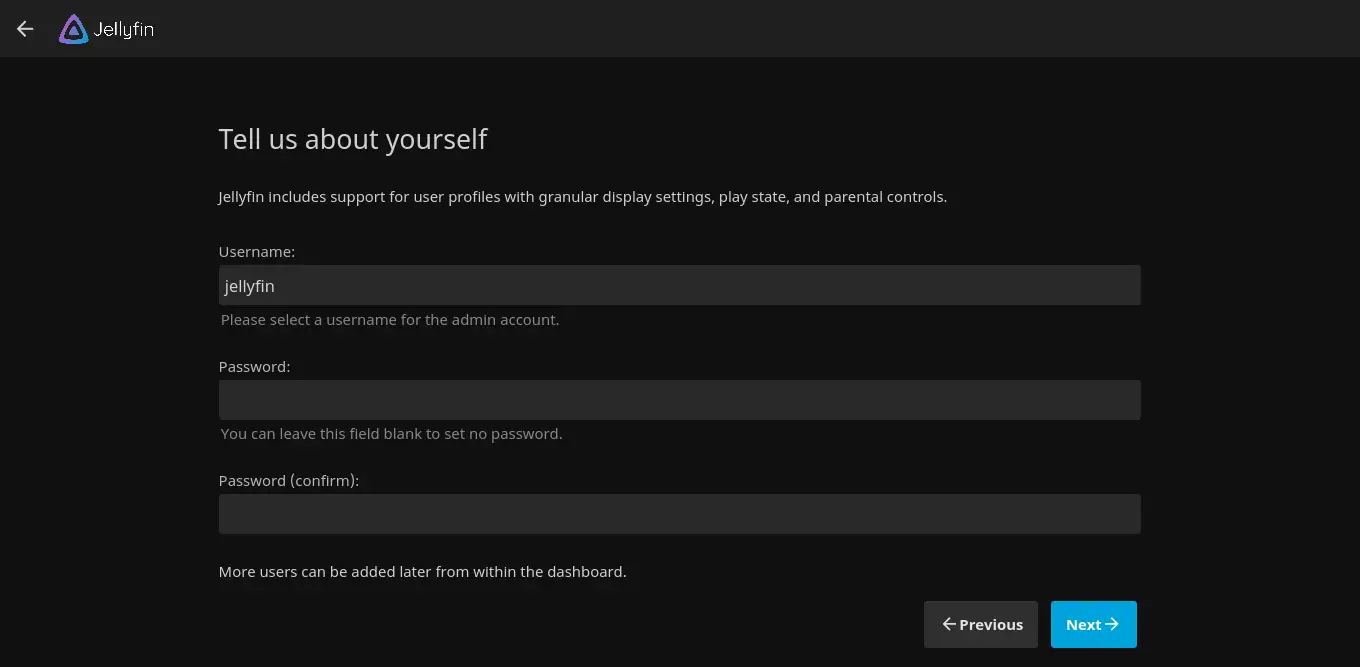
Then you will see a screen where you will have to create the administrator user and password. When you are ready click Next .
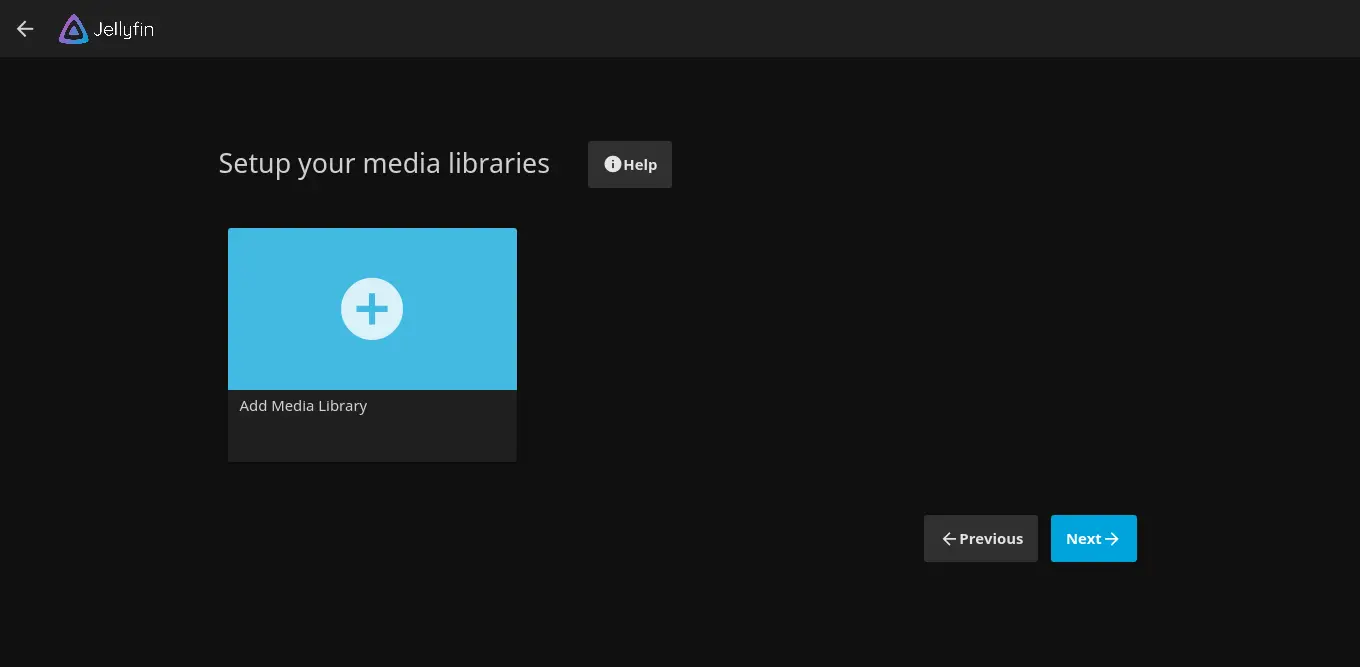
If you already have media files on the system, you can add them on the next screen.
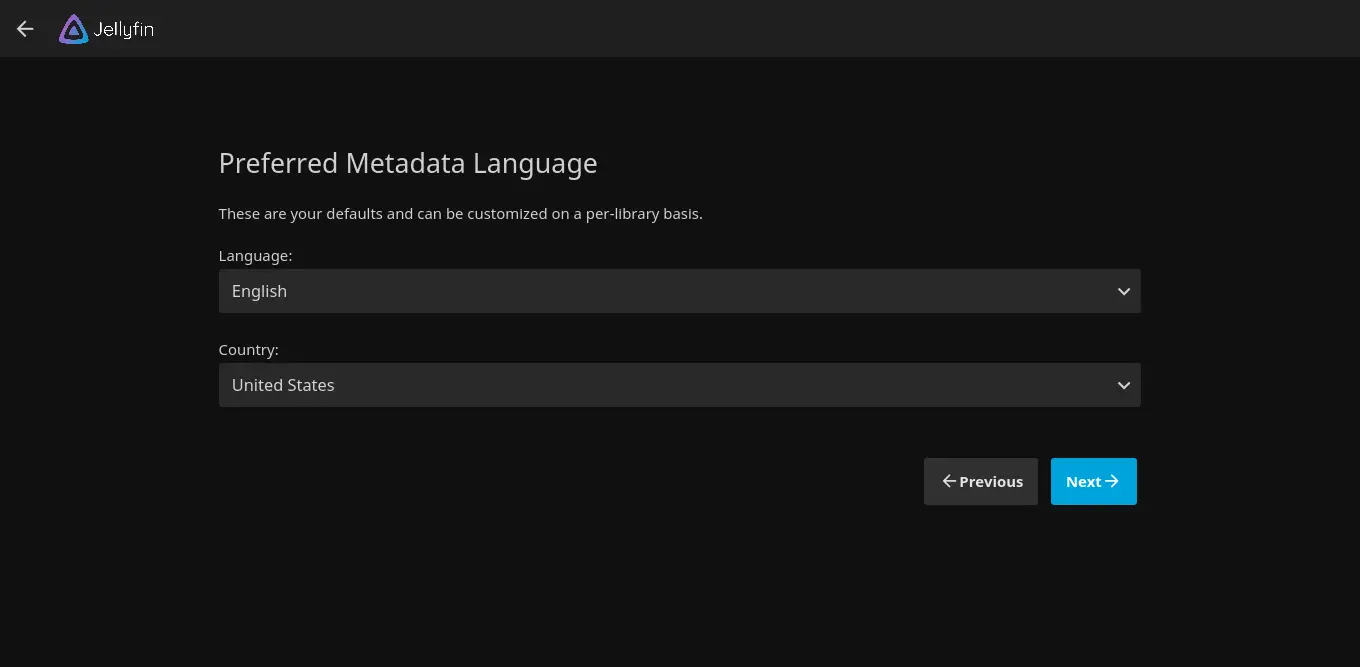
Now it is time to choose the language of the metadata.
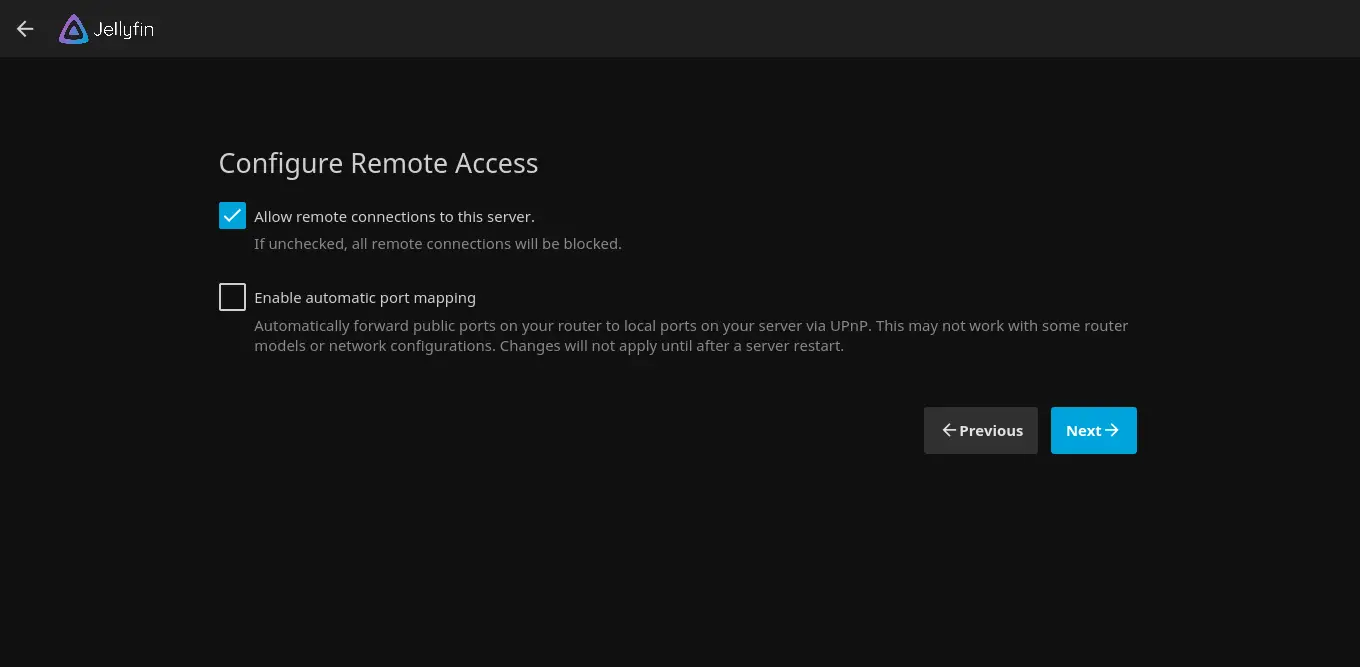
Next, you will have to configure remote access.
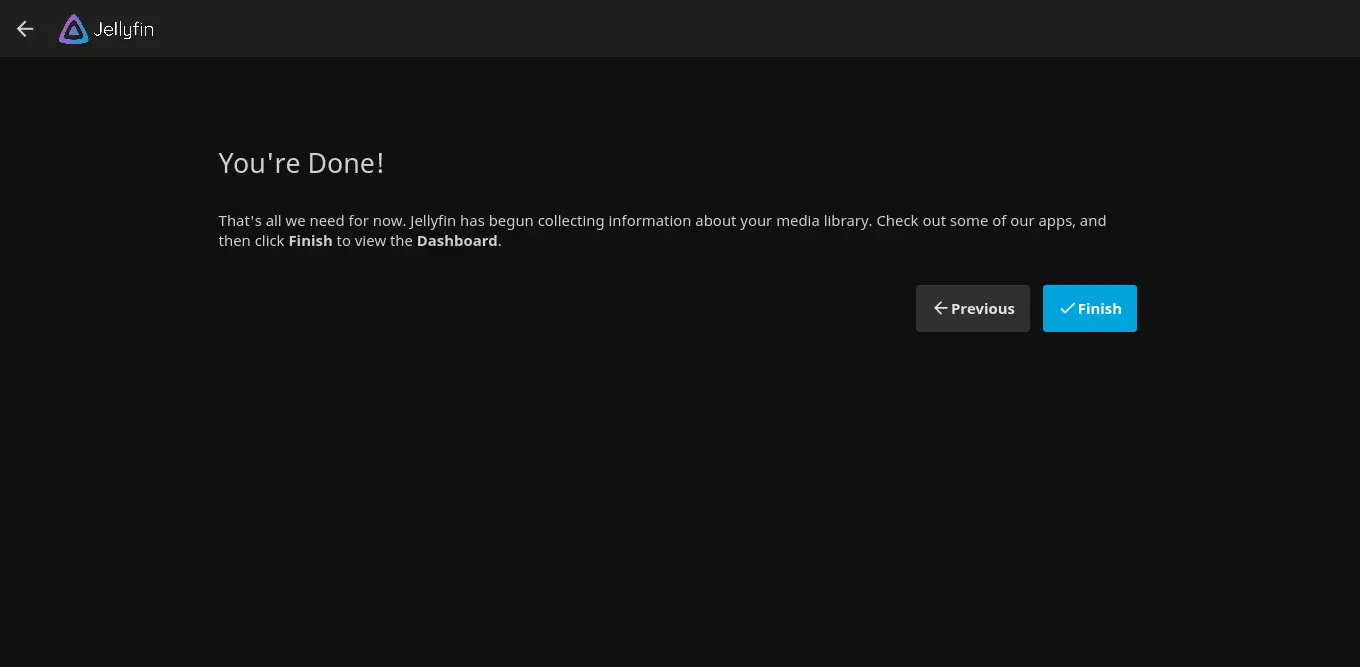
And if everything goes well you will see the following screen indicating that the process has been successful.
After finishing, you will see the login screen.
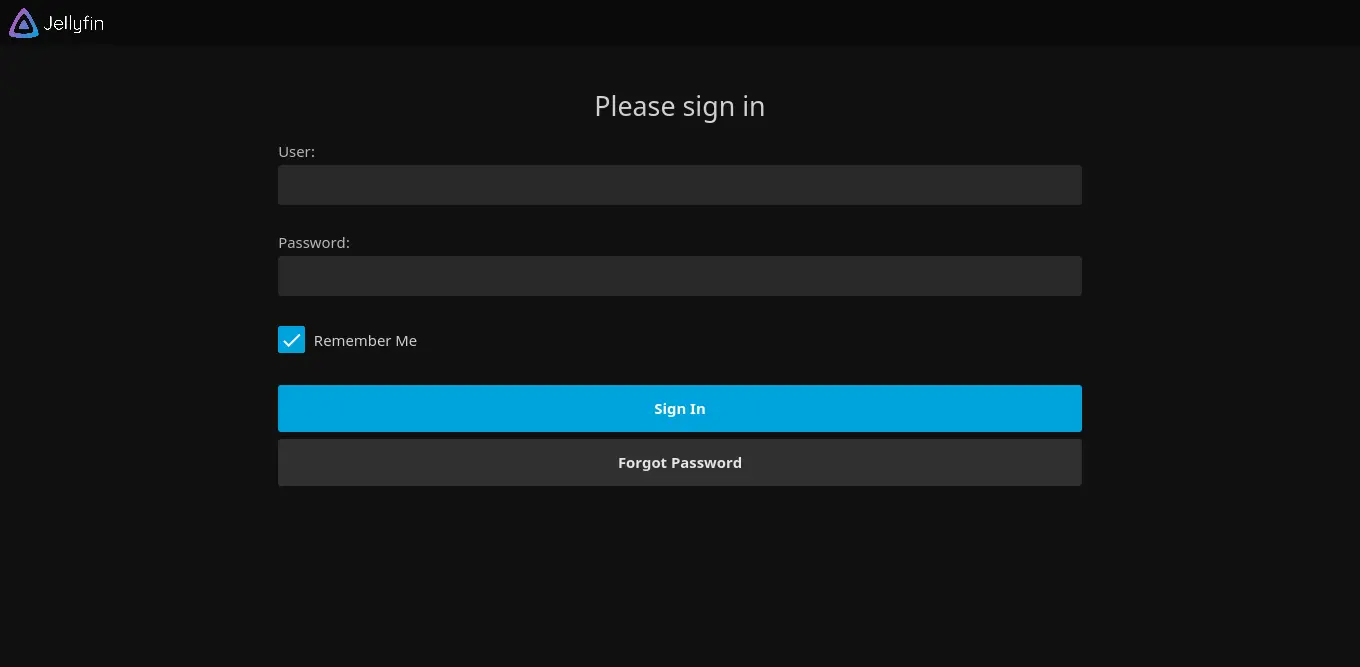
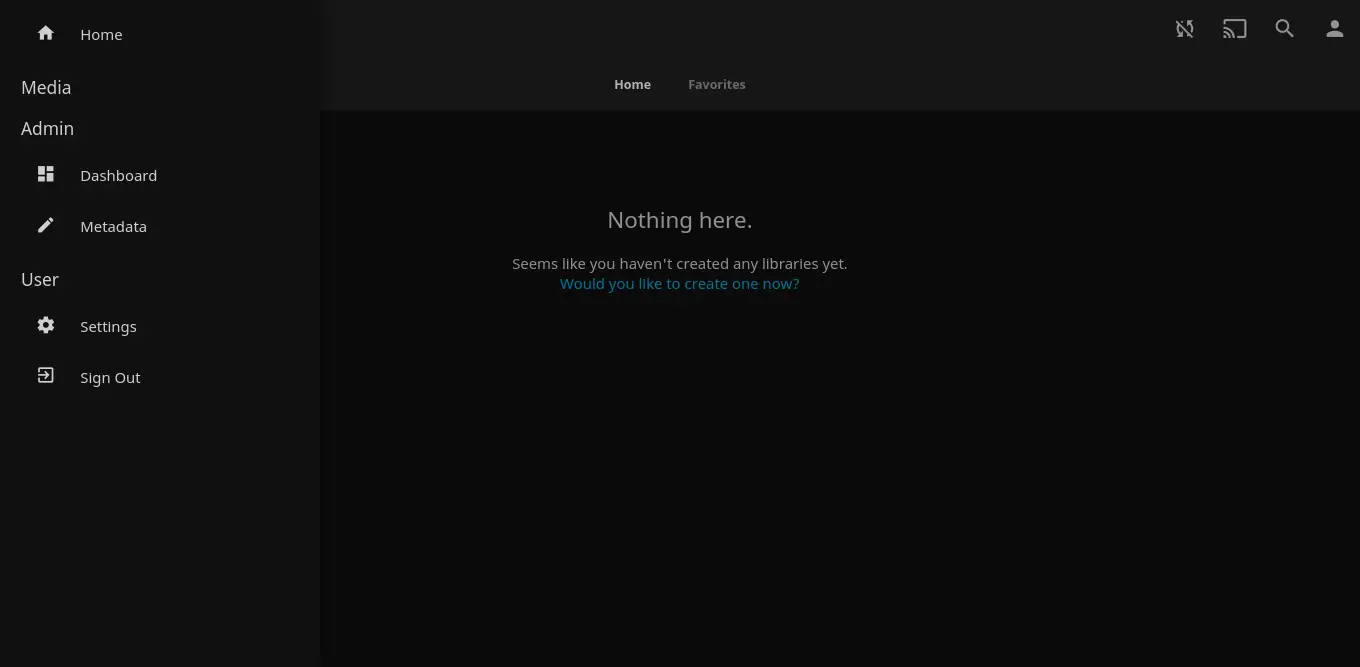
Log in with your credentials and then you will see the main Jellyfin screen.
Conclusion
The open-source community allows us to have many different applications that can be useful for many things. One of them is to have our own multimedia server thanks to Jellyfin.
What do you think about Jellyfin? do you like it? share our posts and help us to grow.