Many companies still rely on an FTP server to share many files. So it is always convenient to know how to install and configure an FTP server. In this post, we will use VSFTPD because it is quite fast, stable, and secure for our purposes.
FTP server and VSFTPD
FTP stands for “File Transfer Protocol” and is a service used for sending and obtaining files between two remote computers. It is widely known by many sysadmins worldwide for being a method of sharing files usually with the client-server architecture. To install an FTP server, a program that can deploy it is required.
The program we chose is VSFTPD. VSFTPD stands for “Very Secure FTP Daemon” and is a secure, fast FTP Server for Unix, Unix-alike, and Linux operating systems. This is the default FTP Server for Ubuntu, CentOS, Fedora, NimbleX, Slackware, and RHEL Linux Distros.
It supports virtual IP configuration, virtual users, per-user configuration, per-source-IP configuration, per-source-IP limits, IPV6, Bandwidth throttling, standalone or inetd operation along with TLS/SSL/FTPS encryption support.
Refer to this official website for further details.
Install vsftpd on Ubuntu
VSFTPD is available in the default repository of Ubuntu. So just log in and open terminal(CTR+ALT+T). Run below command to install vsftpd on Ubuntu using apt-get command.
First, refresh and update the package repository using the command.
sudo apt-get update
Now, let’s search the ubuntu repository,
apt-cache search vsftpd
Run below command to install vsftpd
sudo apt-get install vsftpd
start/stop the vsftpd service
vsftpd runs as a service in Ubuntu. So use systemctl command to start/stop or even enable service to start at boot time as shown below,
So, if you want to start the service, run:
sudo systemctl start vsftpd
In case you want to stop it:
sudo systemctl stop vsftpd
For many networks, the FTP service is important, so if you want it to start along with the system
sudo systemctl enable vsftpd
Like any other service in the system, it is always good to know the status of the system. So the command that does this is as follows:
sudo systemctl status vsftpd
Create a new user, directory and set ownership
You can always use the current user. But it is better to create separate FTP user, Directory and set ownership. This adds more security to the service as well as providing greater flexibility and control over users.
Use the below command to create a user with username ftpuser.
sudo adduser ftpuser
Next, create a directory,
sudo mkdir /home/ftpuser/ftp
Set ownership by running these commands:
sudo chown nobody:nogroup /home/ftpuser/ftp
sudo chmod a-w /home/ftpuser/ftp
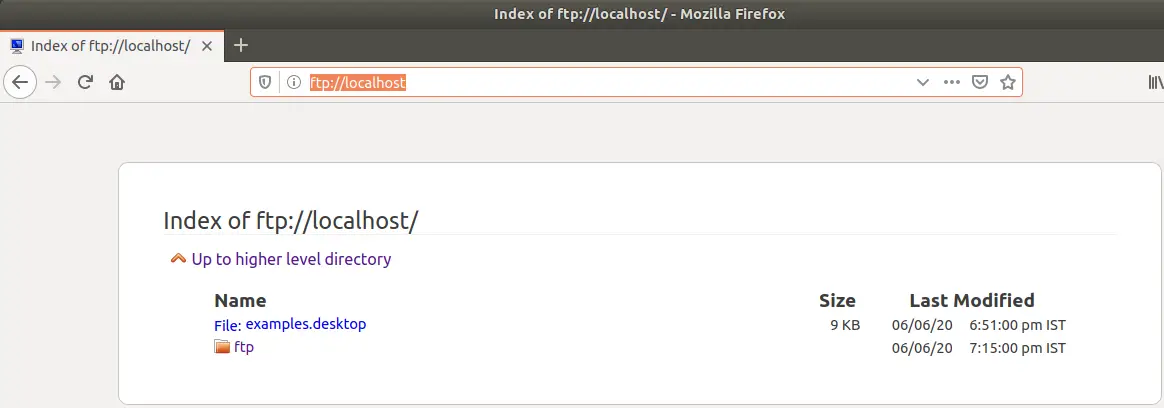
Now, open Firefox or any web browser and type below in the URL.
ftp://localhost/
In case you are installing VSFTPD on a home server, you can access it from the server’s IP address.
ftp://server-IP-address
Then, you have to enter the username and password for ftpuser.
This opens the below and shows the content of the directory as shown below.
By default, the VSFTPD configuration is quite good, but it can always be improved and adapted to our needs. So, we need to add additional configuration to vstfpd.
VSFTPD Configuration
You can configure vsftpd by modifying the /etc/vsftpd.conf file. Restart the vsftpd service after new configurations using the command below.
sudo systemctl restart vsftpd
First, take the backup of the existing configuration file. This will help to revert back in case there is a mistake in modifying the configuration file.
sudo cp /etc/vsftpd.conf /etc/vsftpd.conf.bak_7JUN
Now open your favorite editor and modify the file.
sudo nano /etc/vsftpd.conf
Most of the configuration options are already there but commented. You need to uncomment and modify those to use. The conf file is self-explanatory.
You should at least enable the below configuration option.
 listen=NO
 listen_ipv6=YES
 anonymous_enable=NO
 local_enable=YES
 write_enable=YES
 local_umask=022
 dirmessage_enable=YES
 use_localtime=YES
 xferlog_enable=YES
 connect_from_port_20=YES
 chroot_local_user=YES
 secure_chroot_dir=/var/run/vsftpd/empty
 pam_service_name=vsftpd
 pasv_enable=Yes
 pasv_min_port=10000
 pasv_max_port=11000
 user_sub_token=$USER
 local_root=/home/$USER/ftp
 userlist_enable=YES
 userlist_file=/etc/vsftpd_user.dat
 userlist_deny=NO
The archive is very well documented, however, there are options worth explaining:
- local_enable In this field, VSFTPD will enable authentication for local users.
- anonymous_enable Allows or not access to anonymous users. If active, these users will access the /var/ftp directory
- chroot_local_user is used to limit users to only being able to use their own home directory.
Another aspect to take into account is that you have to open the range of ports specified in pasv_min_port and pasv_max_port to allow all possible connections.
Some more options you can add:
- local_max_rate Sets a value in Bytes/s to limit the bandwidth to local users.
- max_clients sets the maximum number of active clients.
With these options, you can control the network bandwidth.
Accessing to the FTP Server on Ubuntu
Now just start FileZilla or any other FTP client to test the FTP server.
The FileZilla interface is quite friendly and under the main toolbar, we can quickly make a connection.
There you simply type in your credentials and if everything goes well you’ll be able to access the FTP server.
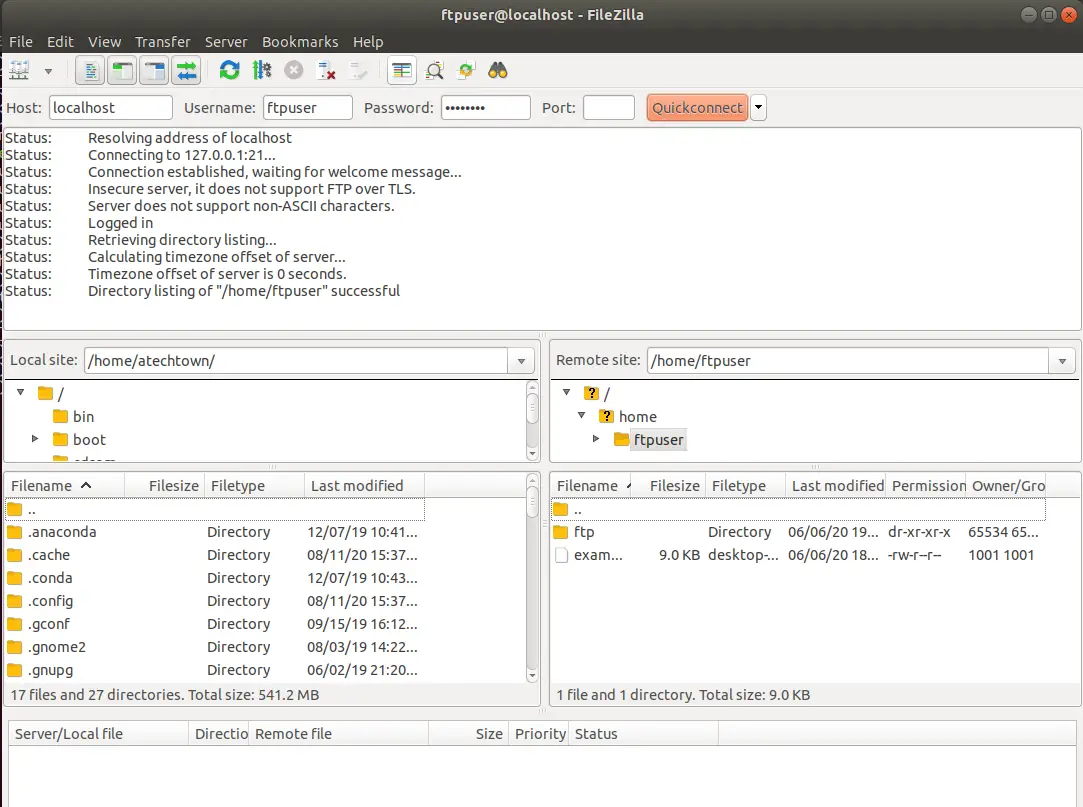
In the image, you can see that a successful connection to the FTP server has been established. Now you can enjoy it with this client.
Remember that if you have done the tutorial on a server, then you have to include the IP address or hostname in the host field.
Conclusion
An FTP server is a solution widely used by many to share files within a network. This makes it very useful for companies and businesses.
Thanks to VSFTPD we will be able to configure an FTP server in a fast, simple and safe way.