Have you ever thought of using Coreldraw on Linux? Unfortunately, it is not available for Linux. Of course, you can install it using the Wine package. But, there are good alternatives available in Linux for CorelDraw. One of the options is Inkscape.
So in this post, let’s learn how to install Inkscape on Ubuntu 20.04 Linux.
Inkscape for Ubuntu 20.04
Inkscape is a cross-platform vector graphics editor available for Windows, Linux, and macOS. It has a wide range of functions that make it a powerful tool and all this under a GPL license, that is, it’s open-source.
SVG is Inkscape’s native format but is also supports generating layered files, exporting to formats such as PNG, JPG, PDF, EPS.
Some possibilities offered by Inkscape are:
- Flexible drawing tools.
- Broad file format compatibility.
- Powerful text tool.
- Bezier and spiro curves.
- Plugin Support
There are many strengths of Inkscape, so there is a page dedicated to it. If you want to know all of them, you can visit this link.
Install Inkscape on Ubuntu 20.04
Inkscape is available for Ubuntu 20.04 and we even have several different methods to install it. It is up to you to choose which one is the best and most suitable. Choose either, do not mix.
Method 1: Install Inkscape using the official repository
Inkscape is built into the official Ubuntu repository, so you can install it by opening a terminal from the main menu or by pressing the CTRL + ALT + T keys and executing the following command:
sudo apt install inkscape
After entering your password, it will start the download and installation. Then you can run it from the main menu.
This method is quite safe but does not give us the latest stable version of Inkscape so it may not be the best.
Method 2: Using the Inkscape PPA
To solve this situation, Inkscape’s development team has made available a dedicated Ubuntu 20.04 PPA where we can access the latest version available of the application.
To do this, open the terminal and run it:
sudo add-apt-repository ppa:inkscape.dev/stable
Then, it updates all system repositories, to load the new PPA:
sudo apt update
And finally, install Inkscape using the following command:
sudo apt install inkscape
This way, you can install the latest version of Inkscape with a few commands and using a PPA. It’s up to you now, if you like to have third-party repositories added.
Method 3: Install Inkscape via the Ubuntu Software Center
We have already commented that the Ubuntu application store is one of the most complete in all of Linux. Therefore, it was expected that Inkscape would be available there.
Thanks to the Ubuntu Software Center the installation is quite simple and without having to use the terminal that many do not like.
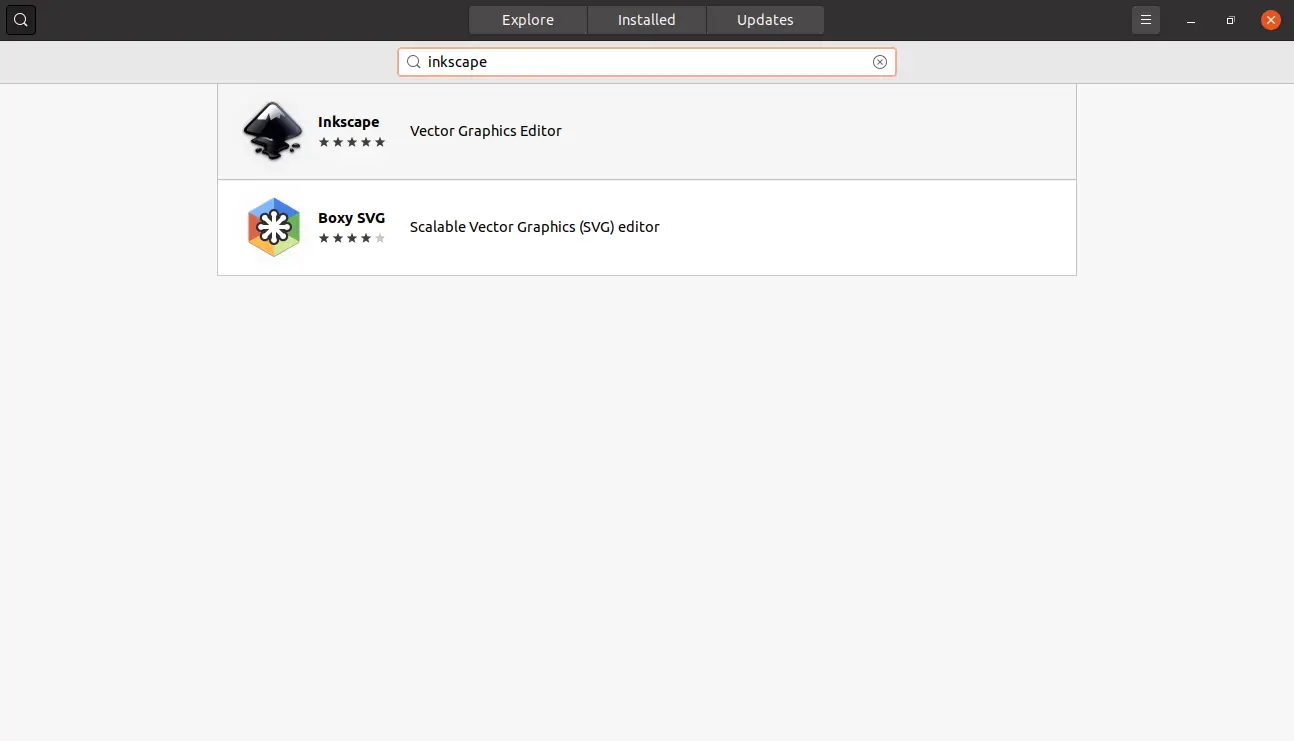
So, open the Ubuntu Software Center from the main menu. And search for Inkscape from the search engine.
Select the best possible result that refers to Inkscape, in this case, it is the first one.
Now you will see information about the package and the program in question. Data such as size, comments, and a description will appear.
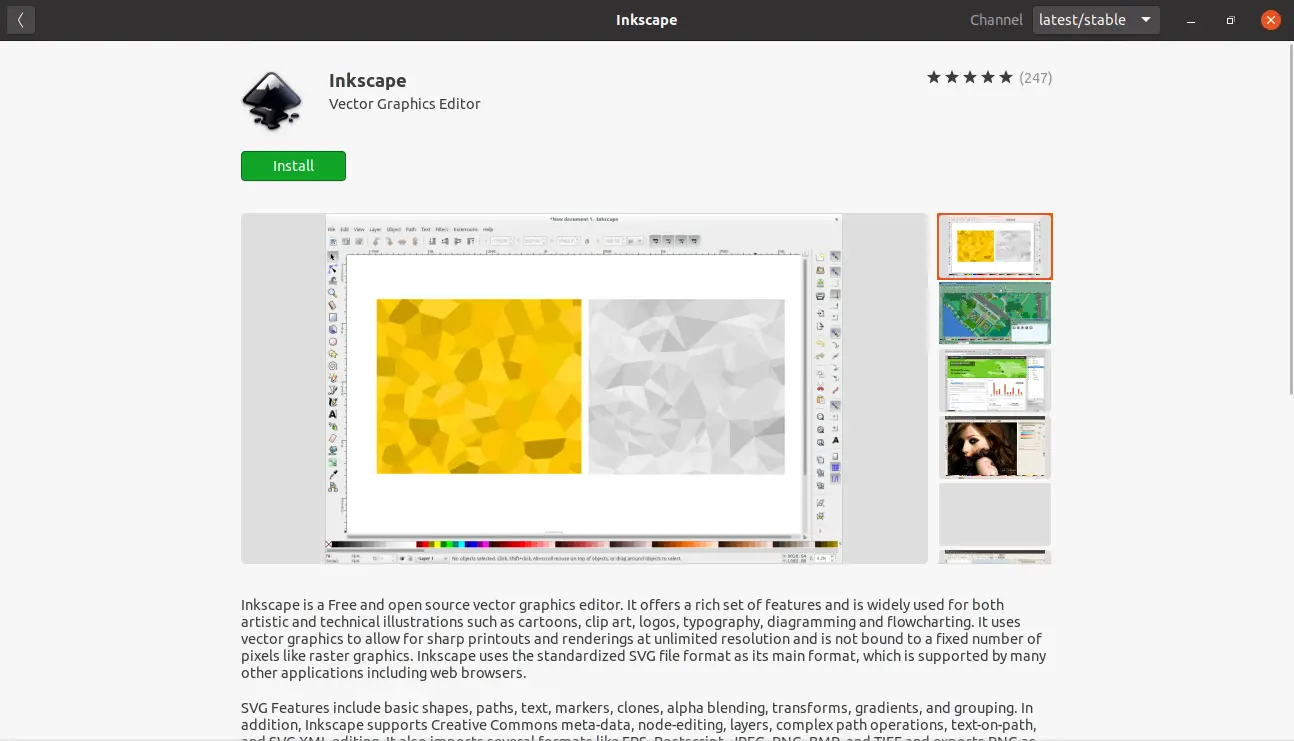
To start the installation, just press the Install button.
You can also run Inkscape from the main menu at the end of the process.
Method 4: Install Inkscape using the snap command
One last way to install is to use the Snap command to do it. This command handles the self-contained package technology of Ubuntu that we have talked about before.
As with the previous methods, we will have the latest version available quickly and easily.
So, open the terminal and run it:
sudo snap install inkscape
Enter the password and wait for the installation to be completed.
How to use Inkscape
Once you run Inkscape, you will see the following screen:
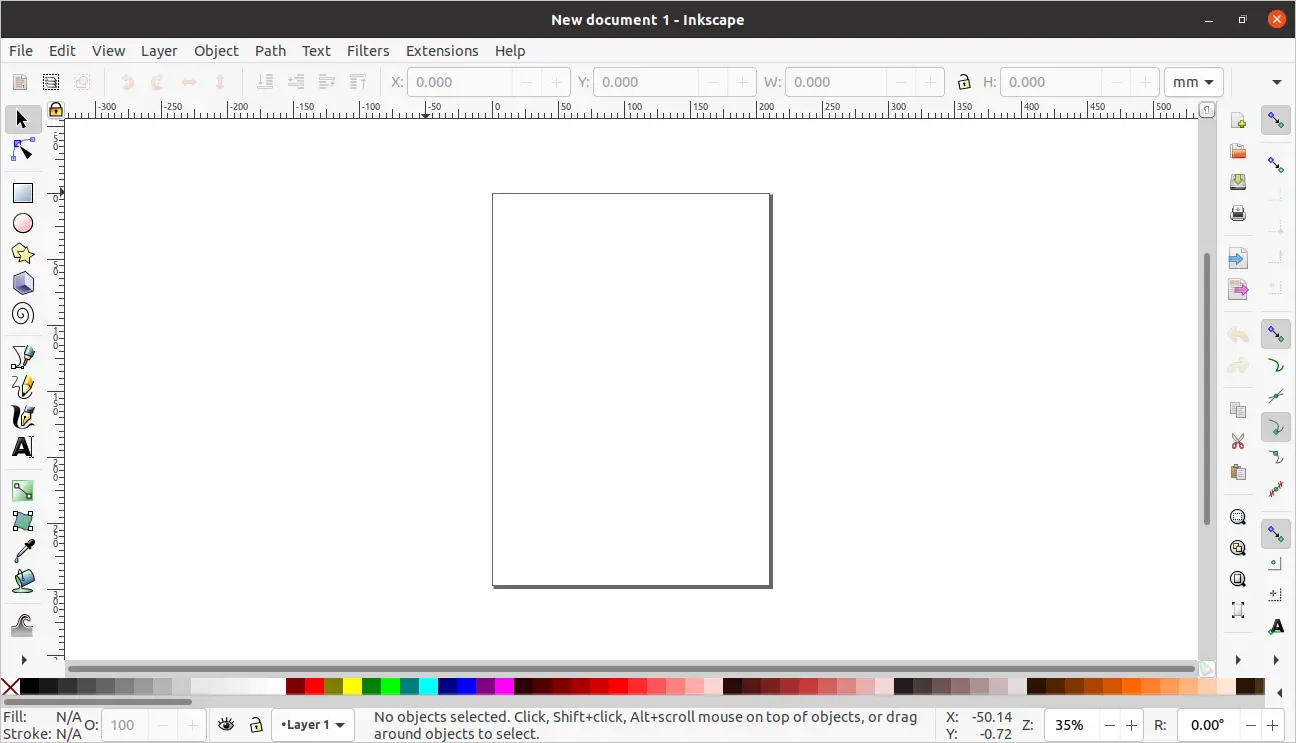
This is the graphical interface and workspace of the application.
At the top, we have the menu bar where the main options of the application are.
Below the command bar where there are buttons with many actions to perform quickly. It is like a shortcut bar because these options can be done with key combinations and so on.
On the left side the toolbar where we find the basic set of actions to perform our drawing.
In the middle in the form of a blank sheet, we find the work area that by default appears with the size A4. You can change this from the Menu File > Document Properties
This way you can start working with the program.
Uninstall Inkscape on Ubuntu 20.04
The uninstallation process will depend on the installation method chosen.
If you have used method 1 or 2, just run the following command:
sudo apt autoremove inkscape
If you have used method 3 or 4, you can also use the Snap command to uninstall it. To do this, open a terminal and run it:
sudo snap remove inkscape
And this way you can quickly uninstall it.
Conclusion
Inkscape is presented to us as an open-source alternative to well-known programs such as Coreldraw. That is, Inkscape can be used by students and professionals in vector image manipulation thanks to its license.
However, Inkscape can be quickly installed on Ubuntu 20.04 thanks to the following methods
Tell us, do you like Inkscape? have you used it? do you work with images? leave us your comment and share this post.
Thanks for reading.