This year has been marked by the launch of Ubuntu 20.04. The last LTS of the extraordinary distribution of Canonical is full of new features that you can know thanks to our post. Installing Ubuntu 20.04 as well as the vast majority of Linux distributions is a fairly simple task. However, it can be a bit confusing for a beginner. That’s why today we will explain it to you step by step.
To make this tutorial, I will use VirtualBox but the process is the same as if it was in real hardware.
So, let’s get started.
1. Download Ubuntu 20.04 and create a USB Bootable drive
First of all, you need to have a Ubuntu Bootable USB. Windows users can create it using Rufus and download the Ubuntu image from this link.
Once the Bootable USB is ready, you have to access your computer’s configuration and indicate that it will boot from USB.
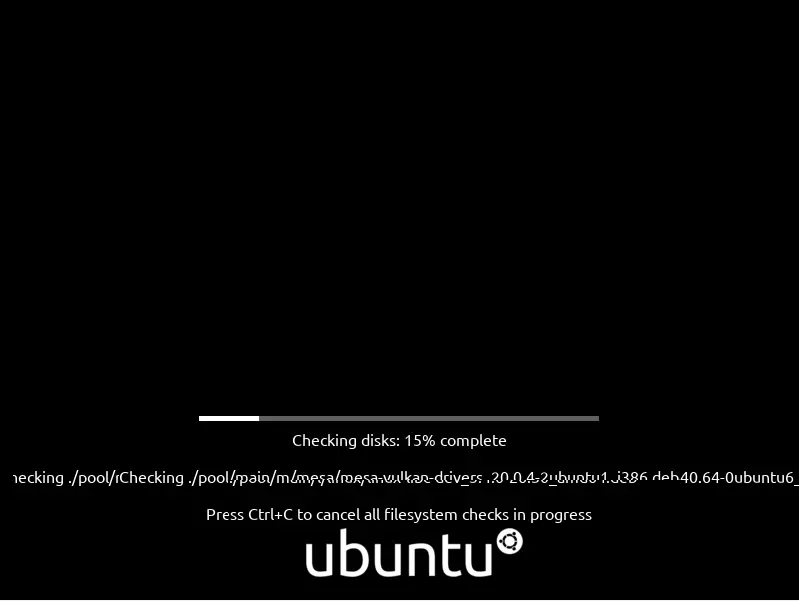
When it is ready and it has loaded, you will see this first image.
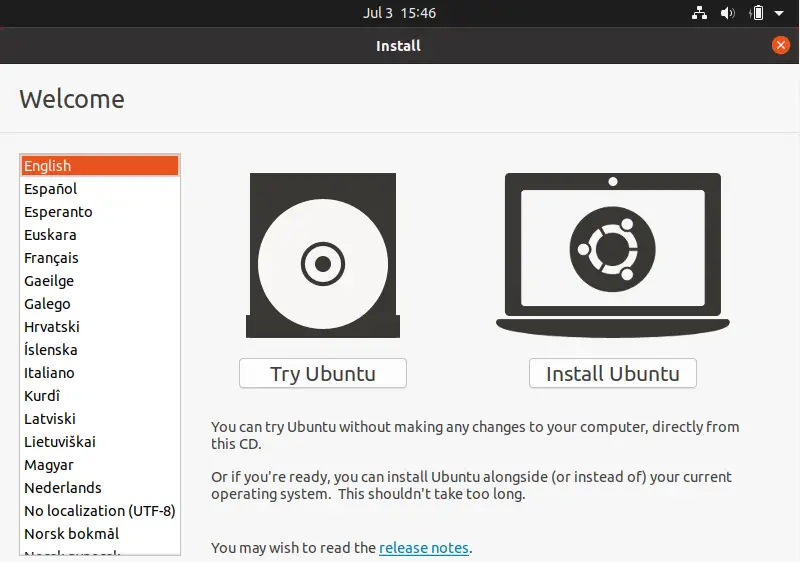
After the process is complete, you can choose to try Ubuntu without affecting your hard drive or install it. Also in this part, you can choose the language to use.
2. Welcome Screen
As we are going to install it, we select the language and click on the Install Ubuntu button.
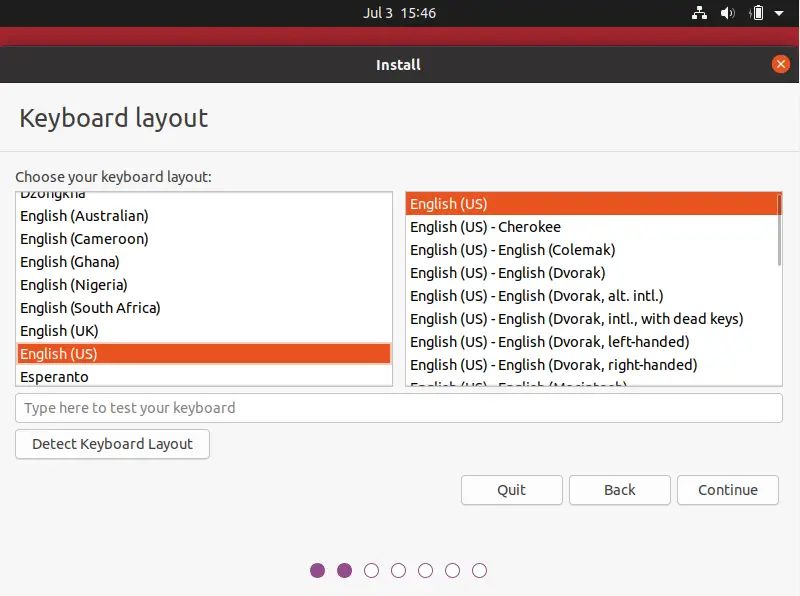
3. Choose the Keyboard Layout
On the next screen, choose the Keyboard layout. You can even let the system do it for you by clicking on Detect Keyboard Layout. When you choose it, click Continue.
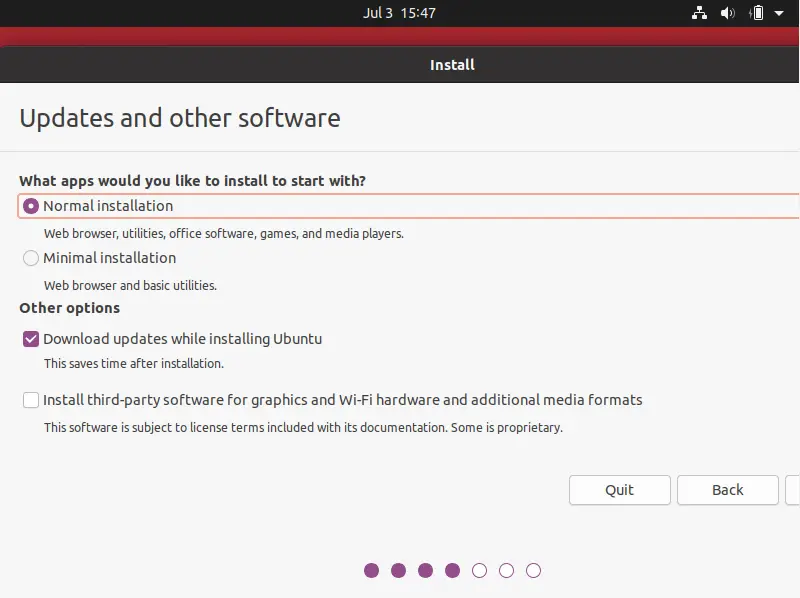
On the next screen, you can customize the installation. First of all, you can choose between a minimal or a normal installation. If you don’t want to install too much after doing the installation, then choose Normal Installation.
On this same screen, you have the option to install the Ubuntu updates during the installation. It is a good idea to do this. And if you want the installation to be as complete as possible, you can choose to install third-party software such as hardware drivers and more.
Continue the installation.
4. Choose Installation type
Now it’s time for the more complicated part, which is choosing where the installation will take place. In this case, as it is a virtual machine, it will appear that no operating system has been detected and the installer will propose to remove everything and install Ubuntu.
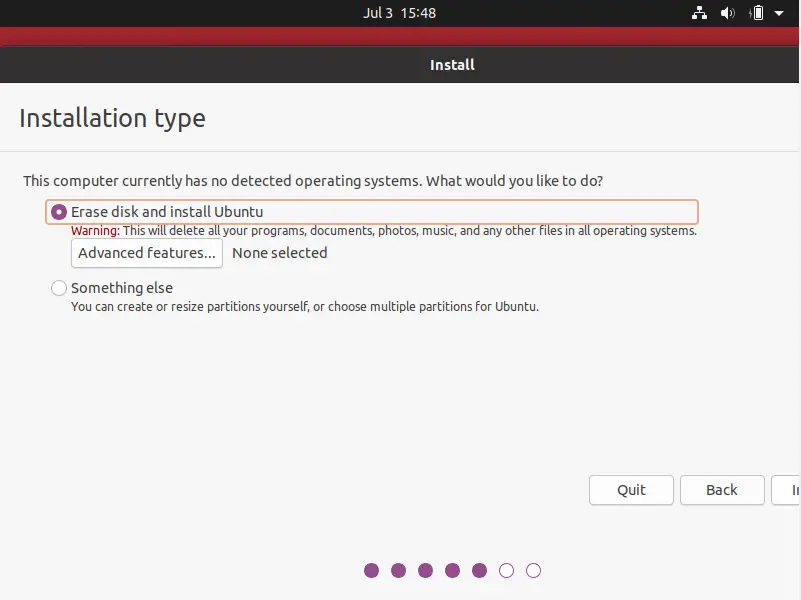
However, to show the correct process, I will choose the Something Else option. This option is the one you should choose when you have some other system in your hard drive.
On this screen, you will see that the disk is empty. So, click on New Partition Table.
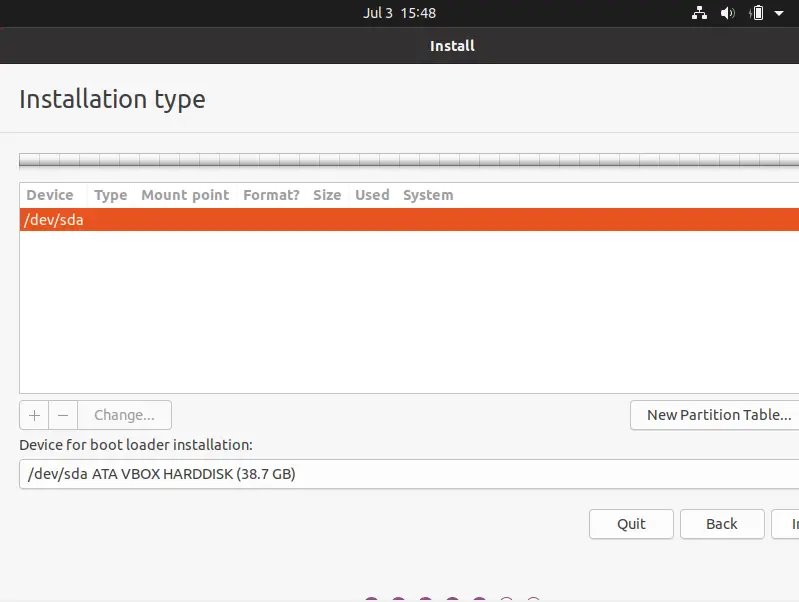
Now the hard disk has a partition table and it informs us about the capacity of the hard disk.
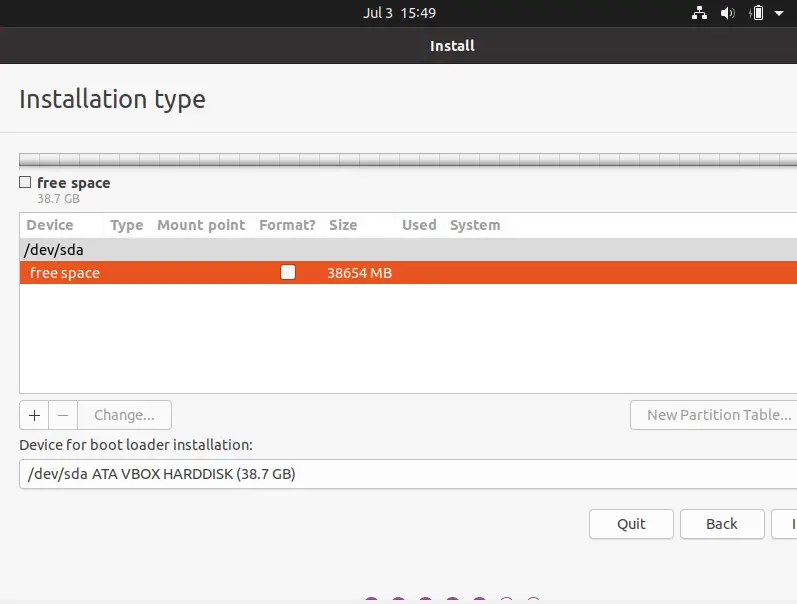
5. Creating the partitions
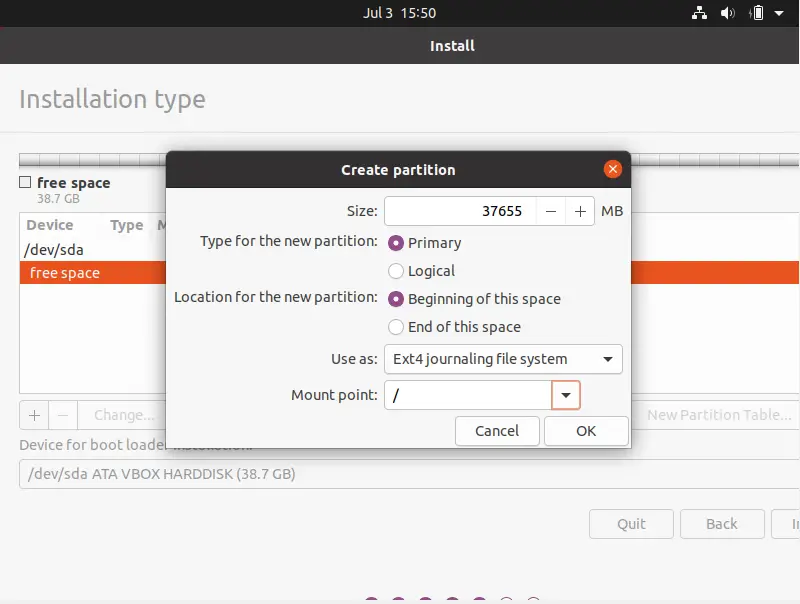
To install Ubuntu you have to create at least two partitions. One is dedicated to the system and the other is called Swap. To create a partition, click on the + button.
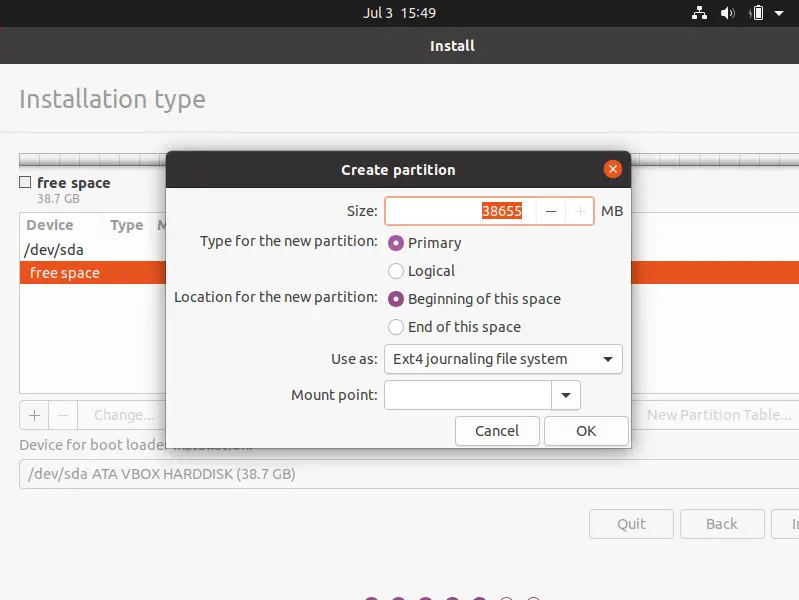
In this window, you will be able to create it as you wish. For example, define the size and a file system. In my case, I took away 1Gb for the other partition and I have chosen EXT4 as the file system because it is the recommended one. And as a mount point / which is the root of the system.
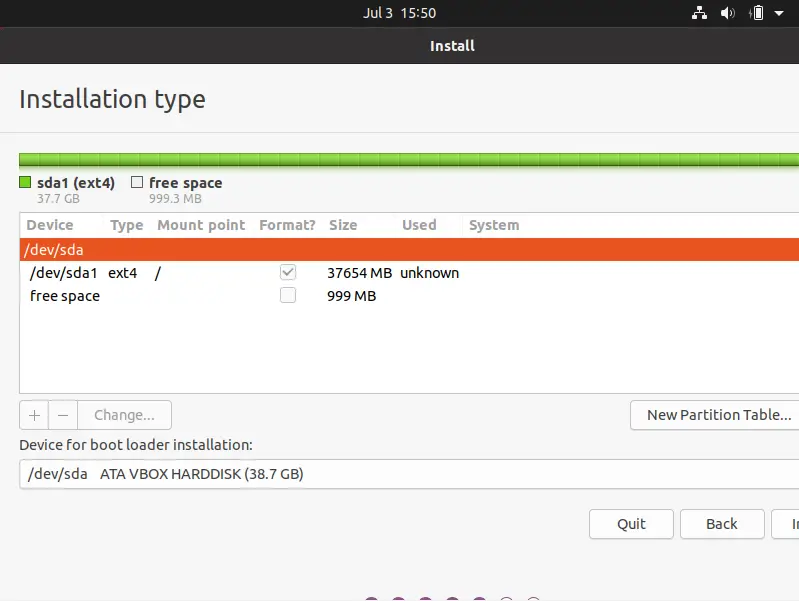
When accepting the changes, we notice that the distribution of the hard disk will have changed.
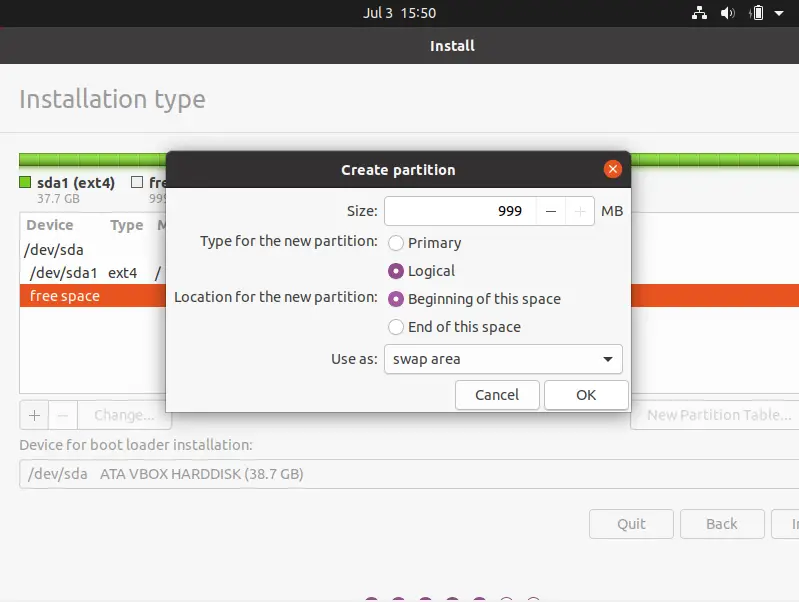
Now we have to create the second partition with the remaining space. Click on the + button again. It is recommended that this partition does not exceed 2Gb and in case your computer has enough RAM you can even not create it.
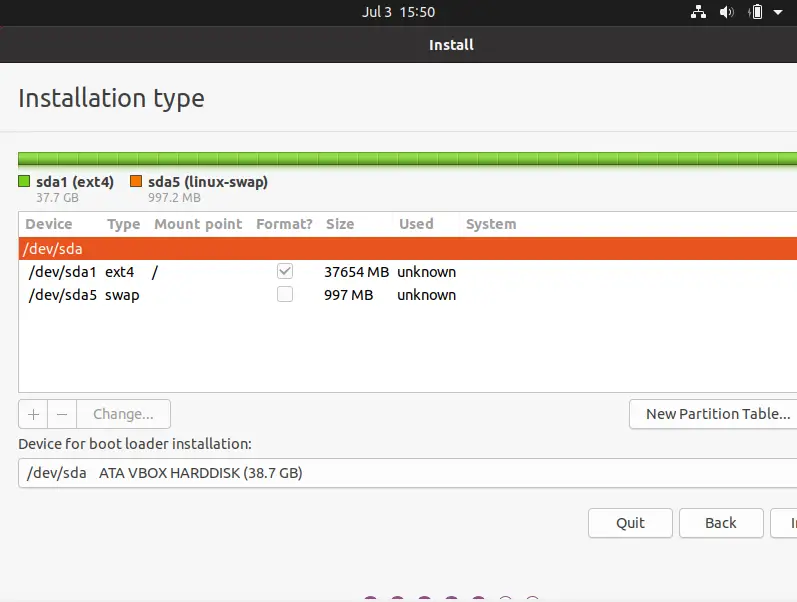
Again, by accepting the changes the hard disk will remain like this.
If you agree, accept the changes and continue. As it is a quite delicate operation you will be asked to confirm the changes.
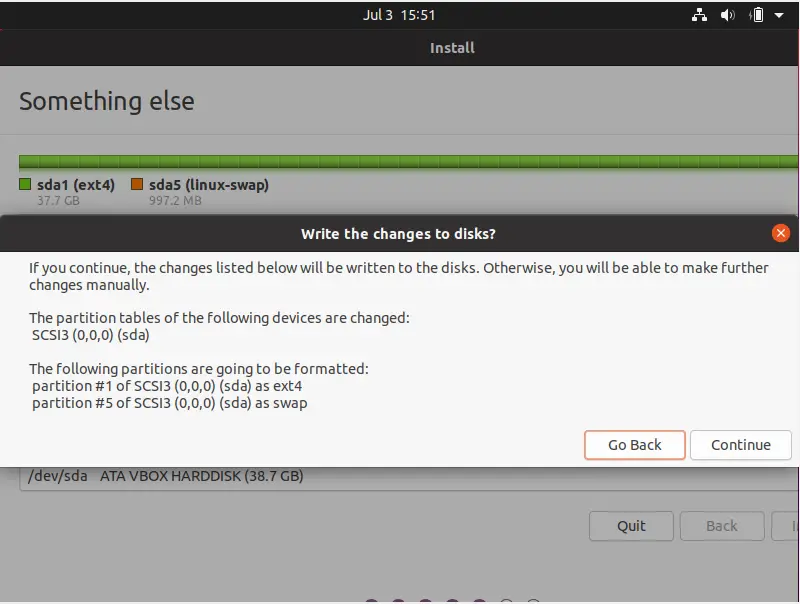
And it will start the installation.
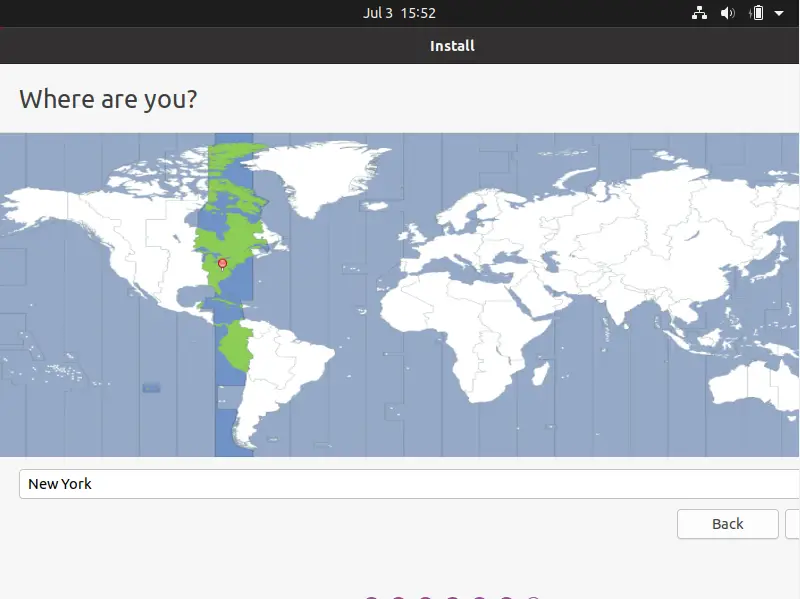
6. Choose Location
During the installation, you will see some screens. The first one will ask you to choose your location.
7. Create User
Then, in the next one, you have to create the user that will use Ubuntu. You will have to define a password as well as a hostname.

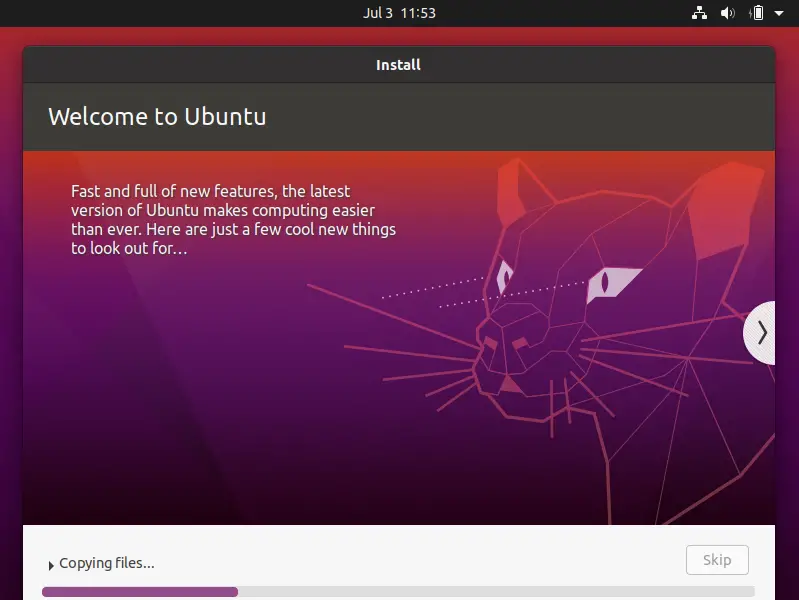
Then, you will see the slides that will introduce you to Ubuntu, while the process is completed.
In the end, you will see a message like this indicating that Ubuntu is already installed.
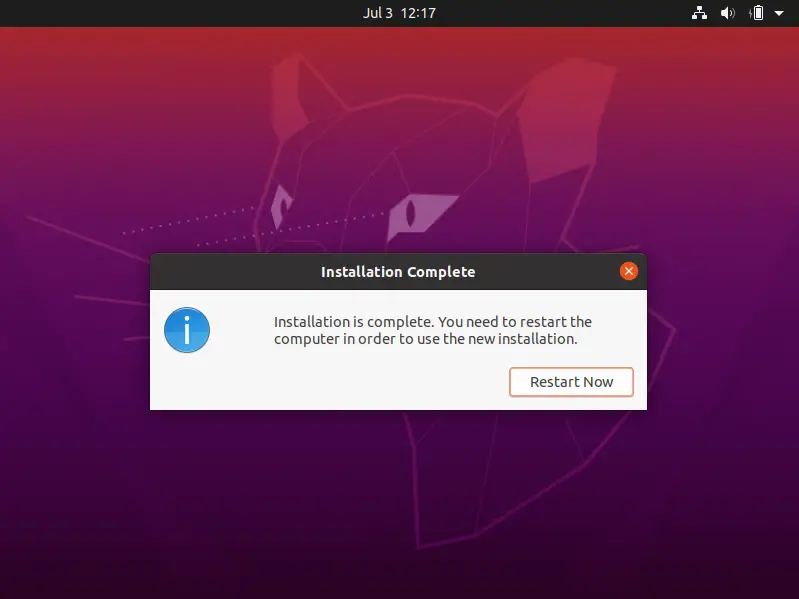
8. Restart the system to complete installation
Reboot the system and unplug the USB stick.
And you’ll have your Ubuntu ready to work.

So, the process of installing Ubuntu 20.04 is complete. The distribution is ready for you.
Conclusion
Installing a Linux distribution is a simple task that can sometimes be complicated for some people. So, it is always a good idea to read and document the installation process so that you have a clearer idea when you decide to do it. That was the main goal of the post, to help make the process easier for beginners.