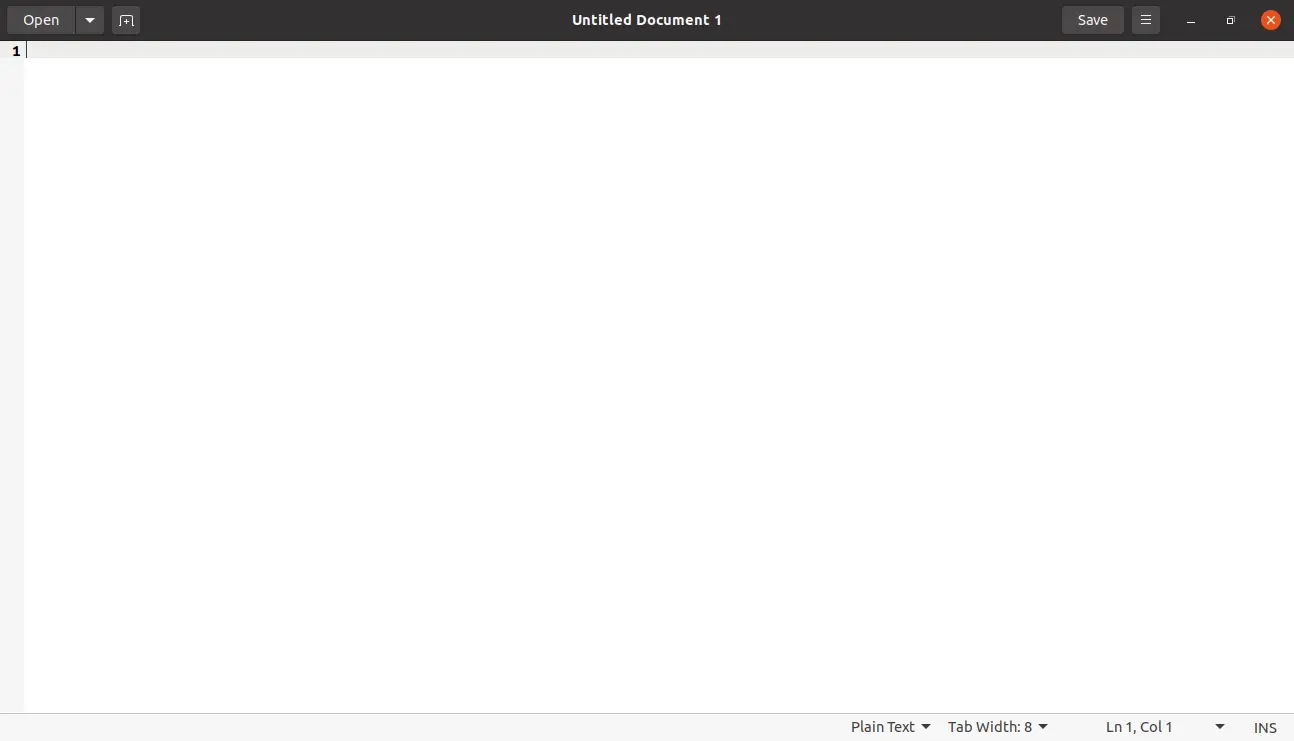
Many of today’s operating systems have some kind of text editor. And as we well know in Ubuntu we have many of them. Some are very complex and professional, such as Microsoft Visual Studio Code or Atom, but there are also simpler ones. Something to edit a configuration file or simple to save some information quickly. Well, today we have to talk about a very popular one and also learn how to install it. Today you will know how to install Gedit on Ubuntu 20.04
Gedit and Ubuntu
Gedit, a very powerful word processor and code editor that is part of GNOME And as we know, Ubuntu uses GNOME as its desktop environment. Therefore, it has been installed by default since the beginning of the Canonical distribution.
One of the virtues of Gedit is that besides having the typical word processor functions, such as copy, paste, print, spell checker, it has the option of developing programming files in several languages. This is because it has syntax highlighting for many programming languages, making it ideal for a small edition or for visualizing the code.
Of course, Gedit is open source and compatible with the whole Linux universe thanks to GNOME. So in Ubuntu, we can also count on it.
Install the latest version of Gedit on Ubuntu 20.04
Being part of GNOME, Gedit is already installed and included in any Ubuntu installation. So we don’t have to do anything to install it.
On the other hand, the version that Ubuntu 20.04 incorporates is not the last one available. And that we can modify because thanks to Flatpak we can get the last stable version of the application.
If you want more information about Flatpak, you can read this post:
Flatpak vs Snap: Which one should I use?
First it is recommended to uninstall the Gedit package that includes Ubuntu.
So, open a terminal and run:
sudo apt remove gedit
And now we proceed to install an updated version of Flatpak thanks to a PPA
sudo add-apt-repository ppa:alexlarsson/flatpak
sudo apt update
And finally, install Flatpak:
sudo apt install flatpak
Gedit is hosted on Flathub so we have to add this repository to Flatpak.
flatpak remote-add --if-not-exists flathub https://flathub.org/repo/flathub.flatpakrepo
And now we can install the latest version of Gedit running:
flatpak install flathub org.gnome.gedit
So, you can run it from the main menu or with the following command:
flatpak run org.gnome.gedit
As you can see, the procedure is very simple.

Removing Gedit
In case you want to remove Gedit from your system, there is no major trick. To do so, open a terminal and execute the following command:
flatpak uninstall --user org.gnome.gedit
And with that, the whole installation process will start.
If you want, you can also uninstall Flatpak but this is optional. To do this, you only have to execute the following command
sudo apt autoremove flatpak
And that is enough.
Conclusion
Ubuntu already comes with Gedit installed by default, but not with its latest version. After reading this post, now you know how to install Gedit on Ubuntu 20.04, and not only that but you can install the latest version without problems. This veteran text editor not only fulfills the basic functions of an editor but it even has syntax resets for many programming languages.
So, we want to know about you, do you use Gedit? Or do you prefer another editor? Leave us a comment and share this post.