Are you looking for a free and open-source screen recorder for Ubuntu? Then you should definitely try Simple Screen Recorder. Although the name says simple it has a really good feature which will you love.
In this article, we are going to show how to Install Simple Screen Recorder on Ubuntu 20.04 and will also cover how to use it in brief.
Simple Screen Recorder
Simple Screen Recorder is one of the best screen recorder available for Ubuntu 20.04. You can record the entire screen, part of it, or even record OpenGL applications. Recording Steam games is also possible.
Like many Open-source applications, Simple Screen Recorder was born as a personal project. But the creator incorporated more and more features and made it grow into one of the most complete.
One of the features that make this program stand out is its ability to take advantage of the multiple threads of the processor. This allows it to process and create recordings quickly.
On the other hand, other features make this application the most complete one there is. Some of them are:
- A simple graphical user interface (Qt-based) that allows you to manage and configure the application quickly.
- Faster than VLC and ffmpeg/avconv.
- Records the entire screen or part of it, or records OpenGL applications directly (similar to Fraps on Windows).
- Synchronizes the audio and video properly (a common issue with VLC and ffmpeg/avconv).
- Reduce the video frame rate if your computer is too slow.
On the other hand, some users like to know about recording statistics, as Simple Screen Recorder shows statistics during recording (file size, bit rate, total recording time, current frame rate, …).
Install Simple Screen Recorder on Ubuntu 20.04
One of the biggest advantages of Simple Screen Recorder is that it is available for most Linux distributions. So installing it is not a difficult matter.
The application is in the official repositories of Ubuntu and its flavors, Linux Mint, and ElementaryOS. So if you use some of these distributions, just open the terminal and run:
sudo apt install simple screenrecorder
However, if you want to enjoy the latest stable version available, you can add the application’s PPA repository:
sudo apt-add-repository ppa:maarten-baert/simplescreenrecorder
sudo apt update
sudo apt install simplescreenrecorder
This is the best Screen Recorder for Linux
Using Simple Screen Recorder
Assuming that the application is successfully installed on your system, the first thing you have to do is run it. When doing so, you will see the main screen of the application.
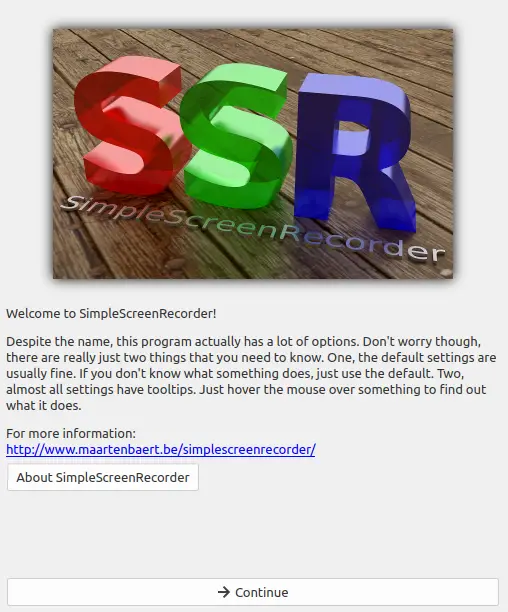
The main screen makes a presentation of the application, as well as informs us that we have to configure some things to record the screen. However, they call us to calm down because there are not so many things.
When you click on Continue, you’ll see all the available options.
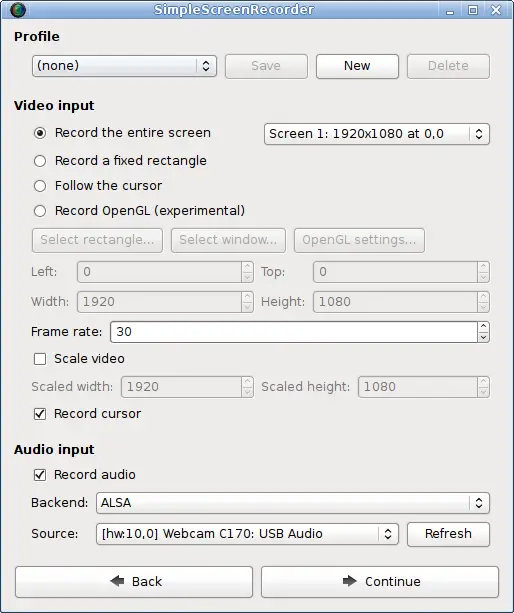
Configuring Simple Screen Recorder
First, in the Input profile section, is where you manage the different profiles that the application accepts. So we can create, delete, or modify them. This is quite useful in case we have to make different screencasts with different options.

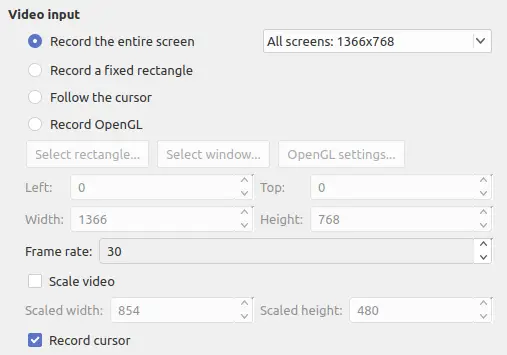
Then you will see the Video Input section. In it, we will have to select what we want to record. If it is the whole screen, we can also choose which monitor to record.
Also, the application allows us to record a single rectangle. In this case, we can select which are the coordinates, clicking on Select Rectangle and draw the rectangle to record.
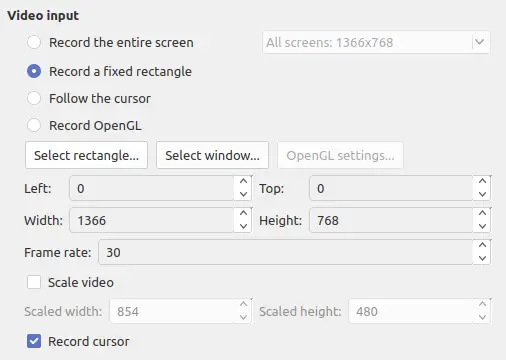
Another option is to manually indicate these parameters of the rectangle in the Left, Top, Width, and Height boxes.
Also, you can choose a window to record. This can be done by clicking on the Select Window button.
In addition, you can check the Follow the Cursor option to condition the recording to the mouse cursor.
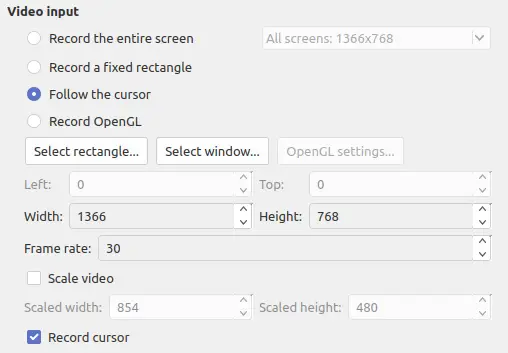
Or Record using OpenGL where the Options button will be activated.

Any of the marked options will allow you to choose the Frame Rate if you want to scale the video or include the Cursor.
In the final part, you will have the Audio options. First of all, if you want to record the Audio. As well as the Backend and the sound source.
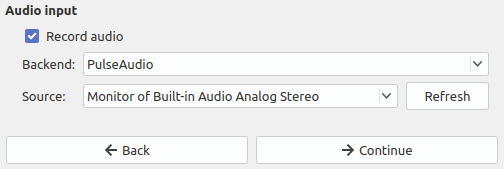
When you’re ready, click on the Continue button.
Configuring Simple Record Screen II
The window that appears is the one that allows you to configure the output of the file.
First of all, you will find the Output profile section wherein a similar way to the previous screen, you can configure the output configuration profiles.

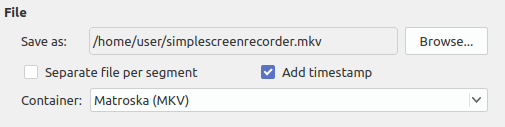
Below is the File section and there you can set the path and name of the file. Also, you can choose the file container. In this case, Matroska MKV is selected.
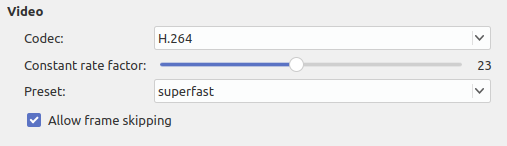
Below is the Video section where you can choose the codec, constant rate factor, and other things.
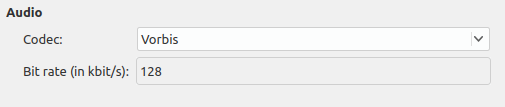
Finally, we have the Audio section where you can choose the Codec and the bit rate.
When you define the options, you can click Continue.
Record the screen in Ubuntu with Simple Screen Recorder
Then, you can see the recording screen.
First, there is the Start Recording button which is quite descriptive.

However, for more fluidity of the application, you can enable Hotkeys to stop and start recording.
You will also have a section with the recording information and a preview.
In the end, with the Save and Cancel buttons you can choose to save the recording or not.
Conclusion
This is a wonderful tool to record your screen. This makes it ideal for many content creators who need to show what they are doing on the desktop.
On the other hand, this application is quite popular and uses the ability to use multi-processes to speed up the processing of videos. This along with many other features makes it the best.
So recording the screen in Ubuntu is an easier process than you think.