Downloading files from the Internet is a routine task in any operating system. And although it does not require any additional program, the truth is that if you do many downloads, a manager will be useful. Today you will learn how to install uGet on Ubuntu 22.04 a powerful download manager.
According to uGet’s website
uGet is a download manager that combines lightweight resource usage with a very powerful feature set. Here are a few of the great features available in uGet. Click the button below to view the full set of features.
Despite being so powerful and packed with important features, uGet is quite lightweight and efficient in its consumption of system resources.
uGet is loaded with features that will make you forget about other download managers. Some of them are:
- uGet supports up to 16 simultaneous connections PER download.
- It offers Browser Integration. Firefox, Chrome, Opera and more are supported.
- uGet offers the ability to download videos from YouTube using the YouTube API
- Clipboard monitor.
- Pause and Resume downloads
- You can download from a variety of different protocols including HTTP, HTTPS, FTP and more
As you can see, uGet has many advantages that make it a modern and reliable download manager.
Install uGet on Ubuntu 22.04
Although uGet is an old project, there are two recommended methods to get it on Ubuntu 22.04 without too many problems.
Installing uGet using the Ubuntu Software Center
The Ubuntu software center is one of the main application stores you can find in all of Linux.
As a modern store, the process is limited to search, find the app and install. Everything is quick and easy.
First, open the app store using the main menu.
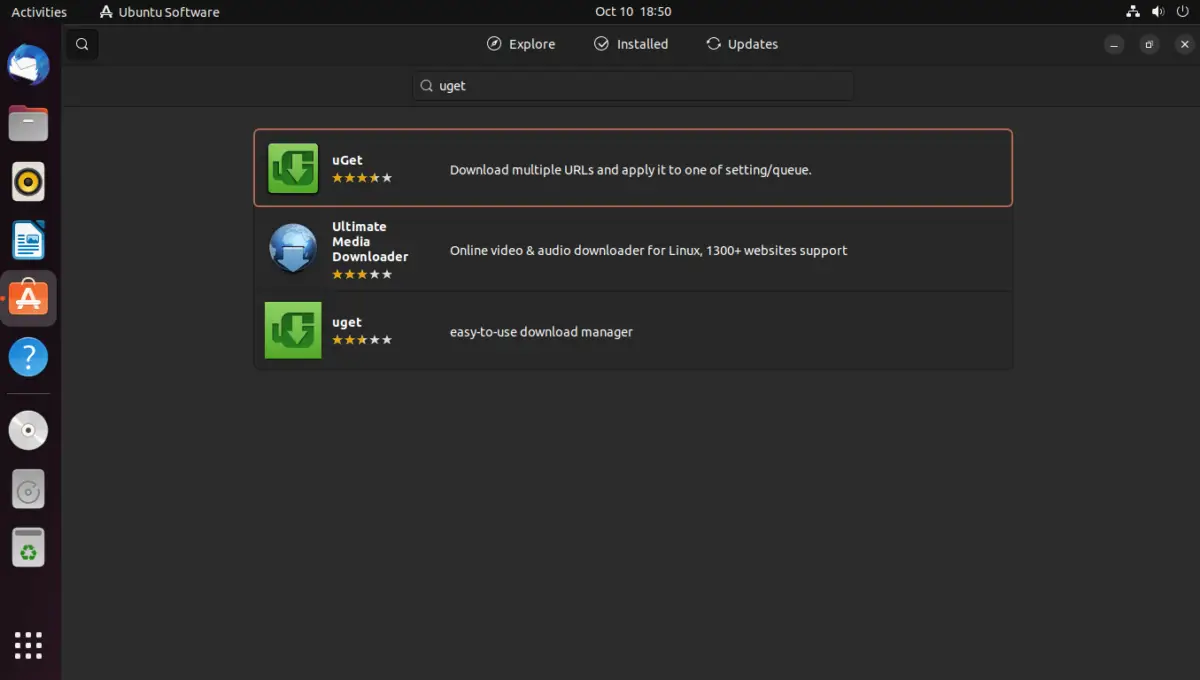
When it opens, search for uGet from the text field.
You will get a few matches, but select uGet. It is the first one.
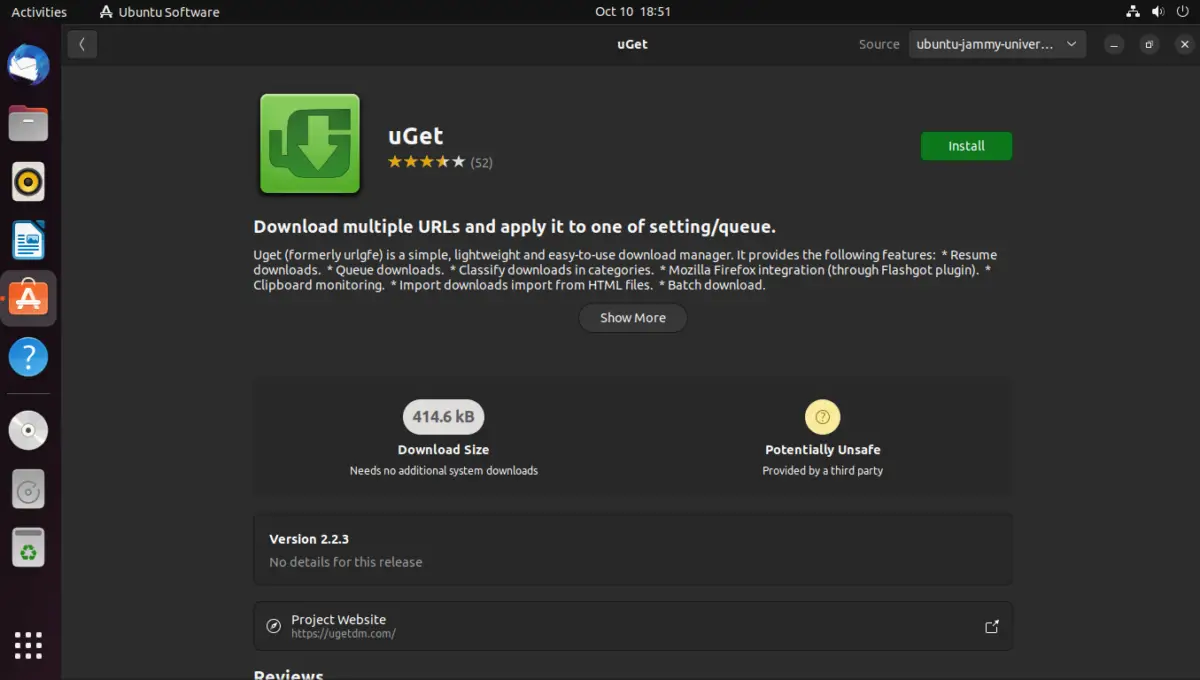
As soon as you click on it, you will get additional information about the package to be downloaded. Just click on the right Install button to start the download.
At the end, you will be able to run it from the main menu.
Using the terminal to install uGet
If you want to use the terminal for this whole process, you can do it without issues.
First, open a terminal from the main menu or by pressing the CTRL + ALT + T keys.
When it opens, just run
sudo snap install uget --edgeSimilarly, when the process is finished, you will be able to run it from the main menu.
The uGet interface
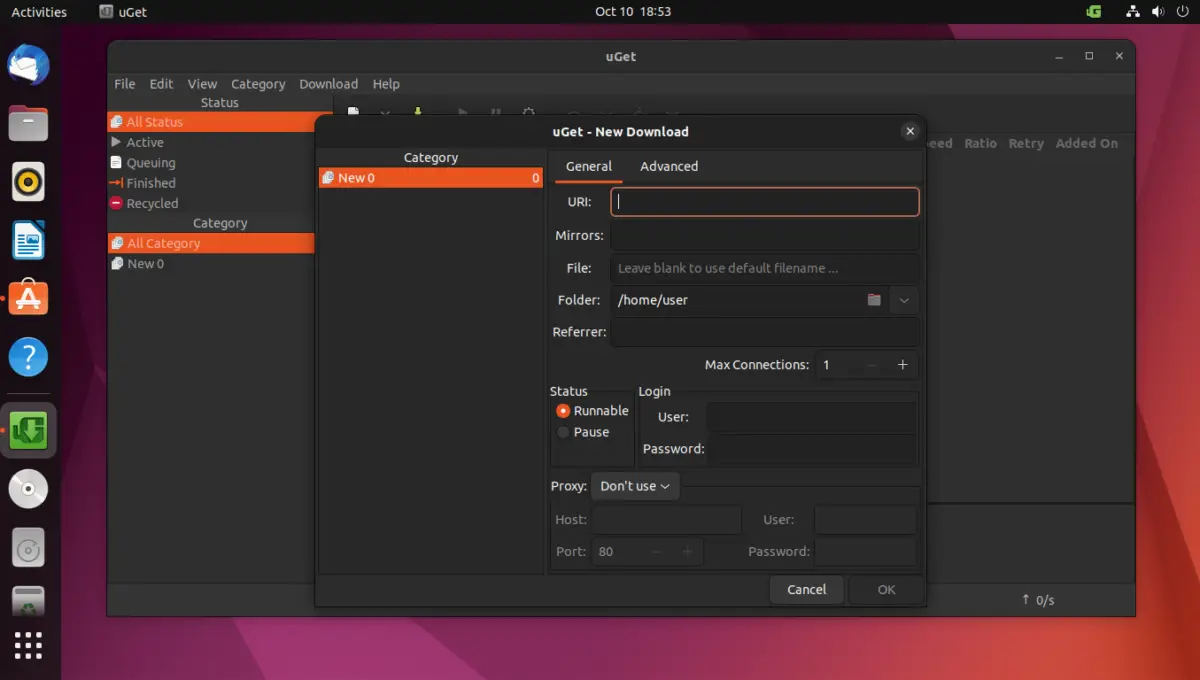
As soon as you start the graphical interface, you will see this screen:

As you can see, it is very similar to Torrents applications, so you will have no issues adapting it.
From the add download button on the toolbar, you can quickly start using it.
From there you can add the URL and set the download options such as the number of connections and the path.
Uninstall uGet on Ubuntu 22.04
If you no longer want to use it, the best thing to do is to uninstall it so that it doesn’t take up more disk space. That’s why, depending on the method, you can uninstall uGet.
If you prefer to use the interface, it is best to use the same method to uninstall uGet.
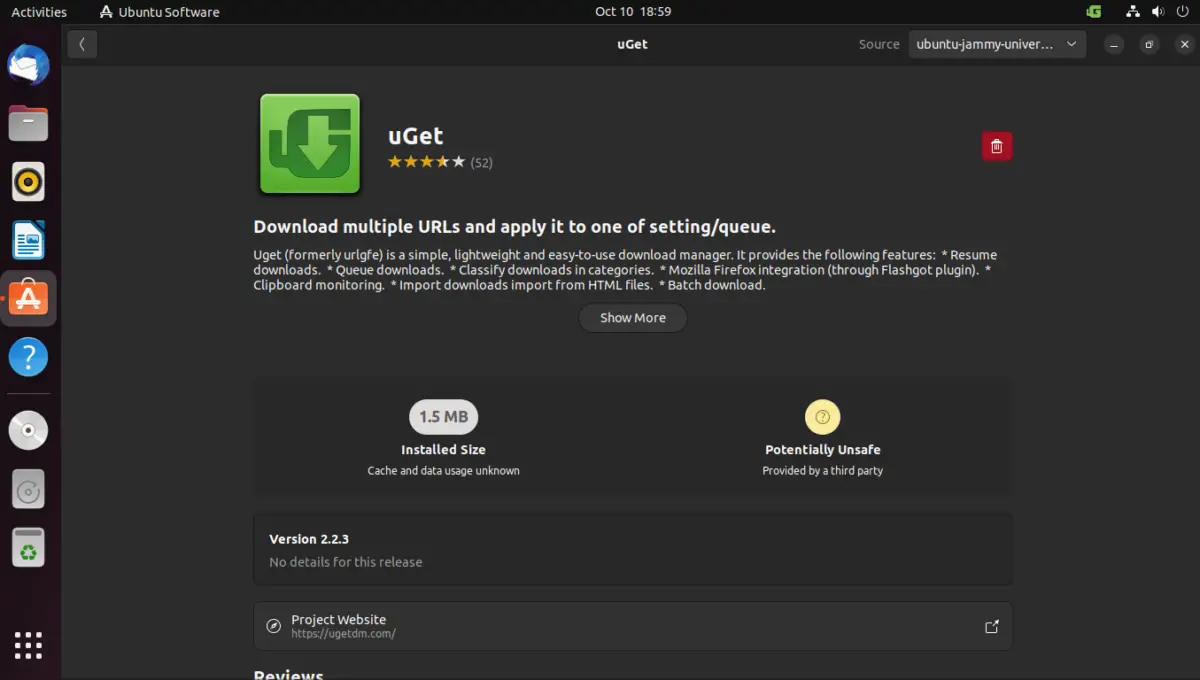
First, open the app store, and search for uGet again.
When you get the result, click on it and then click on Remove.
If you prefer to do it via terminal, just run
sudo snap remove uget --edgeAs you can see, it is easy to remove uGet from the system.
Conclusion
uGet is an excellent application for those who download many files from the Internet. From a comfortable graphical interface, you can manage connections and preferences.
I hope you liked this post, and help spread the word to your friends.