Managing projects can be a headache but thanks to project management applications it can be a much easier task. In this post, you will learn how to install Redmine on Ubuntu 20.04
Introducing to Redmine
Redmine is a GNU licensed cross-platform tool for project management and planning. One of its main features is that it is very flexible and can be customized and configured in our way.
Access to the web interface is through the use of a modern web browser because it is a web application. This means that any device is valid to work with it.
It is written using the Ruby on Rails framework. Therefore, we can expect it to be very fast and resource efficient.
Some of its features are:
- Support for multiple projects
- Flexible role-based access control
- Flexible issue tracking system
- Gantt chart and calendar
- News, document, and file management
- Feeds and email notifications
- Wiki per project
And many more that you can discover on the project website.
Install Redmine on Ubuntu 20.04
The application requires a web server and a database manager like MariaDB. So, we have that for this post, we are going to install Apache and MariaDB.
Install Apache and MariaDB on Ubuntu 20.04
First we have to install Apache and MariaDB because they are required components of the system. So open up a terminal or via SSH and run.
apt update
apt upgrade
These commands as root user.
Now install Apache, the passenger module and MariaDB.
apt install apache2 libapache2-mod-passenger mariadb-server mariadb-clientWhen the installation is finished, you will be able to use MariaDB to set a root password thanks to the mysql_secure_installation script.
mysql_secure_installationWhen you run it, it will ask for a password that we have to leave blank because there is not one defined. Then, you will be able to define yours.
Thereafter, you will be asked some configuration questions
Remove anonymous users? [Y/n] Y
Disallow root login remotely? [Y/n] Y
Remove test database and access to it? [Y/n] Y
Reload privilege tables now? [Y/n] Y
Answer Y to all and then the script will terminate. Then we are ready to go.
Now go to the MariaDB console to create the new database and user for Redmine.
mysql -u root -pNow create the database
CREATE DATABASE redminedb CHARACTER SET utf8mb4;Then the user
GRANT ALL PRIVILEGES ON redminedb.* TO 'redmine'@'localhost' IDENTIFIED BY 'pass';Remember that you can assign another name and password.
Refresh permissions and exit the console.
FLUSH PRIVILEGES;
exit;
Install Redmine on Ubuntu 20.04
With the system ready, we can start installing Redmine on the system along with the MySQL or MariaDB plugin. So, here’s how to do it:
apt install redmine redmine-mysqlDuring the execution of the command, you will notice that you will be asked a question about configuring the database. We will have to choose YES.
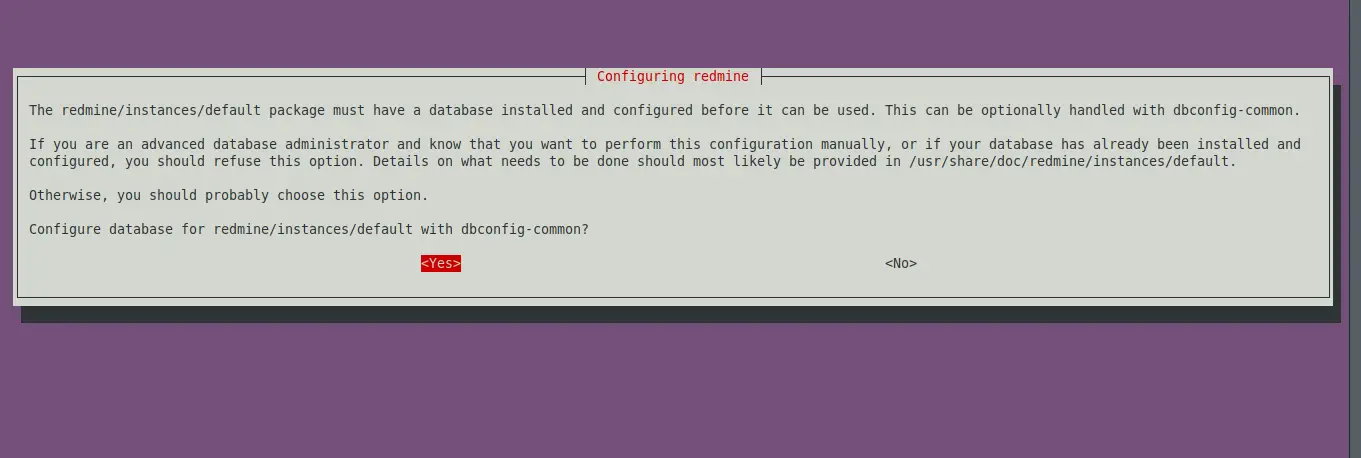
In the next screens you will have to define the password which should be the same as we did before for the user. Then the installation will continue.
As Redmine is made with Ruby, it is necessary to install bundler on the system.
gem install bundlerSample Output
Fetching bundler-2.3.10.gem
Successfully installed bundler-2.3.10
Parsing documentation for bundler-2.3.10
Installing ri documentation for bundler-2.3.10
Done installing documentation for bundler after 0 seconds
1 gem installed
The next step is to edit the passenger module configuration file.
nano /etc/apache2/mods-available/passenger.confAnd replace the content with the following
<IfModule mod_passenger.c>
PassengerDefaultUser www-data
PassengerRoot /usr/lib/ruby/vendor_ruby/phusion_passenger/locations.ini
PassengerDefaultRuby /usr/bin/ruby
</IfModule>
Then make a symbolic link from the Redmine folder on the system to the Apache directory.
ln -s /usr/share/redmine/public /var/www/html/redmineThen create a file called Gemfile.lock in /usr/share/redmine/.
chown www-data:www-data /usr/share/redmine/Gemfile.lockSet the proper permission to the folder.
chown -R www-data:www-data /var/www/html/redmineThen, create a new Apache VirtualHost for Redmine.
nano /etc/apache2/sites-available/redmine.confAnd add the following
<VirtualHost *:80>
ServerAdmin admin@example.com
DocumentRoot /var/www/html/redmine
ServerName redmine.imaginelinux.com
<Directory /var/www/html/redmine>
RailsBaseURI /redmine
PassengerResolveSymlinksInDocumentRoot on
</Directory>
ErrorLog ${APACHE_LOG_DIR}/error.log
CustomLog ${APACHE_LOG_DIR}/access.log combined
</VirtualHost>
Replace ServerName with your domain.
Then enable the new configuration and restart Apache.
a2ensite redmine.conf
systemctl restart apache2
Access the Redmine web interface
The next step is to open a web browser and visit your domain, so you can see the Redmine home page.
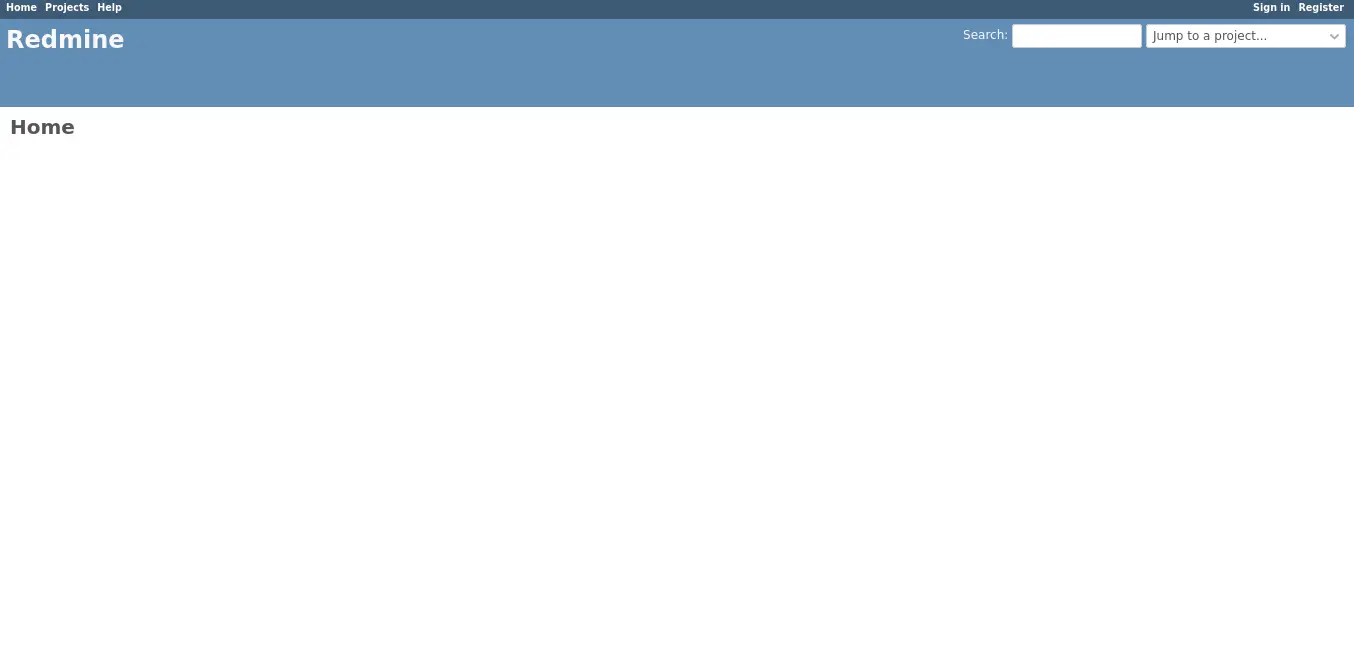
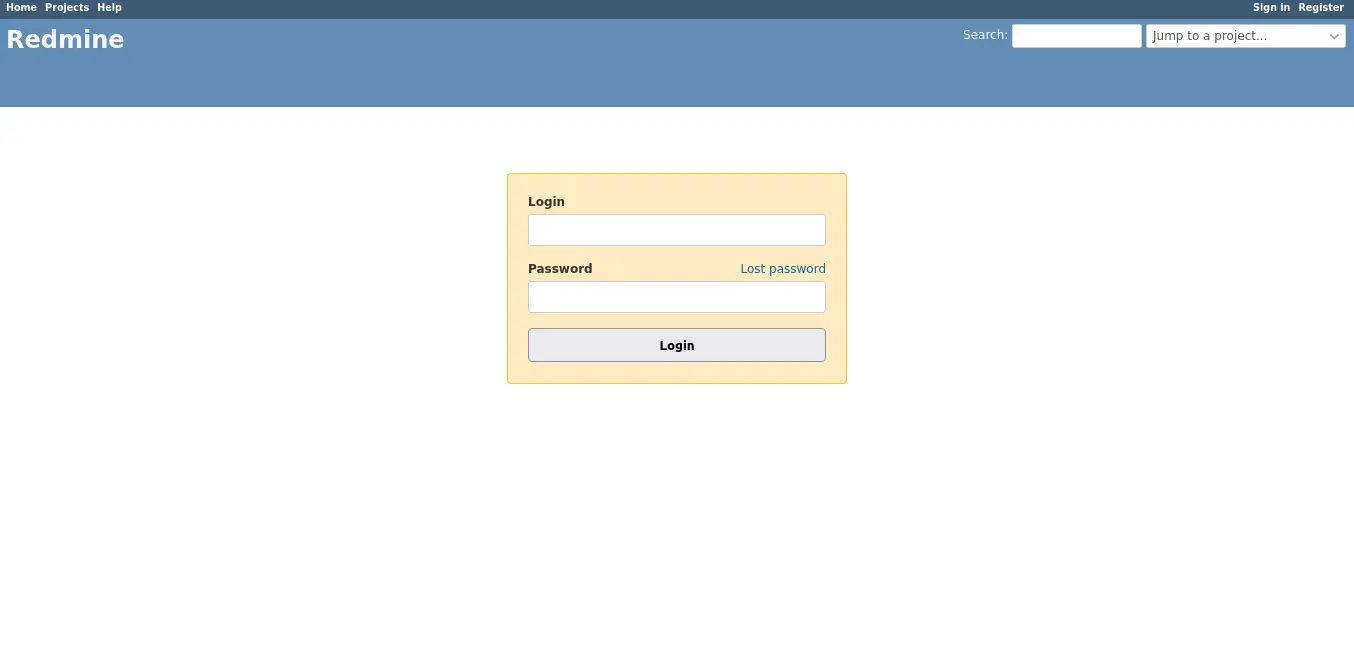
Click on Sign In on the top right-hand side.
There, you will be able to log in with the credentials admin and admin.
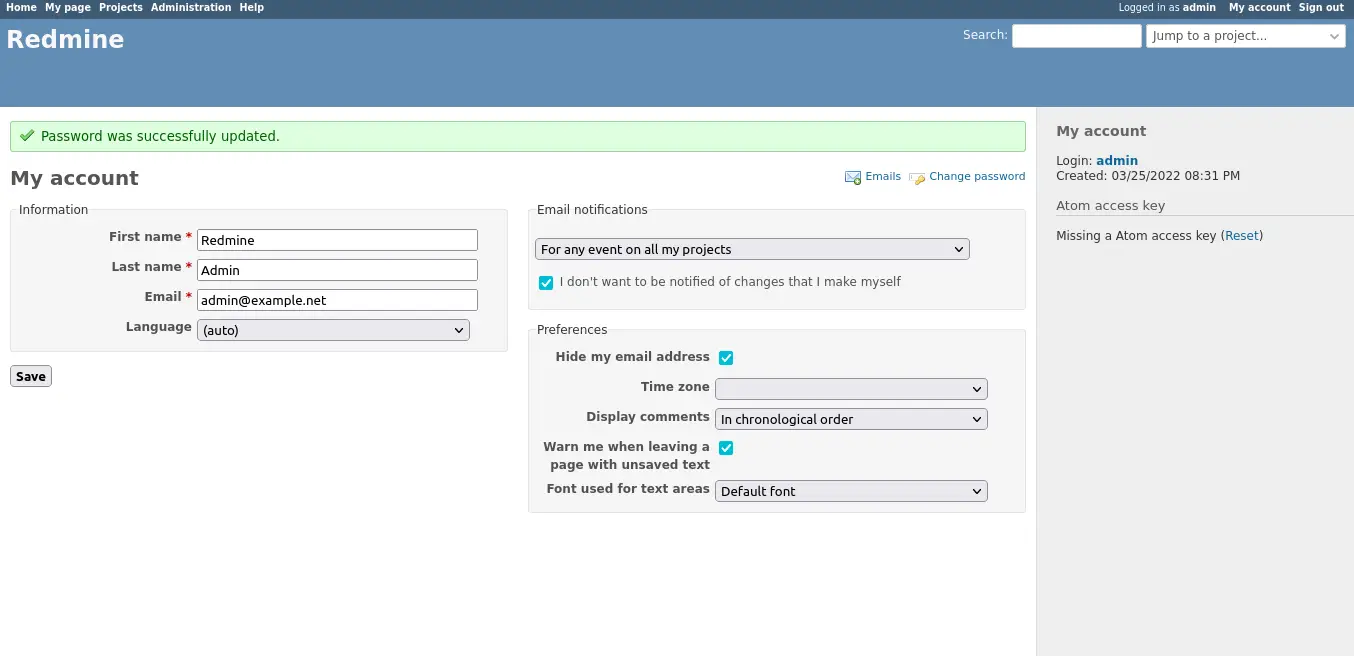
You will then be prompted to change your password.
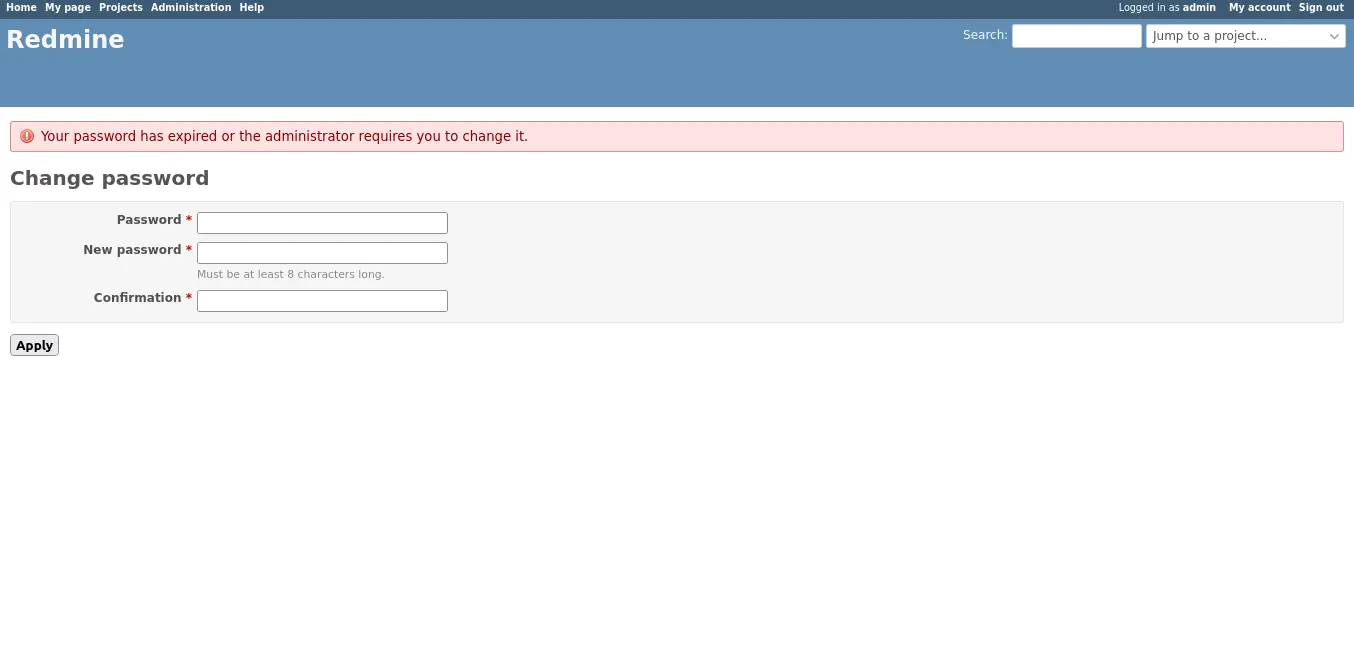
And finally, you will be able to use Redmine.
Conclusion
Thanks to this post, you now know how to install Redmine on Ubuntu 20.04 with a detailed process that allows us to achieve the goal with fewer steps.
Share this post and help us to grow.