Linux has many professional tools integrated into the kernel. These tools allow you to do many things and one of them is operating system virtualization. That is one system within another. But first, you have to install the necessary tools and that is what you are going to learn how to install QEMU on Ubuntu 20.04
QEMU for Ubuntu
The definition we get from QEMU’s website is the following:
QEMU is a generic and open source machine emulator and virtualizer.
QEMU also has virtualization capabilities within an operating system, whether it is GNU/Linux, Windows, or any of the operating systems supported by it. The program does not have a GUI, but other tools act as a front end so that we can manage it quickly and comfortably.
On the other hand, QEMU supports virtualization when running under the Xen hypervisor or using the KVM kernel module in Linux.
One of the great advantages of using QEMU is that when used as a virtualizer, QEMU achieves near native performance by executing the guest code directly on the host CPU
Install QEMU on Ubuntu 20.04
One of the great advantages of QEMU is that it is available from the official Ubuntu repositories. Therefore the installation is outlined as very easy.
To start it, open a terminal from the Ubuntu main menu or by pressing the keys CTRL + ALT + T
Once the terminal is loaded, execute the following commands:
sudo apt update
sudo apt install qemu-kvm qemu virt-manager virt-viewer libvirt-clients libvirt-daemon-system bridge-utils virtinst libvirt-daemon
And I proceed to explain the packages we have installed.
The package qemu is the package that contains the application. On the other hand, qemu-kvm is a package we need for QEMU to be able to virtualize processes using KVM. Since QEMU is a tool that provides us with a GUI, we installed virt-manager and virt-viewer to provide us with one. The packages libvirt are the binaries used by both QEMU and KVM to perform virtualizations and service monitoring.
After that, you can check the libvirtd service status
sudo systemctl status libvirtd
Output:
● libvirtd.service - Virtualization daemon
      Loaded: loaded (/lib/systemd/system/libvirtd.service; enabled; vendor preset: enabled)
      Active: active (running) since Tue 2020-12-15 21:49:07 UTC; 4min 28s ago
 TriggeredBy: ● libvirtd-ro.socket
              ● libvirtd-admin.socket
              ● libvirtd.socket
        Docs: man:libvirtd(8)
              https://libvirt.org
    Main PID: 6719 (libvirtd)
       Tasks: 19 (limit: 32768)
      Memory: 15.8M
      CGroup: /system.slice/libvirtd.service
              ├─6719 /usr/sbin/libvirtd
              ├─6865 /usr/sbin/dnsmasq --conf-file=/var/lib/libvirt/dnsmasq/default.conf --leasefile-ro --dhcp-script=/usr/lib/libvirt/libvirt>
              └─6866 /usr/sbin/dnsmasq --conf-file=/var/lib/libvirt/dnsmasq/default.conf --leasefile-ro --dhcp-script=/usr/lib/libvirt/libvirt>
 Dec 15 21:49:07 ubuntu systemd[1]: Started Virtualization daemon.
 Dec 15 21:49:08 ubuntu dnsmasq[6865]: started, version 2.80 cachesize 150
 Dec 15 21:49:08 ubuntu dnsmasq[6865]: compile time options: IPv6 GNU-getopt DBus i18n IDN DHCP DHCPv6 no-Lua TFTP conntrack ipset auth DNSSEC>
 Dec 15 21:49:08 ubuntu dnsmasq-dhcp[6865]: DHCP, IP range 192.168.122.2 -- 192.168.122.254, lease time 1h
 Dec 15 21:49:08 ubuntu dnsmasq-dhcp[6865]: DHCP, sockets bound exclusively to interface virbr0
 Dec 15 21:49:08 ubuntu dnsmasq[6865]: reading /etc/resolv.conf
 Dec 15 21:49:08 ubuntu dnsmasq[6865]: using nameserver 127.0.0.53#53
 Dec 15 21:49:08 ubuntu dnsmasq[6865]: read /etc/hosts - 8 addresses
 Dec 15 21:49:08 ubuntu dnsmasq[6865]: read /var/lib/libvirt/dnsmasq/default.addnhosts - 0 addresses
 Dec 15 21:49:08 ubuntu dnsmasq-dhcp[6865]: read /var/lib/libvirt/dnsmasq/default.hostsfile
Once you have installed all the packages you can use QEMU from the terminal or virt-manager from the main menu.
Using QEMU to create a new Virtual Machine
When you start the Virt Manager program from the main menu, you will have access to a graphical interface to take advantage of QEMU and KVM.
As you can see the interface is quite simple. And easy to understand.
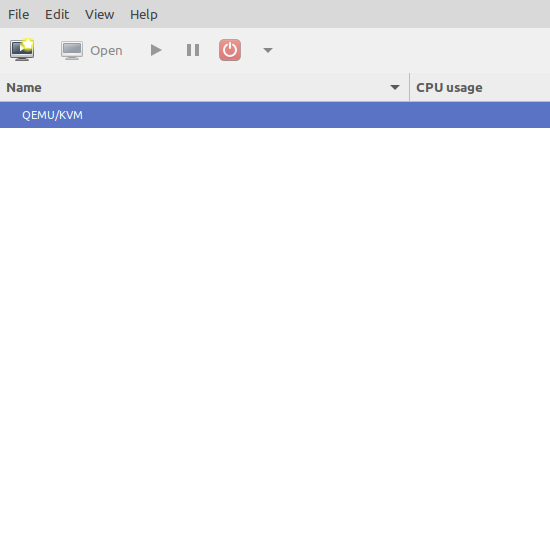
To create a new virtual machine, click on the button next to the Open button.
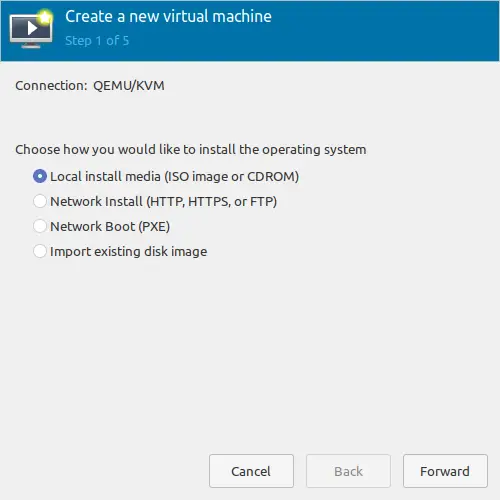
Then, we will be presented with a screen where we have to indicate the origin of the ISO image of the system we are going to virtualize. In this case, I will choose local.
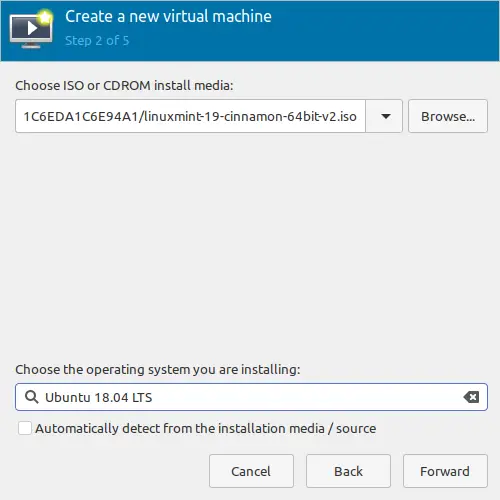
You will be shown the following screen. To select the image, click on the Browser button and then on Local Browse and select it.
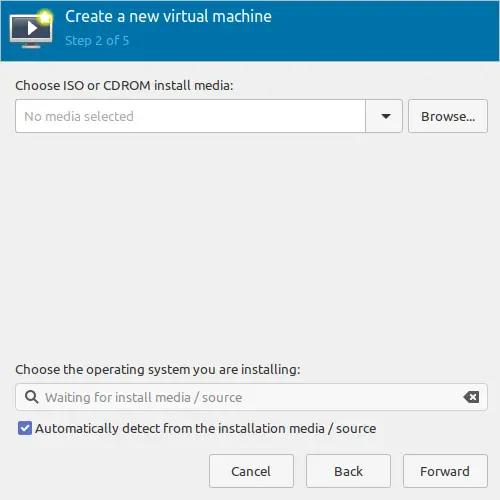
If QEMU can’t verify which is the operating system, just select a similar one.
In the next screen, you have to define the amount of memory and CPU you will dedicate to the virtual machine.

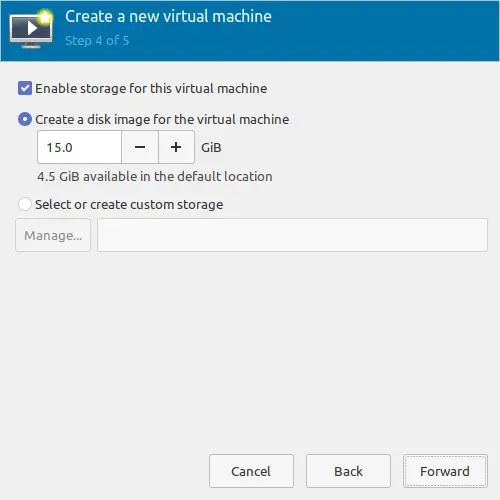
Next, you have the option to define the storage of the virtual machine.
In the last screen, you can define the network that will use the virtual machine as well as the name.
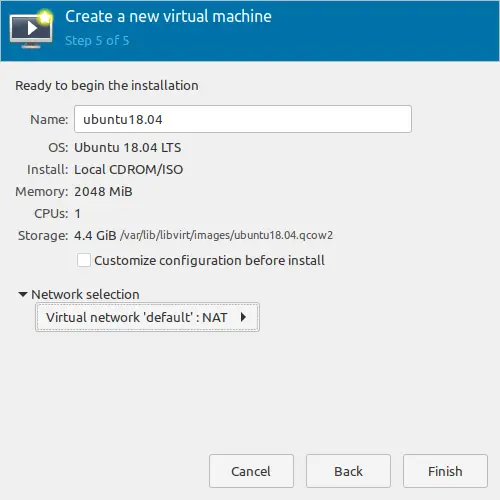
Then, finish the process and you can use the new Virtual Machine.
Uninstall QEMU on Ubuntu 20.04
When you decide that you no longer want QEMU on your computer, it is time to uninstall it. To do this, run the following command:
sudo apt remove --purge qemu-kvm qemu virt-manager virt-viewer libvirt-clients libvirt-daemon-system bridge-utils virtinst libvirt-daemon
This will uninstall all QEMU related packages and their configurations.
Conclusion
Operating system virtualization is a very useful practice in many cases. Especially in Linux where we have many different distributions and QEMU allows us to virtualize them to test them. All this without installing them on the real disk. A real wonder.
Now, thanks to this post, you know this technology and you know how to use it.
So, tell us, do you use QEMU? do you like it? leave us a comment and share this post.