Memcached is a high-performance distributed memory object caching system of a generic nature. It is designed to speed up dynamic web applications by relieving database load.
Memcached can be used in a variety of domains, with a variety of technologies and database management systems. It is often used to scale database services to avoid database bottlenecks.
Therefore, Memcached is used in large projects where data access is constant. Ah, Memcached is compatible with PHP, Python, and other languages, so we can take advantage of it.
Let’s get started.
Install Memcached on Ubuntu 20.04
Since it is a utility that many applications can use in different circumstances, many developers say that it is best to install it using the official Ubuntu repositories.
So, open a terminal or connect via terminal and install Memcached.
sudo apt update
sudo apt install memcached
That’s how quick and easy Memcached will be installed on the system.
It is also recommended installing the libmemcached-tools package, which provides among other things a CLI tool with which to manage the Memcached instance.
sudo apt install libmemcached-toolsWith these packages installed on the system, Memcached can be managed as a system service with the systemctl command.
You can start it by running
sudo systemctl start memcachedAnd check the status of the service with the command
sudo systemctl status memcached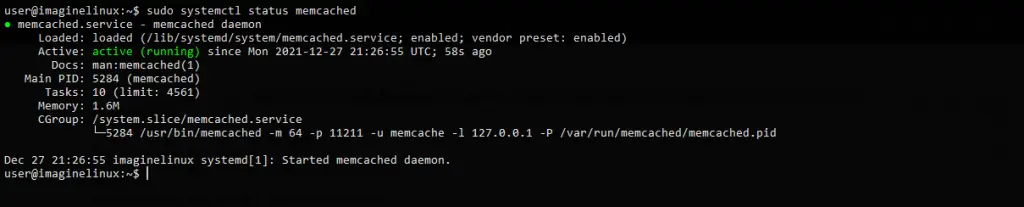
You can also use this other command to verify that Memcached is using the network
sudo ss -plunt
With Memcached installed, let’s configure it a bit.
Configuring Memcached on Ubuntu 20.04
The Memcached configuration file is /etc/memcached.conf where we will have a base to start from.
Before making any changes, back up the file.
sudo cp /etc/memcached.conf /etc/memcached.conf.bakAnd now edit it
sudo nano /etc/memcached.confIf you want to enable IPv6, then find this line
-l 127.0.0.1And below it set the IPv6 address. For example,
-l 127.0.0.1
-l ::1
By default, Memcached only accepts requests on localhost. That is, if the applications are hosted on the same server like it. If this is the case, then you should not allow remote access to Memcached, but if not, then you should allow it.
To complete this, in the previous section, replace 127.0.0.1 and ::1 with the IPv4 and IPv6 addresses of the server where Memcached is installed.
Of course, thereafter, set a rule in the firewall to limit the IP addresses that can make use of Memcached.
Another thing you can do is to enable UDP in Memcached, since by default it only uses TCP.
To complete this, you just have to add this line to the end of the file
-U 11211To apply all the changes, you have to close the editor and restart the service.
sudo systemctl restart memcachedImplementing Memcached connection with PHP and Python
To use Memcached from programming languages, it is necessary to install the connection library.
For PHP, it is necessary to run
sudo apt install php-memcachedFor Python:
pip install pymemcacheThen, in the code of your application, you will be able to use it to establish connections with Memcached.
Conclusion
Thanks to this post, you learned how to install Memcached on Ubuntu 20.04
So, help us to grow by sharing this and our other posts.