It is increasingly common to talk about virtual machines that simulate operating systems. This was a revolution in the way servers were managed. But Linux, which is a very robust and complete operating system, has a technology that allows for virtualization using the kernel. After reading this post, you will learn how to install KVM on Ubuntu 20.04.
KVM
To quote directly from Red Hat, a very important company for the entire Linux ecosystem:
Kernel-based Virtual Machine (KVM) is an open source virtualization technology built into Linux. Specifically, KVM lets you turn Linux into a hypervisor that allows a host machine to run multiple, isolated virtual environments called guests or virtual machines (VMs).
KVM allows you to run virtual machines using disk images containing unmodified operating systems. Each virtual machine has its own virtualized hardware: a network card, hard disks, graphics card, etc.
So, what is the main use of KVM? Well, with KVM you can create virtual machines to virtualize operating systems. Among them, you can perform all the operations that the hardware allows and is the basis of professional systems like Proxmox.
Knowing if my processor is KVM compatible
KVM is present as a kernel module since version 2.60 so your system already supports it. The detail is that your processor does.
To be sure of this, open a terminal and execute one of these commands depending on your processor.
If you use AMD:
cat /proc/cpuinfo | grep svm
On the contrary, if you use an Intel processor:
cat /proc/cpuinfo | grep vmx
If the command does not generate any screen output, then your processor does not support KVM. This is unlikely, but it can happen. However, modern processors are capable of running KVMs without problems.
Installing KVM on Ubuntu 20.04
Being a very important kernel applet, besides being a widely used technology in Linux, KVM is in the official Ubuntu repositories.
But we will also have to install some more packages to complete the whole game.
So, in a terminal run:
sudo apt install qemu-kvm libvirt-clients libvirt-daemon-system bridge-utils libvirt-daemon
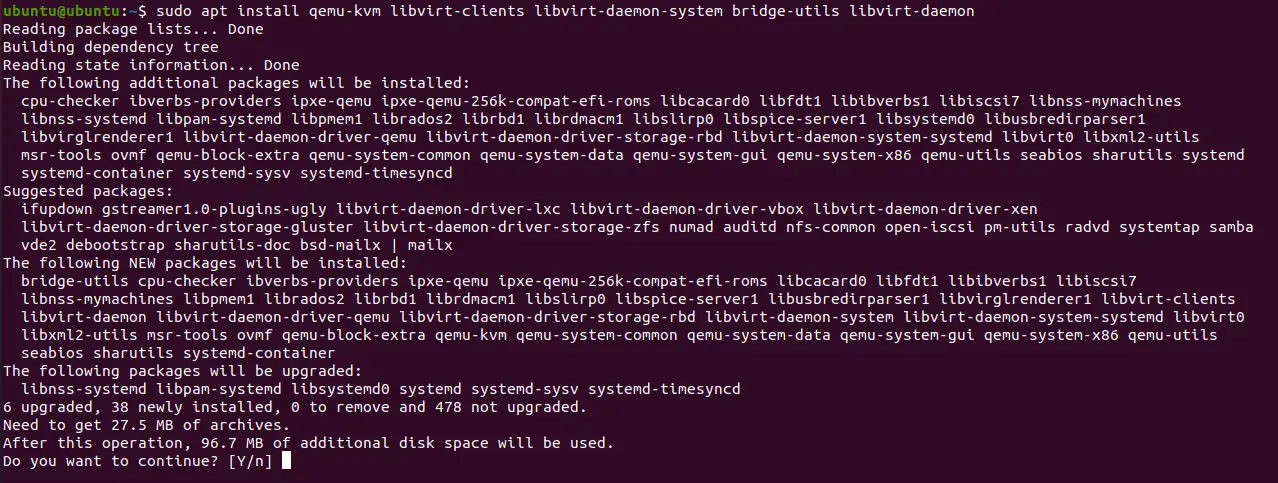
These packages refer to the KVM backend, and virtualization libraries and daemons.
Once the installation is complete, it is necessary to add the user who will be using KVM to the kvm and libvirtd groups
adduser [user] kvm
adduser [user] libvirtd
Then you can check the operation of libvirtd which is the KVM service with the following command:
sudo systemctl status libvirtd
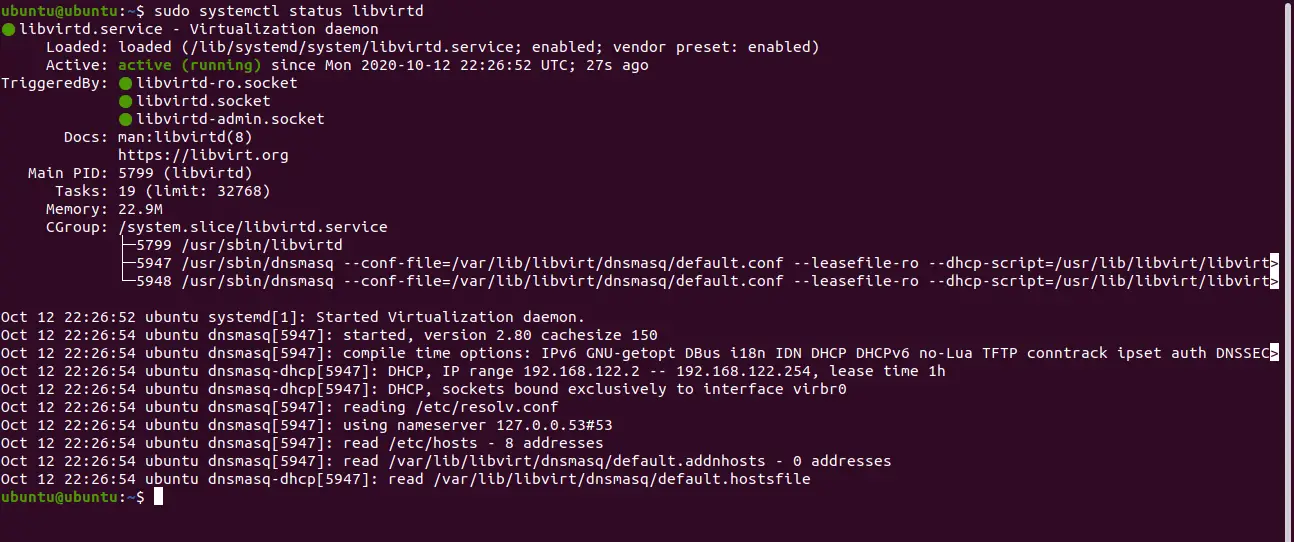
If the service is running smoothly then you are in the right way.
Finally, it is necessary to verify once again that there are no problems with the networks. To do this, run the following command:
sudo virsh net-list --all
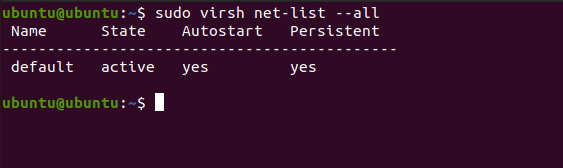
And if there are no errors in the screen output, then everything is fine.
This way we will know that KVM is ready to be used in any way.
Conclusion
The technologies associated with Linux have nothing to envy to Windows. KVM that is already available in all distributions requires some libraries to be used in Ubuntu 20.04 Thanks to this post, you have learned how to install it and leave it ready for work.
Have you used KVM? Or are you more of other solutions? Do you like it? Leave us a comment and buy this post.