One of the things I like most about Linux is that we have many applications to do a task. And I like this because each one has something to contribute. An example of this are the monitoring tools. One alternative to monitor a server is to install Monitorix. Today, we will show you how to do it on a Debian 11 system.
Introduction to Monitorix
Monitorix is an open-source tool. It is supported by a large community that allows us to monitor systems in a simple way. The goal is to allow you to monitor as many system services and resources as possible.
Although it was created to be used on production Linux / UNIX servers, due to its simplicity and small size it can also be used on embedded devices. This makes it a very versatile and battle-ready tool.
From a more technical perspective, the application consists of two parts. The first is called monitorix and is a PERL daemon that takes care of monitoring the system; the other is a script called monitorix.cgi that includes a web server for easy viewing.
The installation is basic, so let’s go for it.
Install Monitorix on Ubuntu 20.04
Monitorix is present in the official repositories of Ubuntu 20.04, so the installation will be much easier to do.
First, update the entire server
sudo apt update
sudo apt upgrade
After this, you can install Monitorix by executing the following command
sudo apt install monitorixAfter the installation is finished, you can check the installed version by running the following command
monitorix -vYou will get an output screen similar to this one
Monitorix version 3.12.0 (21-Feb-2020)
by Jordi Sanfeliu <jordi@fibranet.cat>
https://www.monitorix.org/
Next, you can check the status of the service for any errors.
systemctl status monitorix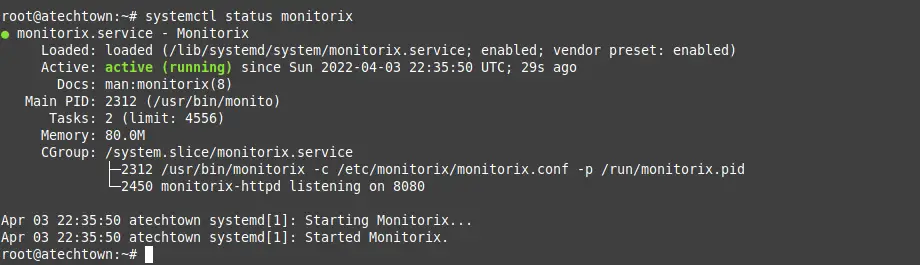
Configuring Monitorix
The Monitorix configuration file is /etc/monitorix/monitorix.conf which you will need to edit to suit your needs.
sudo cp /etc/monitorix/monitorix.conf /etc/monitorix/monitorix.conf.bakThen, you can edit it
sudo vi /etc/monitorix/monitorix.confAt the top of the file, you can define the title of the application
title = Atechtown testAnd the hostname of the computer
hostname = monitorix.imaginelinux.comThen in the <httpd_builtin> section you can configure the Monitorix web interface.
For example, you can use this configuration.
<httpd_builtin>
        enabled = y
        host = monitorix.imaginelinux.com
        port = 8080
        user = nobody
        group = nobody
        log_file = /var/log/monitorix-httpd
        hosts_deny = all
        hosts_allow = all
        autocheck_responsiveness = y

....
Now in the <auth> section which is where you configure the web interface you can set up a basic authentication.
<auth>
                enabled = y
                msg = Sorry not welcome
                htpasswd = /var/lib/monitorix/htpasswd
        >/auth>
</httpd_builtin>
Save your changes and close the editor.
Then if you have enabled authentication you need to install apache2-utils.
apt install apache2-utilsAnd create the user with the password
htpasswd -d -c /var/lib/monitorix/htpasswd adminRestart the Monitorix service
sudo systemctl restart monitorix.Access the Monitorix interface
Now open your web browser and go to http://yourdomain:8080/monitorix and you will see this screen
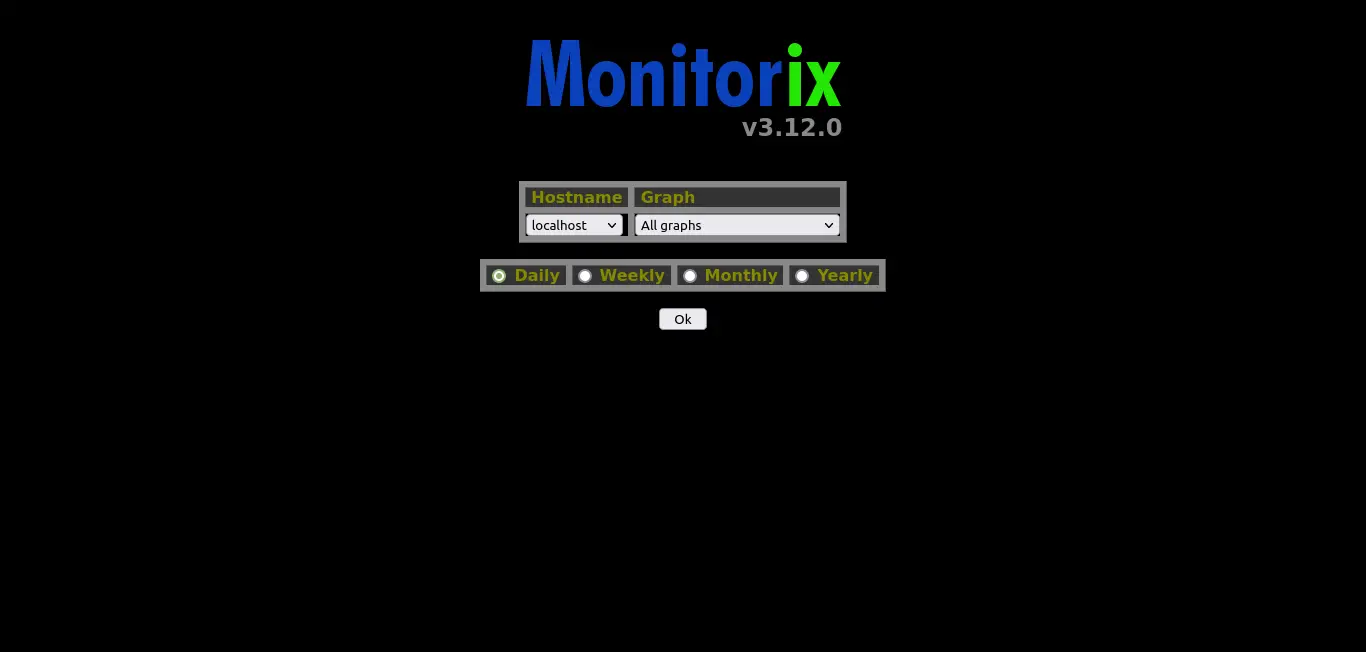
Where you can choose which graphs want to display.
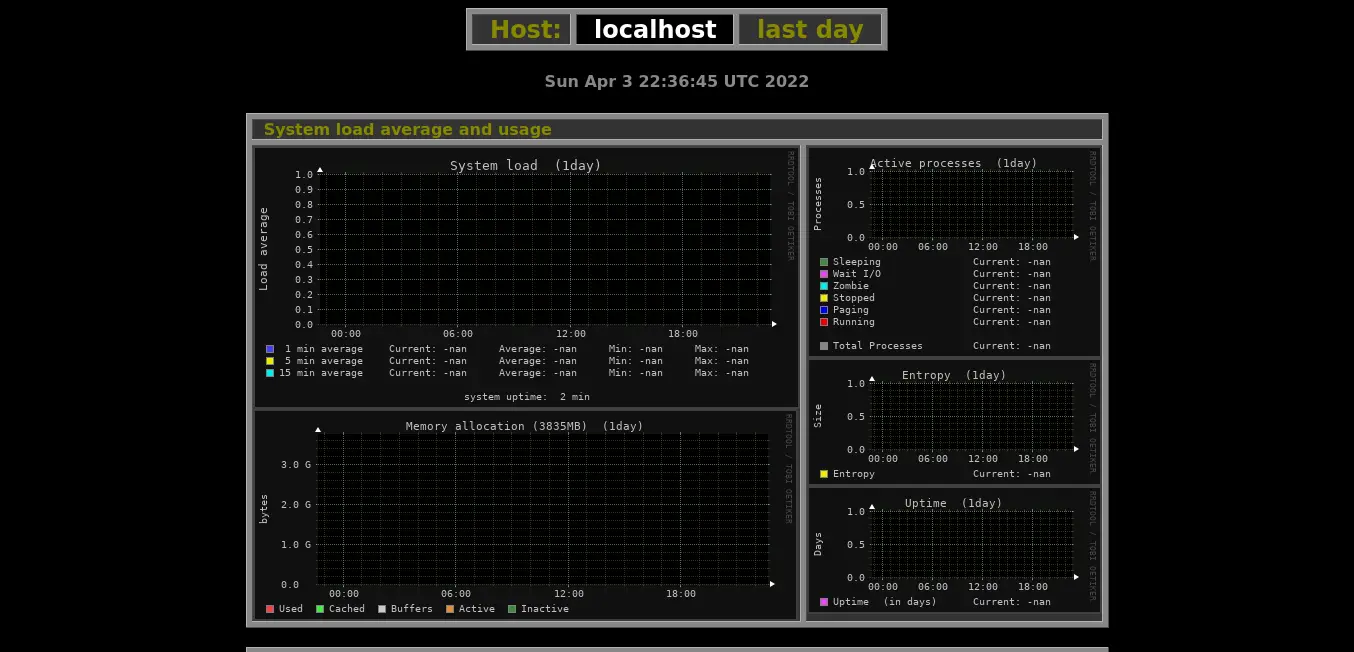
Next, you will see a screen where you can view the graphs and metrics.
Conclusion
Monitorix is a simple tool that allows us to monitor a system using many graphs.
I hope you liked this post and share it to help us grow.