If you want to have a blog or a personal or business website, installing WordPress on Debian 11 is a suitable alternative to do it very fast and easy. WordPress is a CMS known for being one of the best and for having the best support and plugins. Today, you will learn how to install it using Apache as a web server.
Introduction to WordPress
When we talk about WordPress, we are talking about the most popular CMS on the market, as it is used by 65.2% of the websites whose CMS we know. In short, WordPress is an open-source CMS that allows us to quickly and easily create and deploy websites for different purposes, such as blogs or online shops.
One of the best things about WordPress is that it is free, and we can install it on our servers and manage the instance ourselves.
WordPress has support for many plugins that allow us to do everything we need to do with the site. On top of this, everything is managed from a comfortable web interface that allows you to do everything with a few clicks.
Another great thing about WordPress is that we don’t have to have a lot of programming knowledge to be able to deploy a website. Of course, compared to manual programming, it’s all a piece of cake.
Finally, being a CMS, WordPress handles content and design separately. That is, if we introduce changes to the content, the design remains the same and vice versa, if you change the design, the content remains the same.
Let’s get started.
Installing Apache, PHP, and MariaDB on Debian 11
To install WordPress, we need a fully functional web server and a relational database manager like MariaDB. That is, we need to install LAMP on our server.
So, the first thing we have to do is to connect to the server
ssh user@server
After you connect, you have to update the whole server with the following command
sudo apt update
sudo apt upgrade
After this is complete, you can install LAMP and the required PHP modules with a single command
sudo apt install apache2 mariadb-server php7.4 libapache2-mod-php7.4 php7.4-common php7.4-mbstring php7.4-xmlrpc php7.4-soap php7.4-gd php7.4-xml php7.4-intl php7.4-mysql php7.4-cli php7.4-ldap php7.4-zip php7.4-curl php7.4-zip php7.4-curl php7.4-curlThat’s how easy it is to install LAMP on the system.
The next step is to configure MariaDB to work with WordPress. First, assign a new root user key. To achieve this, run.
sudo mysql_secure_installationYou will be prompted for a password. In this chaos, there is none assigned, so we can press ENTER to enter. You will then be able to set your own.
You will then be asked several configuration questions, which you must answer Y to each of them.
Remove anonymous users? [Y/n] Y
Disallow root login remotely? [Y/n] Y
Remove test database and access to it? [Y/n] Y
Reload privilege tables now? [Y/n] Y
At the end of the script execution, MariaDB will have a new key for the root user, and you will be ready to use it.
After this, you need to create a new database and a new user that will be used by WordPress.
To achieve this, first access the MariaDB console
sudo mysql -u root -pThen create a new database. This can have any name you want.
CREATE DATABASE wordpressdb;Then it’s time to create a new user and password with the corresponding permissions on the new database.
GRANT ALL PRIVILEGES on wordpressdb.* TO 'user'@'localhost' IDENTIFIED BY 'pss123';Remember that you can change the user name and assign a stronger password.
Refresh the permissions on the database.
FLUSH PRIVILEGES;And exit the console.
exit;Download WordPress
Now we can download WordPress. First, go to the /tmp/ folder.
cd /tmp/And from there, using wget download the WordPress package
wget https://wordpress.org/latest.tar.gz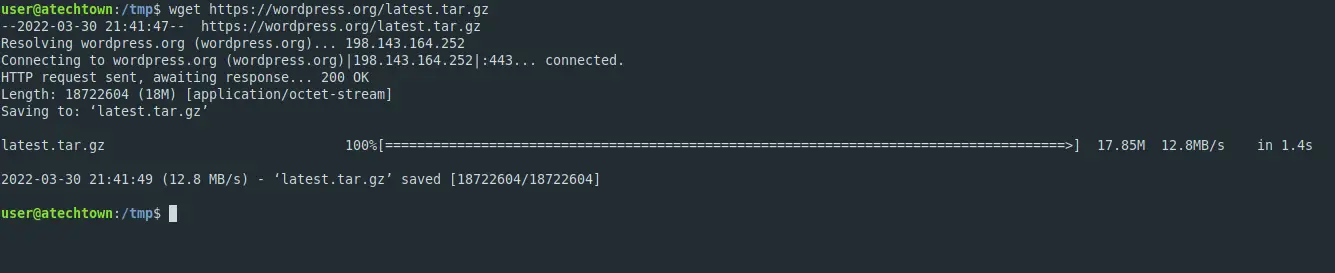
The next step is to unzip the downloaded file.
tar -xvzf latest.tar.gzThis will generate a folder called wordpress which we need to move to the Apache directory.
sudo mv WordPress/ /var/www/html/Then we have to assign appropriate permissions to the folder and make Apache the owner of the folder.
sudo chmod 755 -R /var/www/html/wordpress/
sudo chown -R www-data:www-data /var/www/html/wordpress/
The next step is to create a new Virtual Host so that Apache can properly handle our WordPress site.
sudo vi /etc/apache2/sites-available/wordpress.confAnd you can add this initial configuration.
<VirtualHost *:80>
     ServerAdmin admin@your_domain.com
      DocumentRoot /var/www/html/wordpress
     ServerName your-domain.com

     <Directory /var/www/html/wordpress>
          Options FollowSymlinks
          AllowOverride All
          Require all granted
     </Directory>

     ErrorLog ${APACHE_LOG_DIR}/your-domain.com_error.log
     CustomLog ${APACHE_LOG_DIR}/your-domain.com_access.log combined

</VirtualHost>
Remember to replace ServerName with your domain name. This configuration is pretty basic, I recommend that you add more directives and customize it to your liking.
To enable the new configuration, and the rewrite module which is needed for more readable URLs, you have to run.
sudo a2ensite wordpress
sudo a2enmod rewrite
sudo systemctl restart apache2
After this, we can start the installation via the web interface.
Installing WordPress on Debian 11
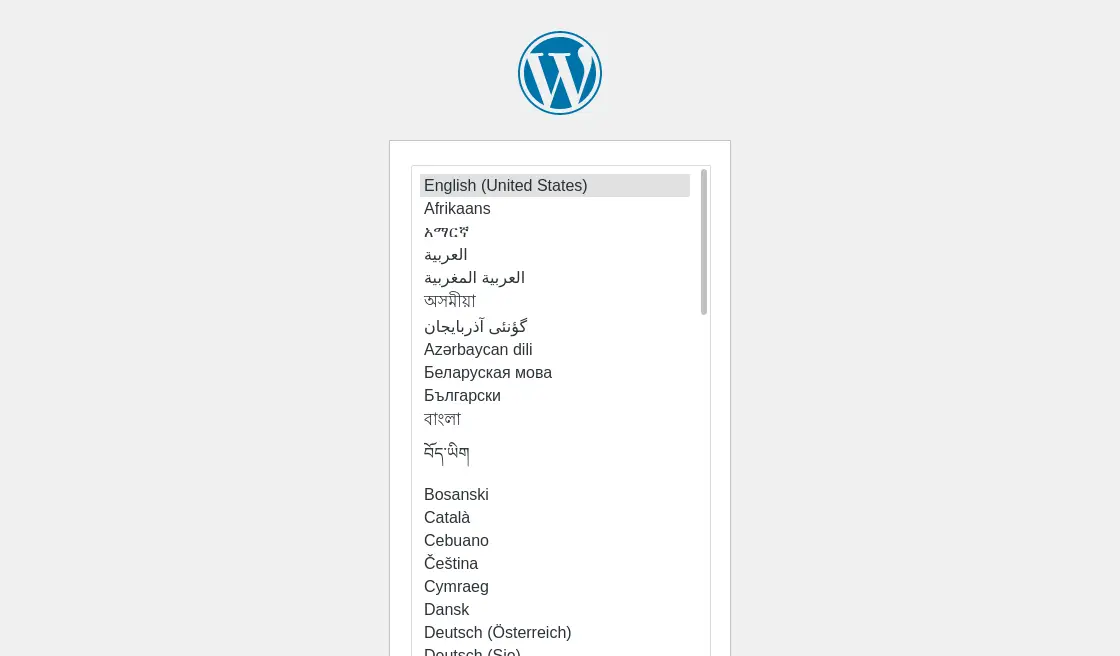
Now we can access our server and see the installation screen
First we have to choose the installation language as WordPress supports many languages.
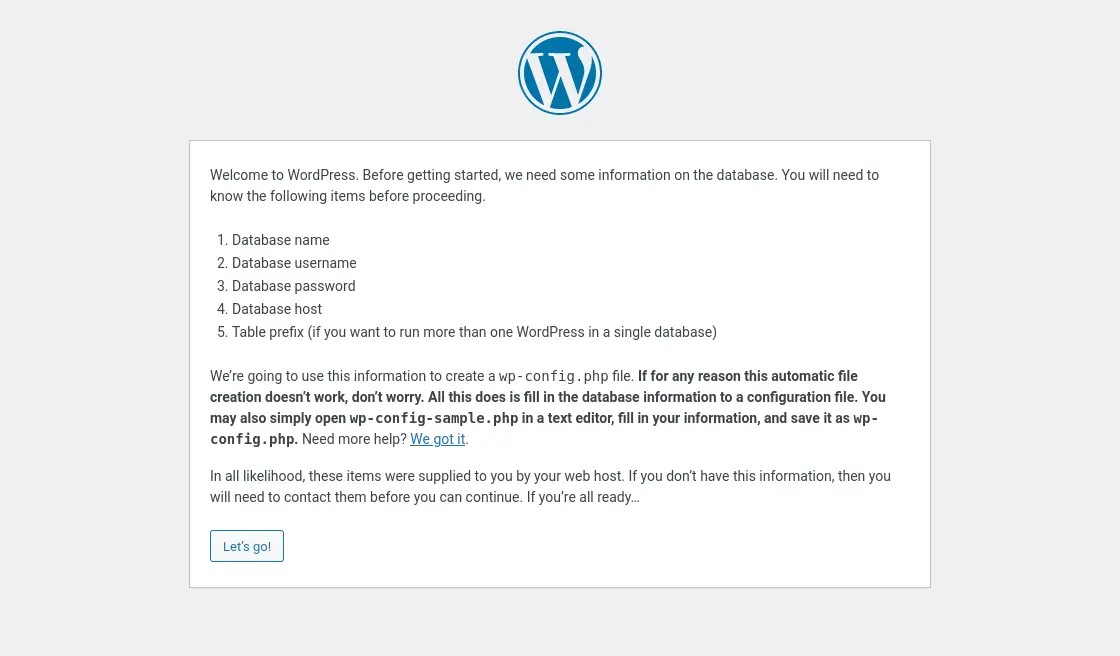
Then you will be shown the required information and some details about the configuration files.
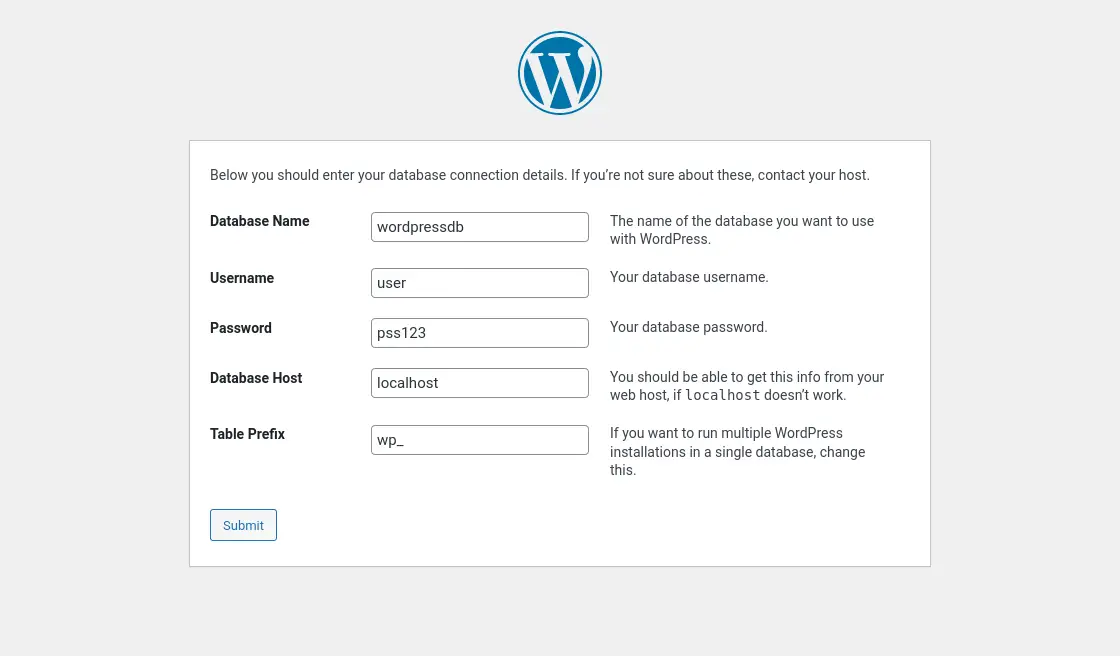
The next step is to configure the database with the credentials you defined earlier.
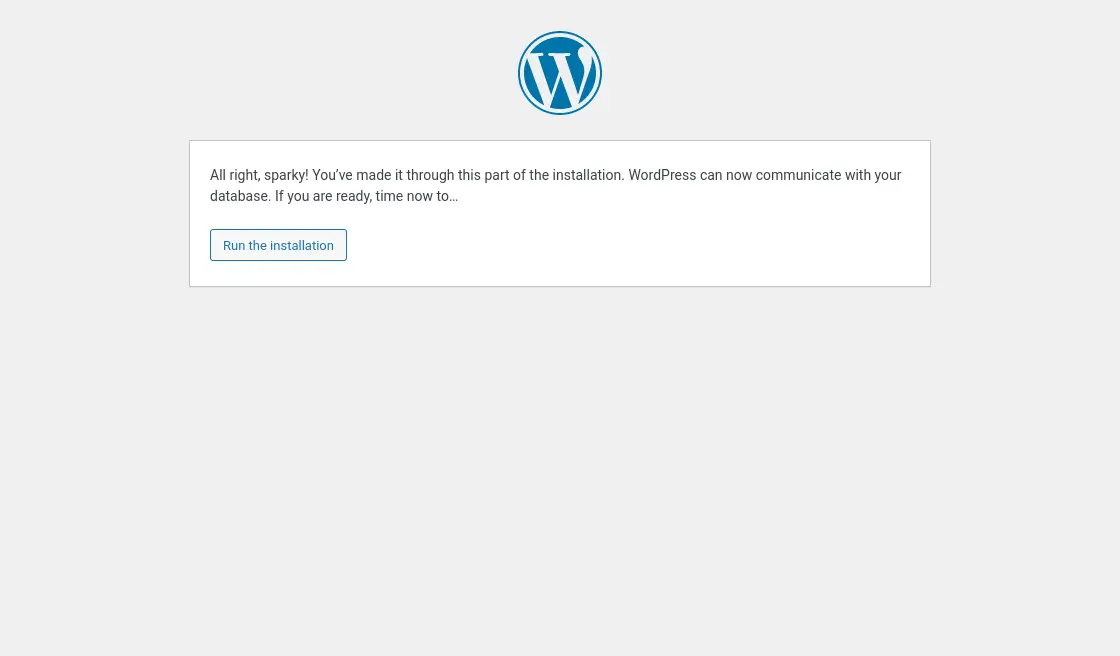
If everything went well and there are no problems with WordPress communicating with the database, you will see the following screen. Click the button to start the installation.
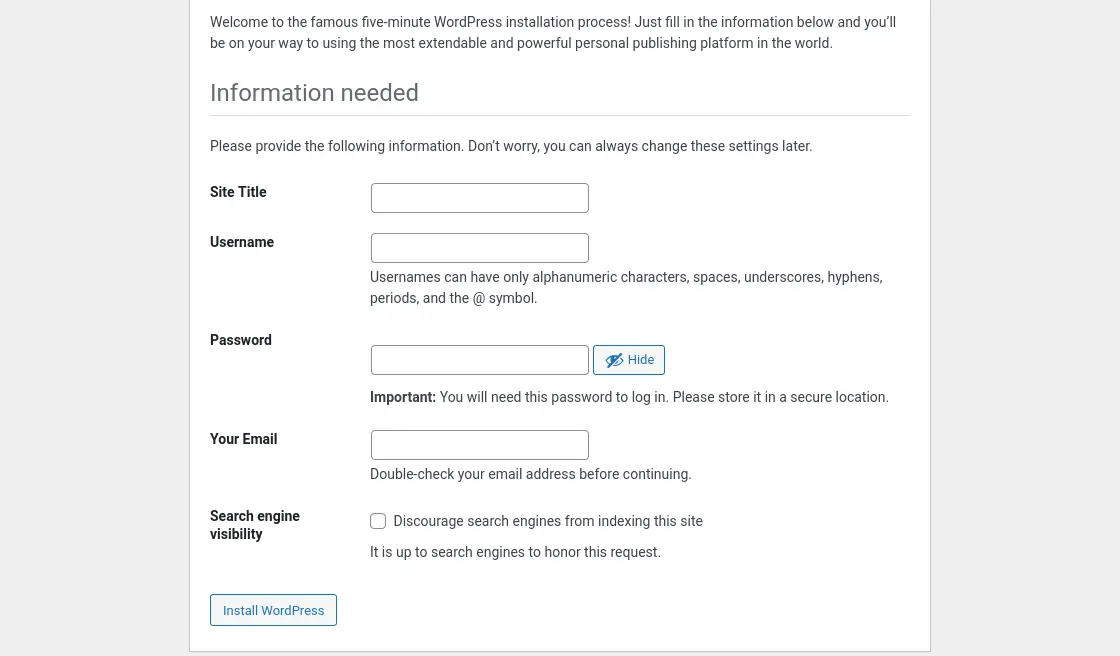
After this, create your new website by assigning a name and create the admin user.
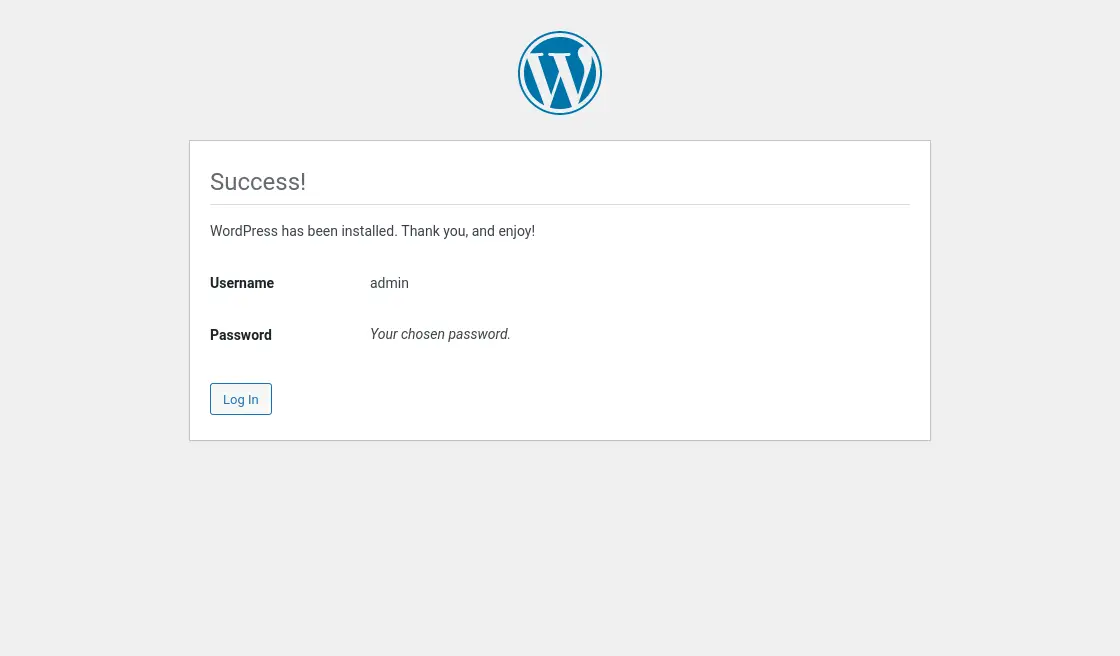
You will now see a screen similar to this one, indicating that the whole process has been successful.
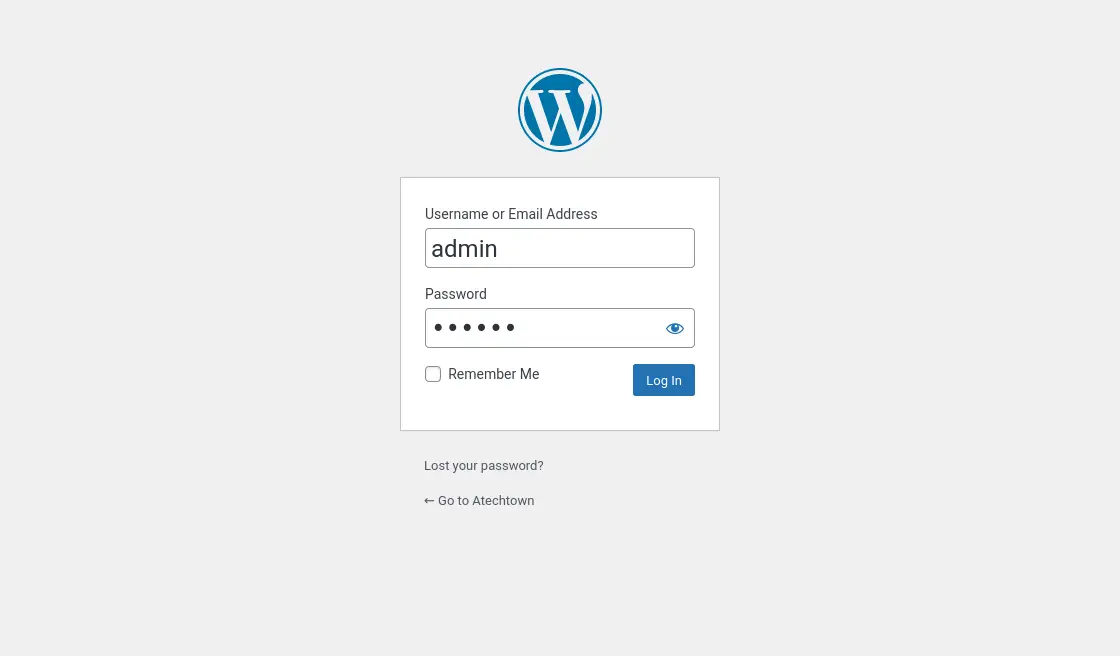
Go to the login page and log in with your credentials.
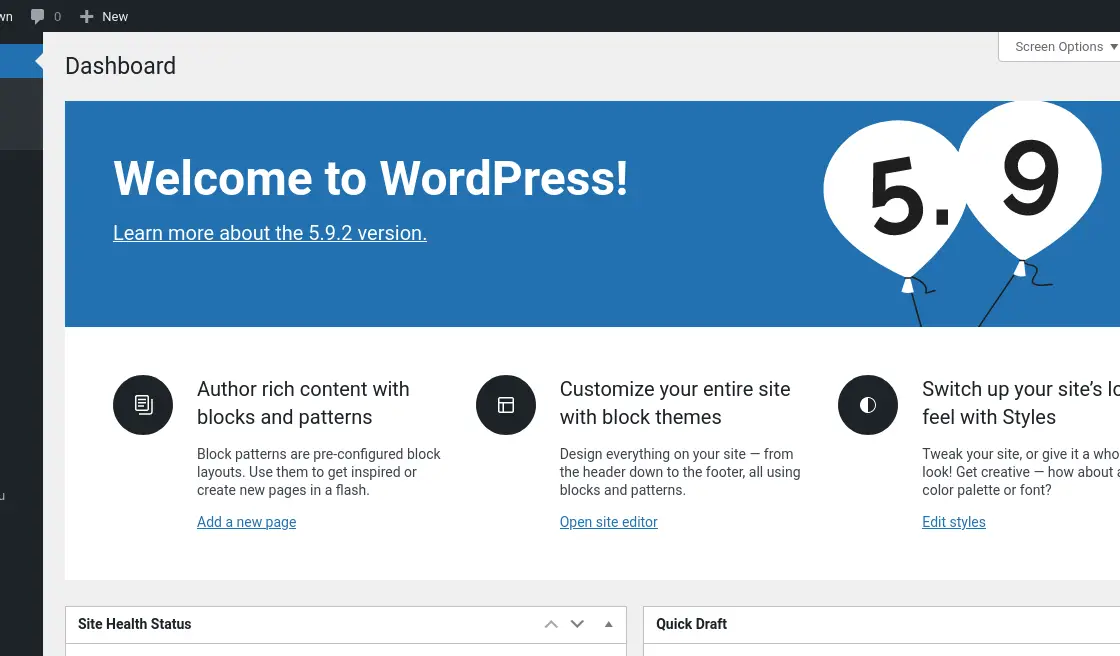
Finally, you will see the Dashboard of your site.
Securing the installation with a Let’s Encrypt Certificate
The site is up and running but to enable HTTPS, we have to thanks to certbot install a new security certificate. For this step, we need a valid domain.
To achieve this, install Certbot and the Apache plugin.
sudo apt install certbot python3-certbot-apacheAnd generate the certificate with the following command
sudo certbot --apache --d domainDuring the execution of the above command, you will be asked to enter a valid email address and to accept the license terms.
Conclusion
Thanks to this post, you now know how to install WordPress on Debian 11 using Apache as Web Server. I hope you found it useful and can use it in your projects.
Help us to grow by sharing this post.
That’s it! Thank you very much.