Git has become vital for many developers nowadays. However, it is also convenient to have a place where, thanks to git, we can centralize the development of an application. Fortunately, we have GitLab that can help us with the process. That’s why today we prepared the following post for you, so you can learn how to install GitLab on Rocky Linux 8.
What is GitLab?
GitLab is an entire DevOps platform for our applications and teams. From planning to production, bring teams together in a single application. Ship secure code faster, deploy to any cloud and drive business results.
GitLab does all of this through a convenient graphical interface that allows you to manage the entire process of building software. You might think that GitLab would be GitHub’s competition in repository storage, but the truth is that it goes much further.
That’s why many companies want to have a GitLab instance for their projects. One where they themselves can manage all the options offered by the tool. Through GitLab, you can manage groups, people, and the permissions you want users to have within the groups or projects they belong to.
So let’s install it on a server running Rocky Linux 8.
Installing GitLab on Rocky Linux 8
To do this post, we have to meet some requirements for the installation to go as smoothly as possible. The first thing we have to do is to have a clean installation of the server without any external programs or repositories; besides this, we need a valid domain; and finally, we need to have some basic knowledge about the use of the terminal.
Let’s get started.
Preparing the server for GitLab
Before you start, make sure to update your server
sudo dnf updateNext, install some necessary packages:
sudo dnf install curl openssh-server policycoreutils perlThereafter, install the postfix package, which we need to handle emails.
sudo dnf install postfixNow start the service and make it start with the system
sudo systemctl enable --now postfixNext, install the chrony package
sudo dnf install chronySimilarly, start the program service
sudo systemctl enable --now chronydFinally, set the hostname of the machine to the value of your FQDN
sudo hostnamectl set-hostname your-fQDNInstall GitLab on Rocky Linux 8
Now you can add the GitLab repository to install the program without too much trouble.
To add it, run the following command
curl -s https://packages.gitlab.com/install/repositories/gitlab/gitlab-ce/script.rpm.sh | sudo bashThis will download and add the repository to your system.
Then, you can install Gitlab by specifying your domain name using the following command:
sudo EXTERNAL_URL="https://[domain]" dnf install gitlab-ce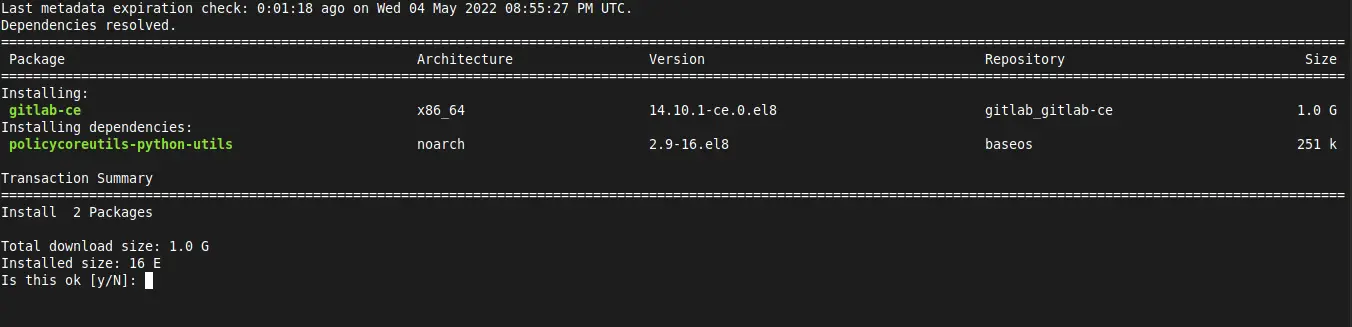
This will start the whole process. At the end you will get an output screen like the following.
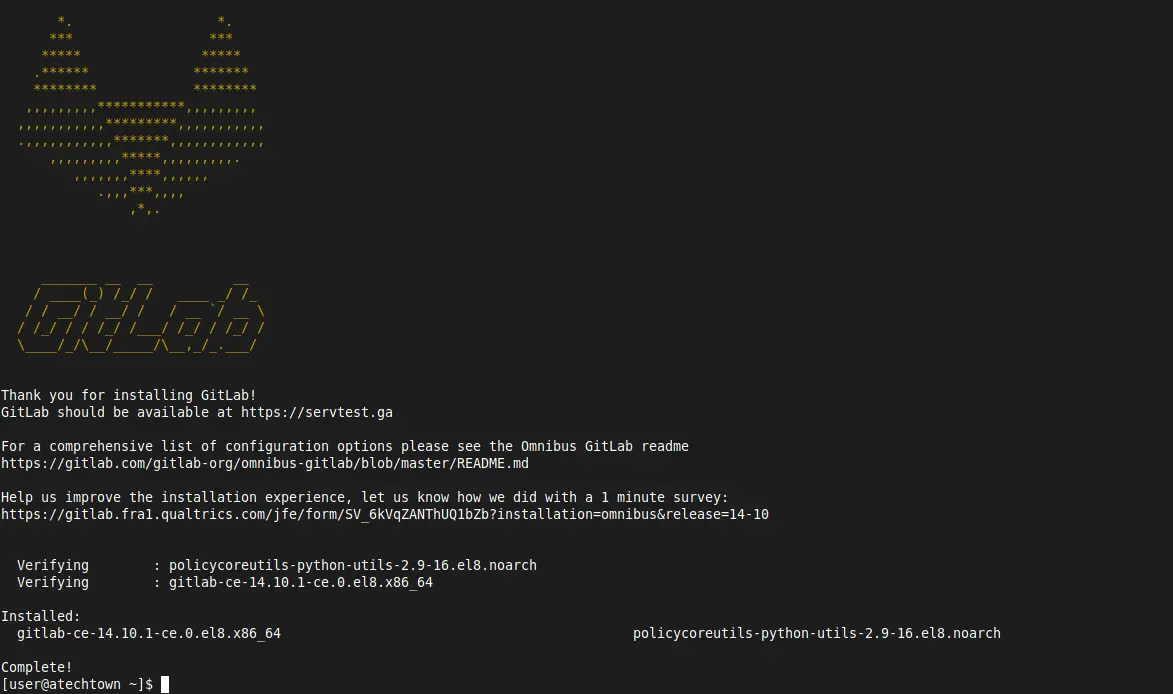
Gitlab installed on the system
Before using the application, you have to open services or ports in the firewall.
sudo firewall-cmd --permanent --add-service=ssh
sudo firewall-cmd --permanent --add-service=http
sudo firewall-cmd --permanent --add-service=https
And apply the changes and restart the firewall service.
sudo systemctl reload firewalldAccessing the GitLab interface
Open your web browser and go to https://your-domain and you will see the login screen.
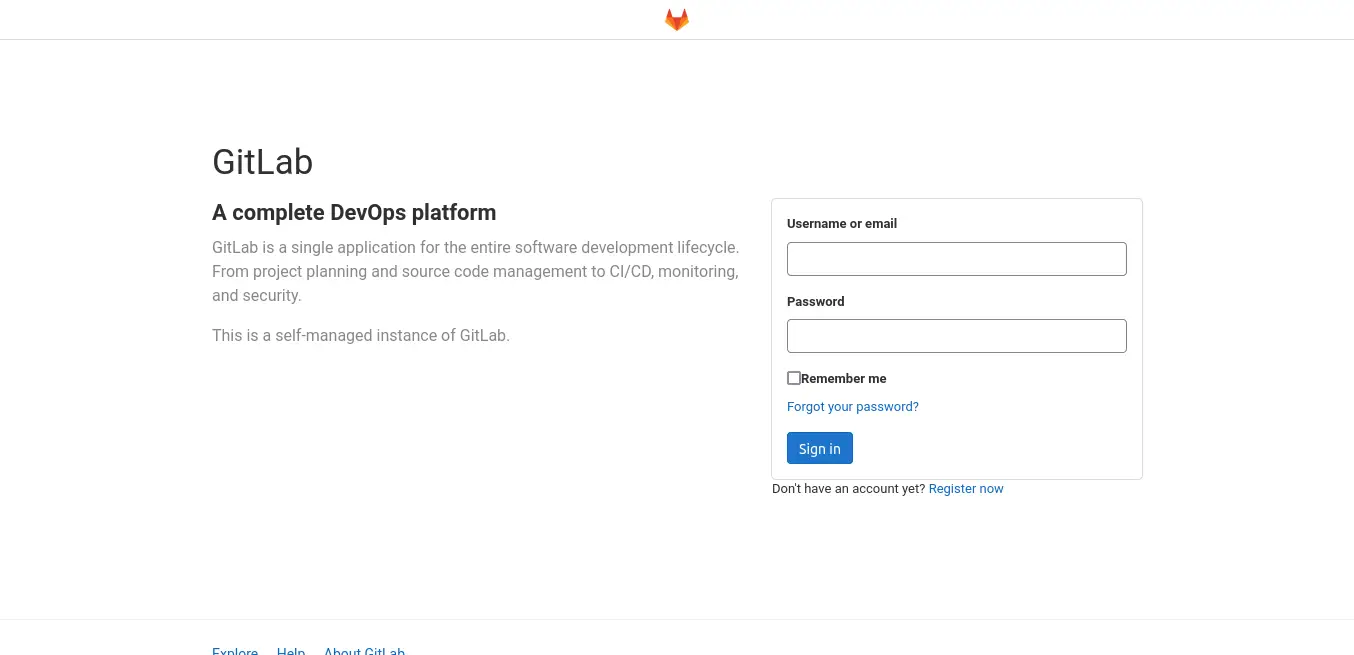
The user is root but the password is private and generated automatically during installation.
To display it, you have to run in the viewer
sudo cat /etc/gitlab/initial_root_passwordAnd there you will see the unique password. In my case, it is.
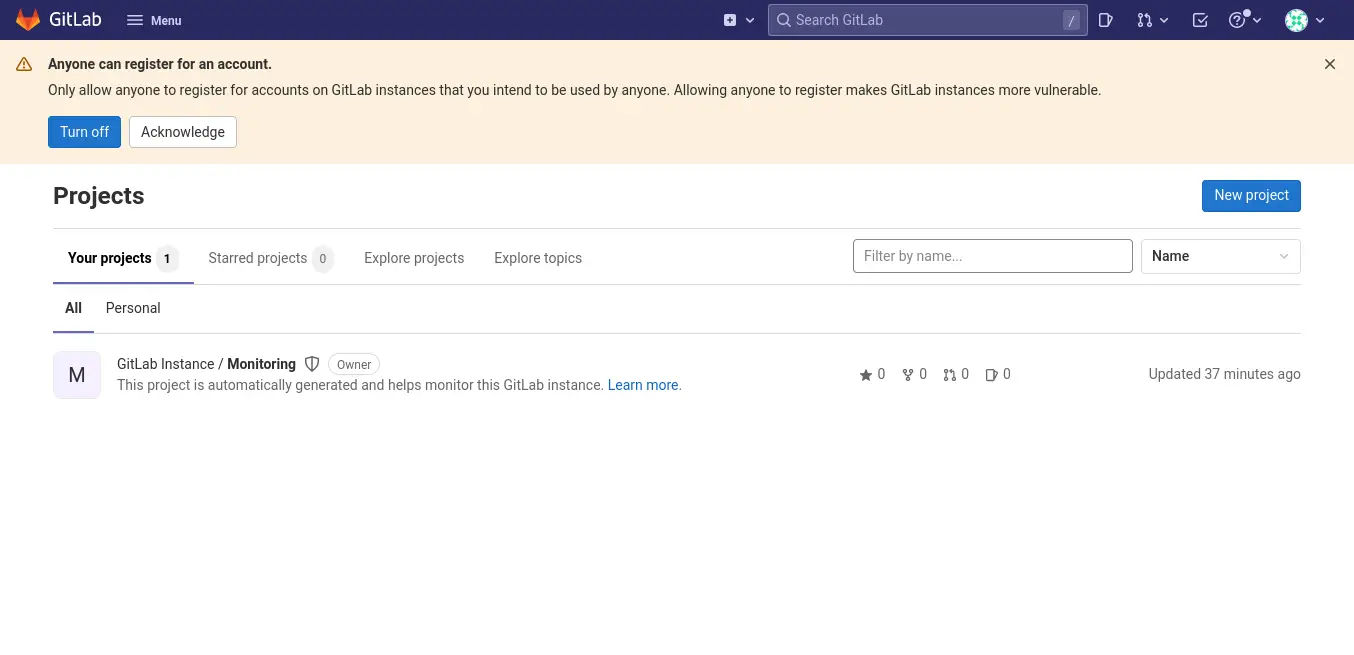
S7hVNX5slzLPmrsUh/z0Av6dG6yWEEEVS9ZoDzr9p8I=Log in and you will see the GitLab dashboard.
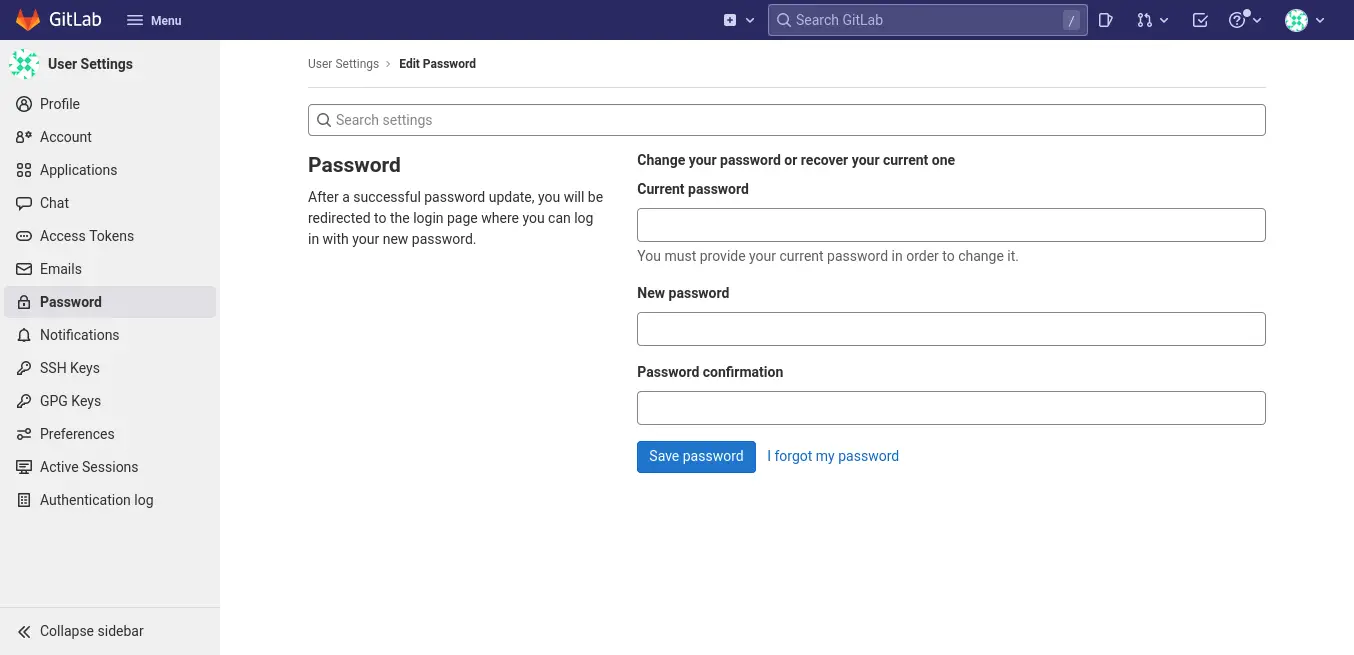
To change the password, you can access the profile options at the top right of the screen, and from there Edit profile then go to the Password section to change it.
Conclusion
GitLab is a tool that has become indispensable for many developers worldwide. Today we learned how to install it on a server with Rocky Linux 8 I hope you liked the post and can do it yourself.