Every good application requires a database management system to match. As we know there are many of them and in many different categories. Today we will talk about how to install ArangoDB on Linux.
In a nutshell, ArangoDB is an open-source NoSQL database system, and it is easily administered via the integrated web interface or the command-line interface.
One of the most important features of ArangoDB is that it supports three data models (key/value, documents, graphs) with a core database and a unified query language AQL (ArangoDB Query Language).
ArangoDB is a NoSQL database system but AQL is similar in many ways to SQL. So you will find many things similar but obviously with the ArangoDB touch.
Another thing that makes ArangoDB stand out is that it is open source and it is written in C. So it is quite fast for many queries and it works well in large and scalable projects.
ArangoDB can be easily installed on Linux using Docker or Kubernetes or a manual installation. In this post, we will show you using Ubuntu 20.04 as the operating system.
Install ArangoDB on Ubuntu Linux
Before you start, update your system completely
sudo apt update
sudo apt upgrade
ArangoDB has packages for many Linux distributions, but also special repositories. In the case of Ubuntu 20.04, we have one that we can add to the system.
First, install some packages that are necessary to complete this tutorial:
sudo apt install curl apt-transport-https
To do so first download and add the GPG key for it.
curl -OL https://download.arangodb.com/arangodb36/DEBIAN/Release.key
sudo apt-key add - < Release.key
Now add the Ubuntu repository. With this repository, we will get the latest version of the 3.8 series the most recent at the time of publishing this post.
echo 'deb https://download.arangodb.com/arangodb38/DEBIAN/ /' | sudo tee /etc/apt/sources.list.d/arangodb.list
Refresh APT.
sudo apt update
And install ArangoDB by running
sudo apt install arangodb3=3.8.1-1
In the future, more versions of the 3.8.x branch will be released. To install just modify the command line to the latest version.
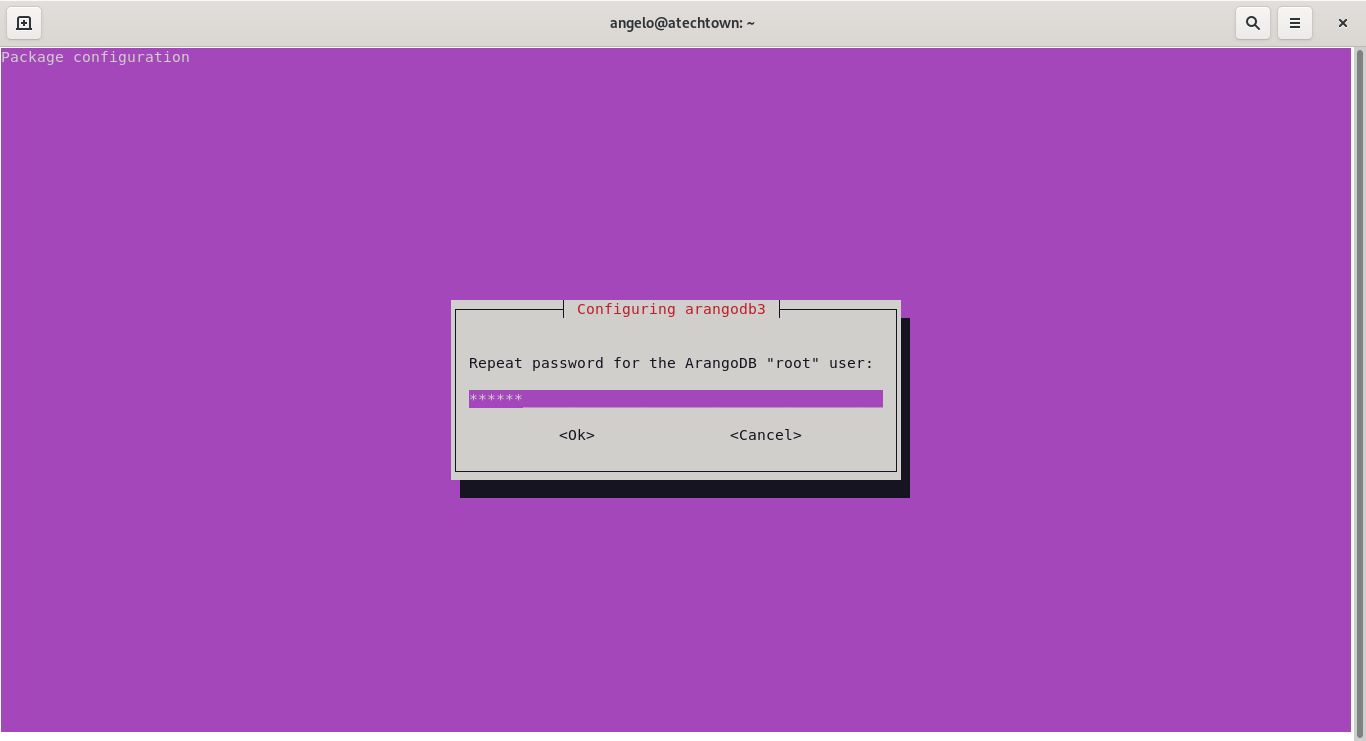
While installing the package, you will be presented with a screen where you will have to enter the initial root password. Choose the one you want.

Then, confirm it.
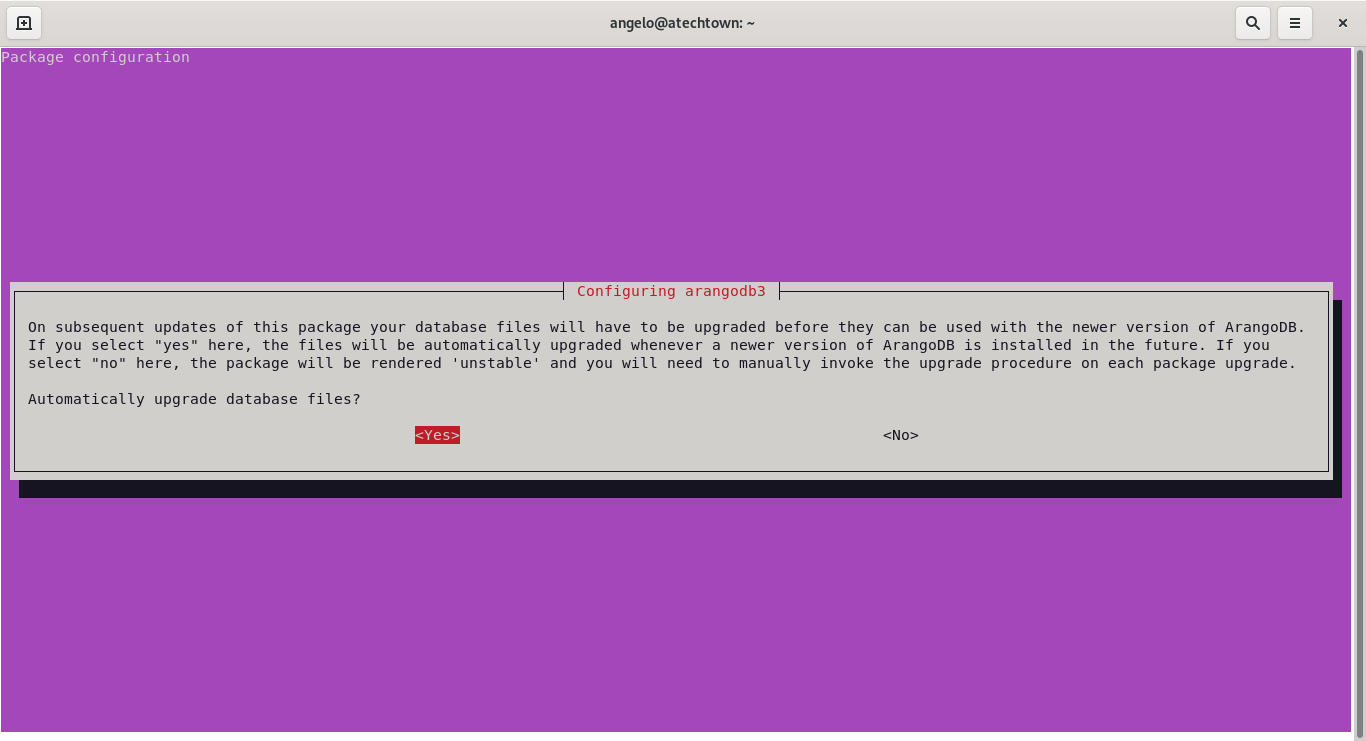
Then, you will then be asked if you want to update the database automatically when a new version is released. If you don’t plan to update the version of ArangoDB you can answer no.
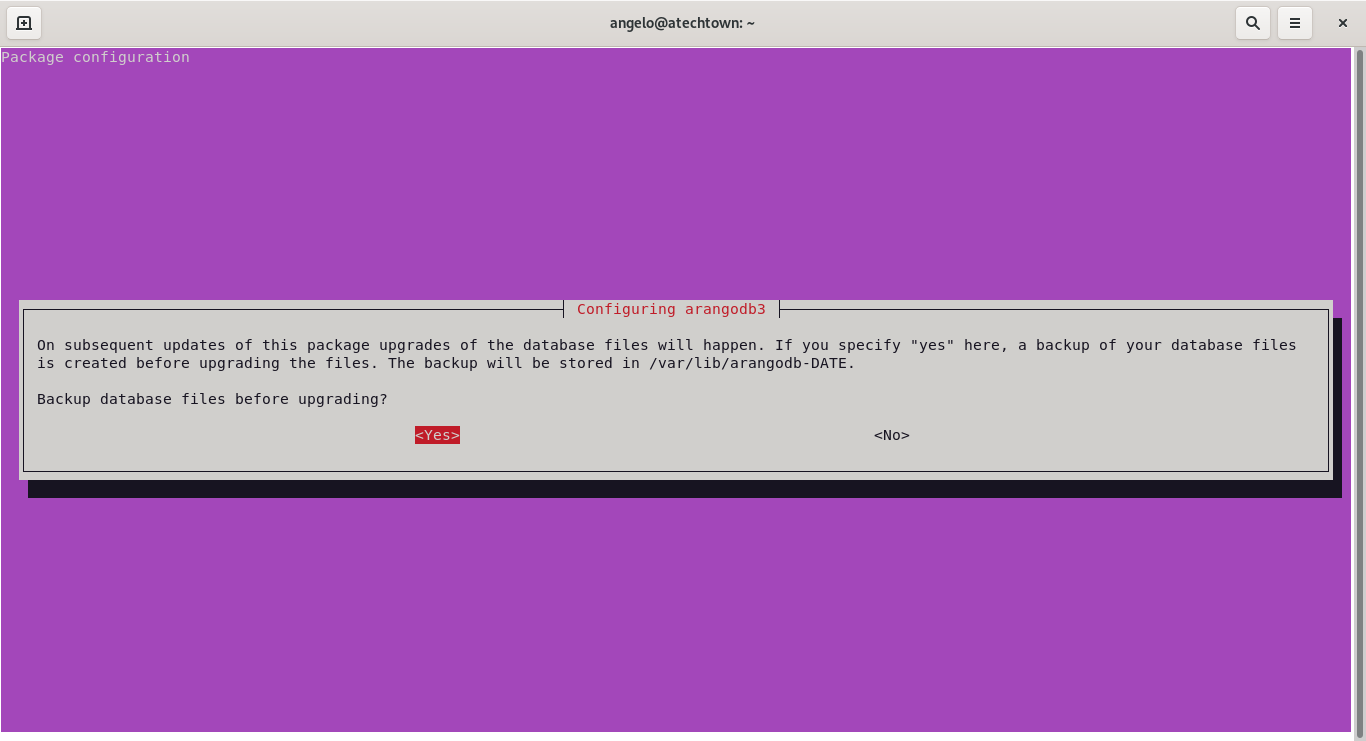
You will then be asked if you want to make a backup of the database before the hypothetical upgrade.
After that, you can check the status of the service by running
sudo systemctl status arangodb3
This way ArangoDB is already installed on the system.
Enabling the ArangoDB web interface
ArangoDB includes a powerful web interface that will help you with database and data management itself. In addition to this, we can use it to configure the instance.
So it is convenient to enable it.
To do this, you have to modify a value in the ArangoDB configuration file.
So, open it:
sudo nano /etc/arangodb3/arangod.conf
And replace the line
endpoint = tcp://127.0.0.1:8529
by
endpoint = tcp://ip-server:8529
Specifying the IP address of your server or domain.
Save the changes and restart the ArangoDB service.
sudo systemctl restart arangodb3
Remember that for this to work you need to open port 8529 on your system firewall or your VPS provider.
Now open a web browser and go to http://your-server:8529.

enter the root user password.
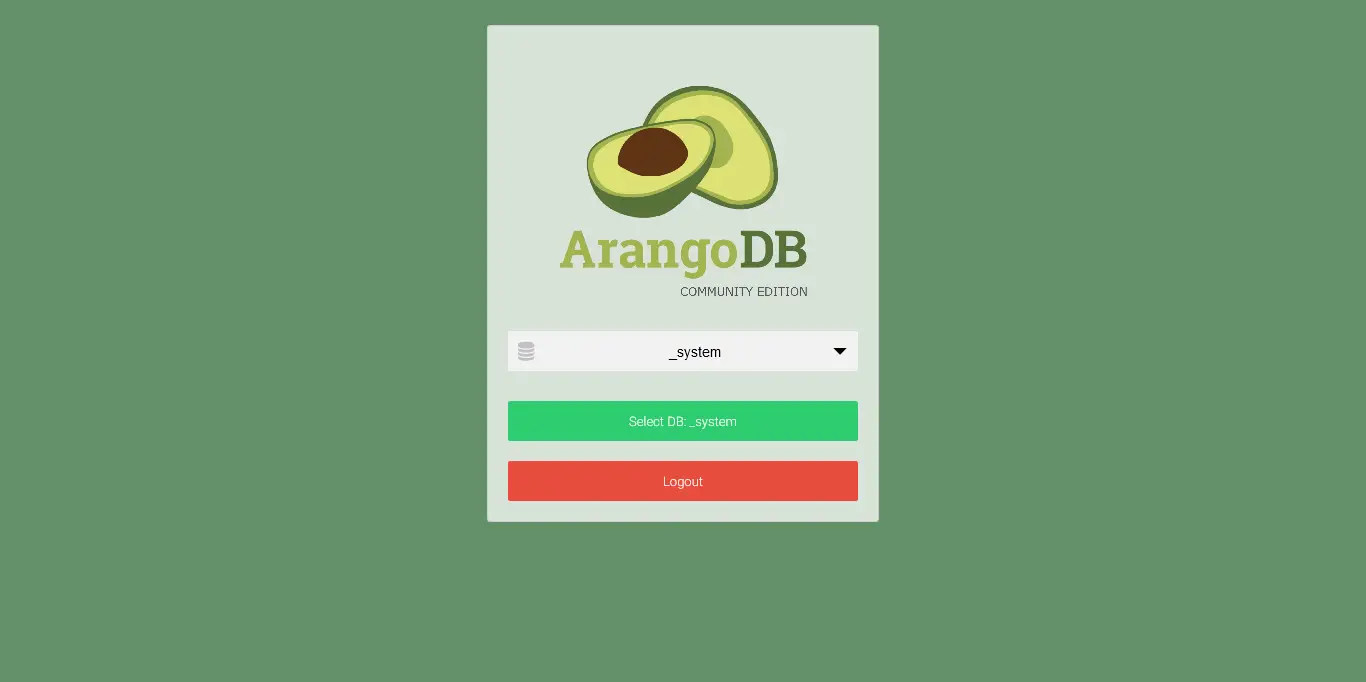
Then select the database you will be working with and you are done. You will see the dashboard and you will be able to use ArangoDB on your server.
Conclusion
ArangoDB aims to be a market solution for NoSQL database managers. It can do this thanks to its ASQL language and the quality of the product they deliver. It is a good time to install it and take a look at it.
So, share this post and leave us a comment.