It is no secret that the appearance of Dropbox was a breakthrough in file management. It also marked a new era in cloud storage. And even though the competition is fierce, it remains one of the most popular. That’s why this post, so you can learn how to install Dropbox on Ubuntu 20.04
Dropbox
Dropbox is a tool that allows you to sync files through a virtual directory or virtual hard drive on the network. This allows us to have a virtual hard disk or folder remotely and accessible from any computer in the world.
That’s why Dropbox is one of the most popular tools in the world. Used by many professionals and companies who need their files on any computer with the Internet. It is even frequently used as a tool for synchronization between devices.
The application has binaries for Windows, Linux, macOS, and mobile platforms such as iOS, Android, and others.
Install Dropbox on Ubuntu 20.04
To install Dropbox, the most sensible thing to do is to go to the official Dropbox repository for Ubuntu which does not have an entry for Focal, but is compatible and does not give problems.
So, open a terminal from the main menu or by pressing the keys CTRL + ALT + T
Now, with the help of the nano text editor, create a new repository file called dropbox.list
sudo nano /etc/apt/sources.list.d/dropbox.list
And in this file you add the following line containing the repository information:
deb [arch=i386,amd64] http://linux.dropbox.com/ubuntu bionic main
Now save the changes and close the editor.
Then you have to add the GPG key to the repository, this to make the repository securely available:
sudo apt-key adv --keyserver keyserver.ubuntu.com --recv-keys 1C61A2656FB57B7E4DE0F4C1FC918B335044912E
Output:
Executing: /tmp/apt-key-gpghome.IbeBVEUlxw/gpg.1.sh --keyserver keyserver.ubuntu.com --recv-keys 1C61A2656FB57B7E4DE0F4C1FC918B335044912E
gpg: key FC918B335044912E: public key "Dropbox Automatic Signing Key <linux@dropbox.com>" imported
gpg: Total number processed: 1
gpg: imported: 1
Now refresh APT to apply the changes:
sudo apt update
And now if you can install Dropbox executed the following command:
sudo apt install python3-gpg dropbox
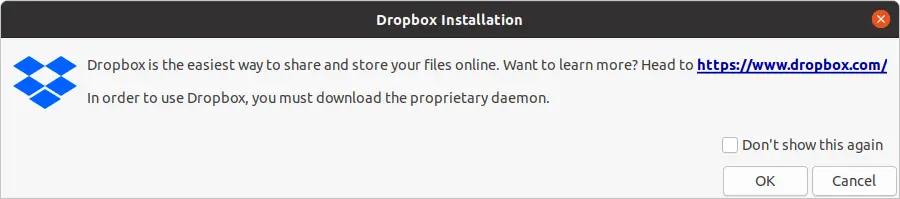
As soon as the installation is finished, you can run it from the main menu. This file is not the proprietary binary of Dropbox but a kind of installer.
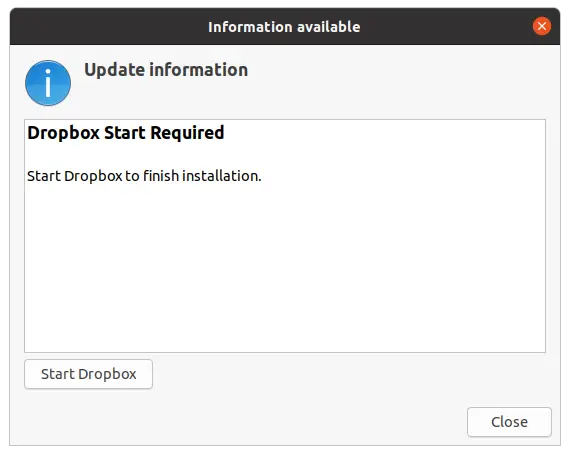
Then you have to click on the Start Dropbox button and the download and installation will start.
In the end, a new tab will open in your web browser, where you will be asked for your credentials.
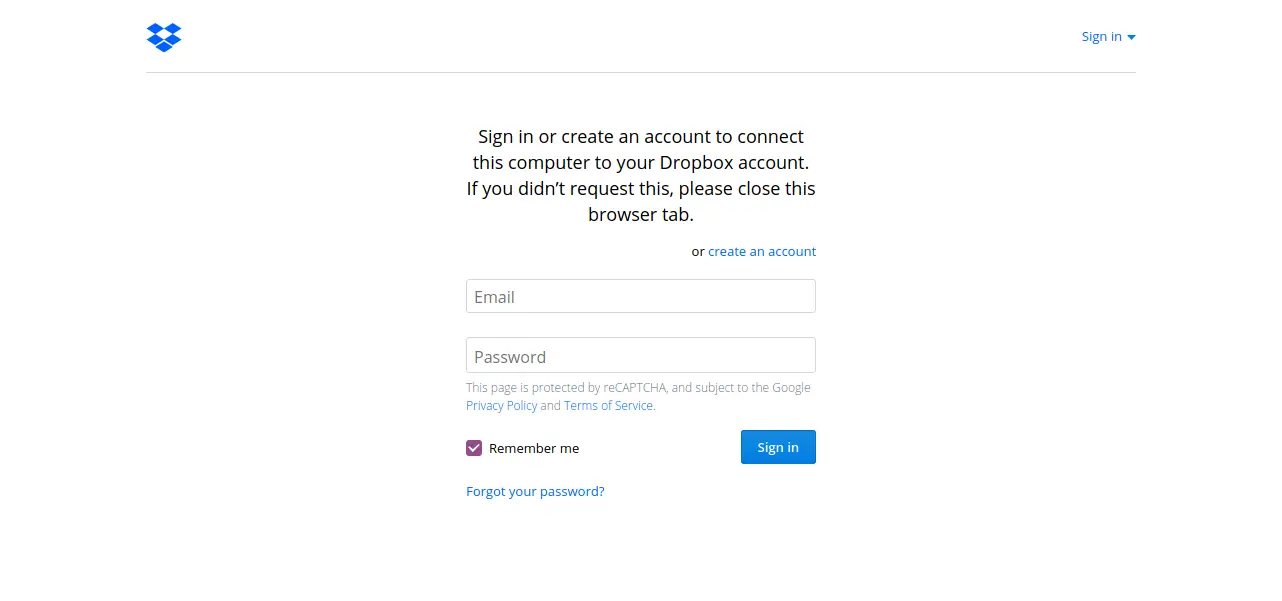
Once you have defined them, you will be able to use Dropbox without any problem.
How to use it?
As soon as the installation is finished in the system tray you will see a Dropbox icon that indicates that it is working.
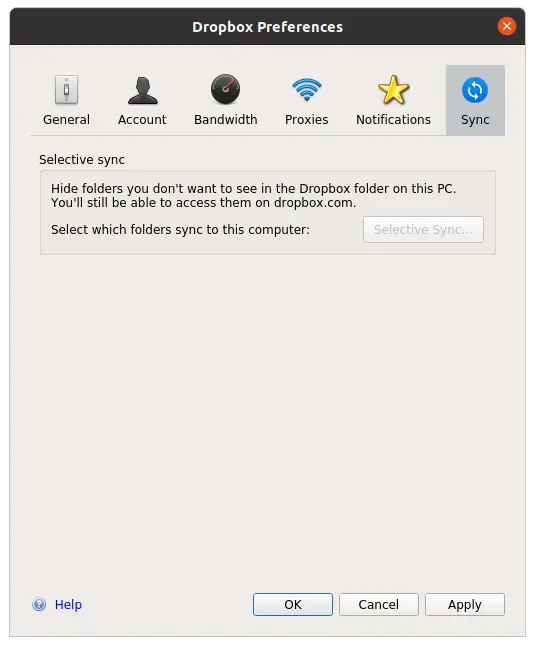
If you click on it, you will see a menu where you can access the Preferences.
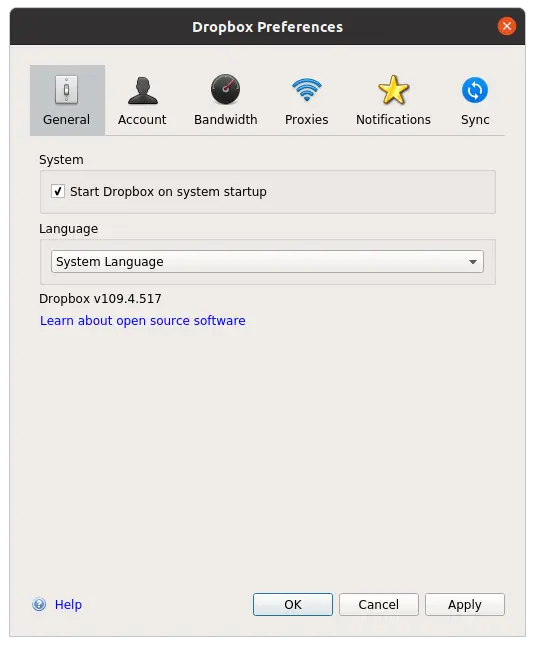
There you can check all the settings of the application such as the Selective Sync.
The rest is just passing files to the sync folder
How to remove Dropbox on Ubuntu 20.04?
If you want to remove dropbox from the system, it’s not a problem to do it, you just have to open the terminal and run
sudo apt remove dropbox
And the uninstallation will start as soon as you type the user’s password.
Then Dropbox will not be on your system anymore.
Conclusion
Dropbox is a widely used service worldwide that revolutionized the market by making the difficult easy. That is why it has gained a worldwide reputation among all users including Ubuntu users. Now, if you are a Windows and dropbox user, you will have no excuse to make the jump to Ubuntu because in this post you have learned how to install it.
Tell us, do you use Dropbox? do you like it? Leave us a comment and share this post with all your friends.