To make remote desktop connections the application that many people recommend is TeamViewer. This application has become one of the most popular because it is secure, easy to install and use.
So with TeamViewer, we have an application that successfully meets the ISO 27001 standards while being HIPAA and SOC2 compatible. Many companies use this application as the main solution for remote assistance. Something very important in these difficult times.
Below are some of the features of TeamViewer,
- File sharing option.
- It is cross-platform. With versions available for Windows, Linux, and macOS.
- Supports connections to UHD or 4K screens.
- Multiple simultaneous connections are supported.
- Support mobile devices
- Chat via text, take screenshots, or control processes on the supported device
- Remote Printing for Windows and MacOS
In short, TeamViewer is a comprehensive, remote access, remote control, and remote support solution. It works with almost every desktop and mobile platform, including Windows, macOS, Android, and iOS.
Install TeamViewer on Ubuntu
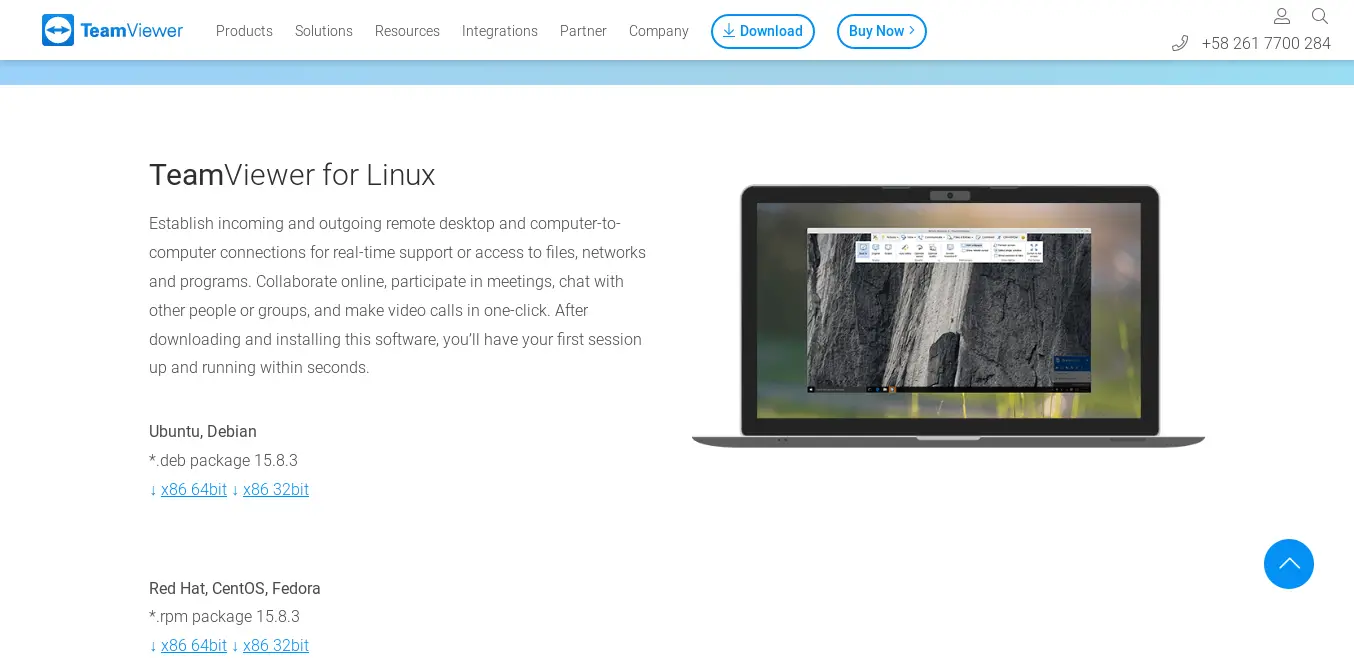
The team of developers behind TeamViewer provides a DEB package compatible with Ubuntu 20.04
So just go to the official TeamViewer website, specifically to the Linux download section, and download the DEB package (x86 64bit). You also have an x86 32 bit version if required.
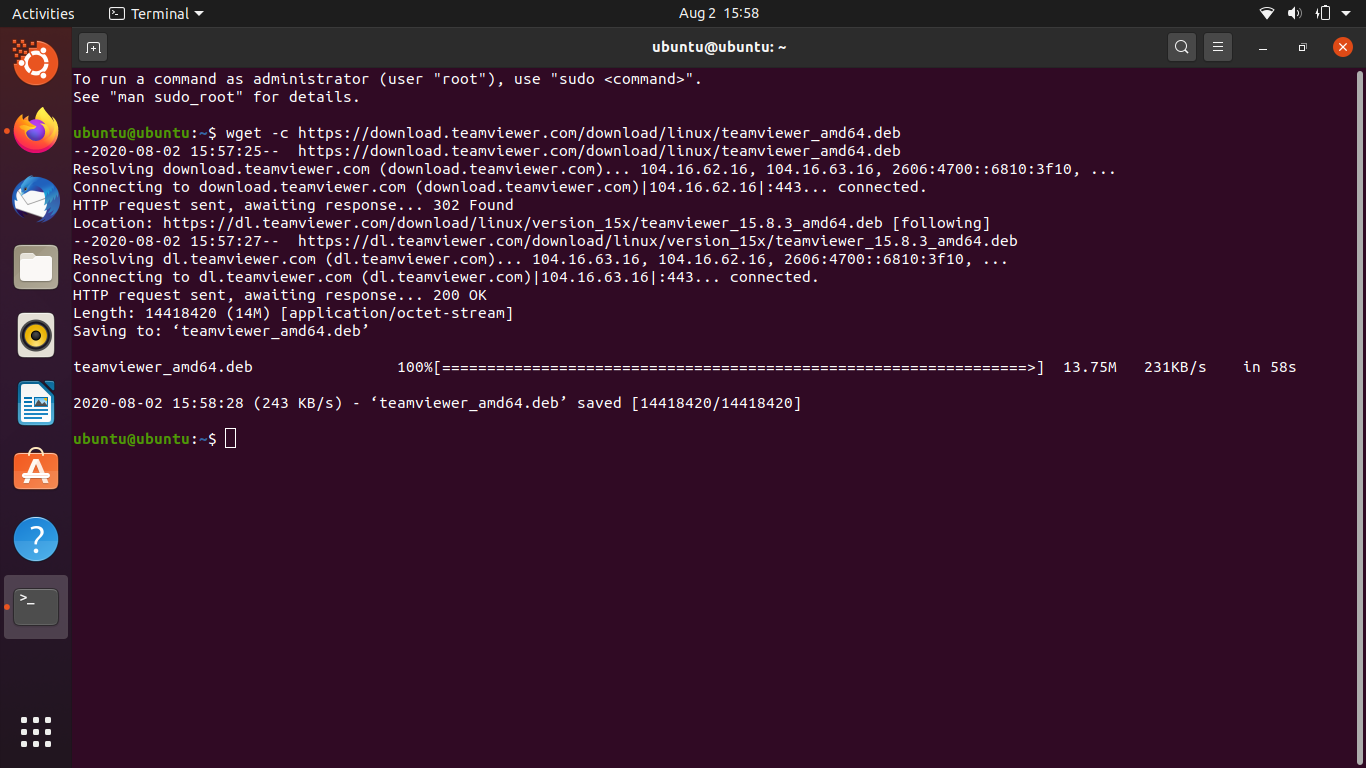
Or, if you prefer the terminal because it is faster or you are used to it, you can run the wget command.
wget https://download.teamviewer.com/download/linux/teamviewer_amd64.deb
And then, install it with the help of APT.
sudo apt install ./teamviewer_amd64.deb
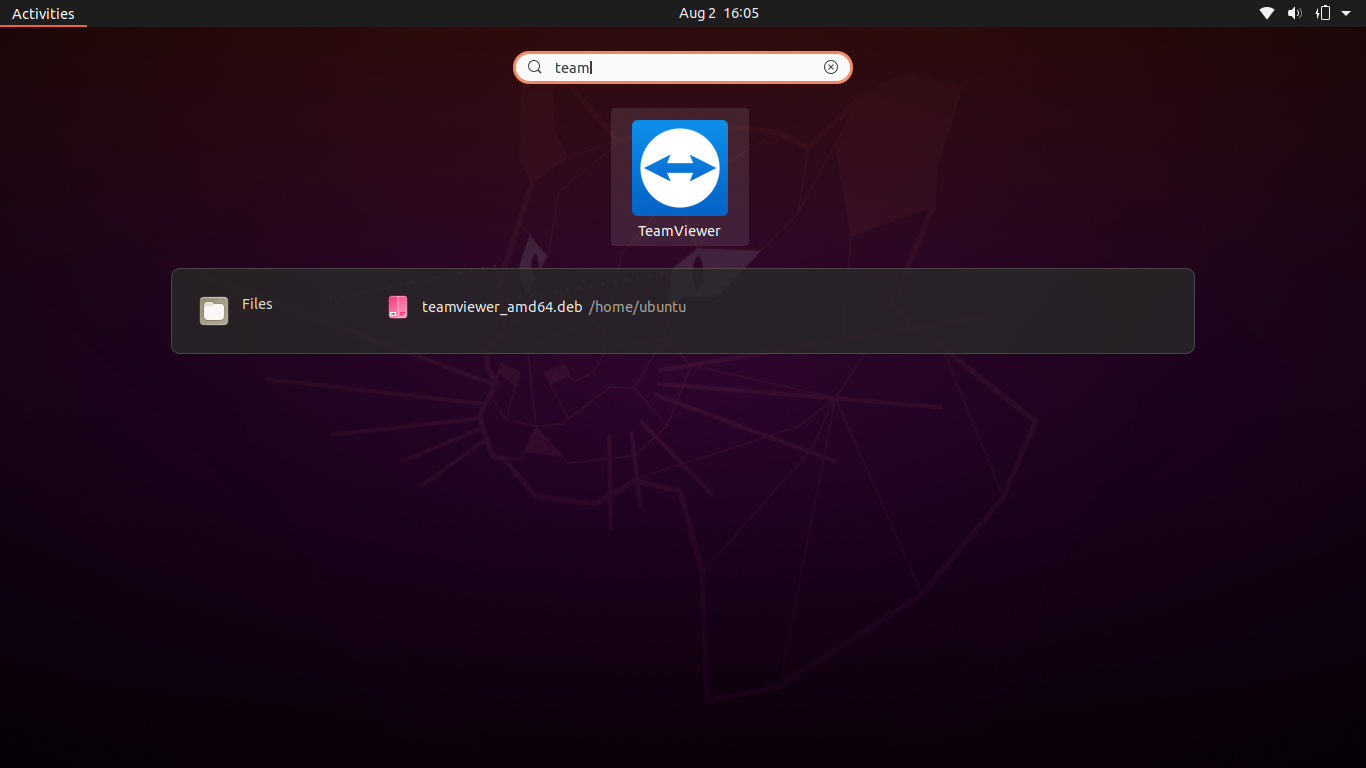
So, when the installation is finished, it will appear in the main menu of the system, or you can run it from the terminal:
teamviewer
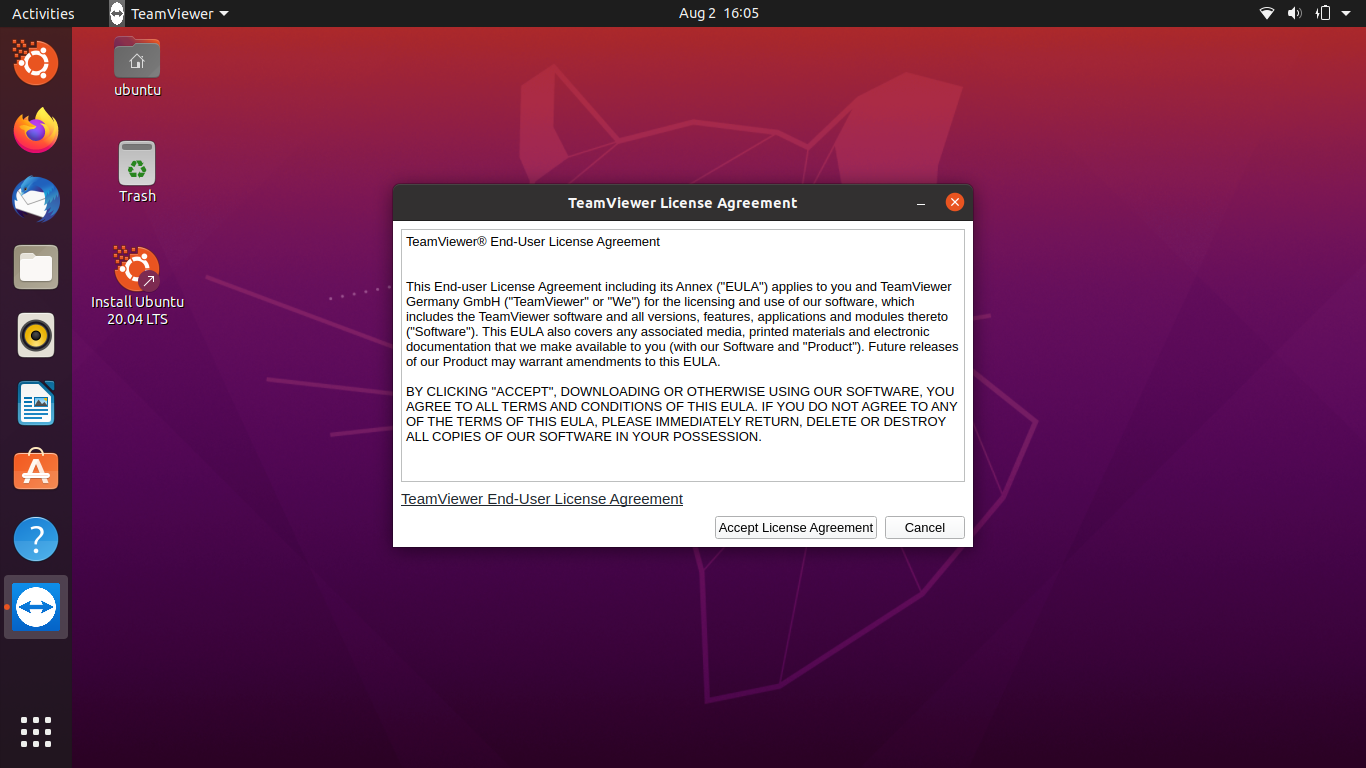
Once the application starts, you will be able to see the license terms. In case you agree with it, press the Accept button.
Then, the main TeamViewer screen will load.
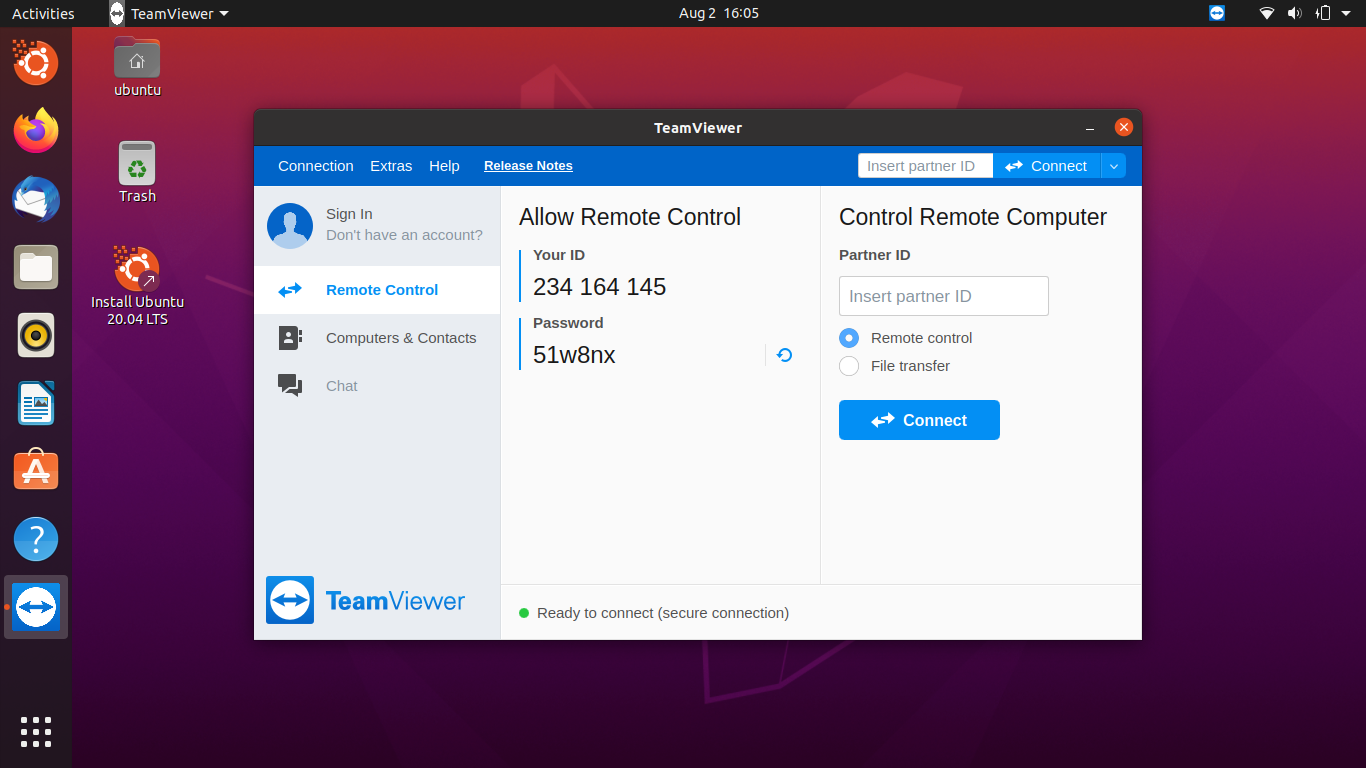
There, you can see the ID and password that are the credentials you need to start a session.
Now, TeamViewer is successfully installed.
Now you should install TeamViewer on the target system as well. Enter the partner id and password and click on connect to the remote computer.
That’s it.
Update TeamViewer
Teamviewer installer adds teamviewer.list to /etc/apt/sources.list.d, so wherever there is any update available you can simply run the system update and upgrade command to update TeamViewer.
sudo apt-get update
sudo apt-get upgrade
You can also enable the auto-update feature for the TeamViewer. Refer to this article for details.
Uninstall TeamViewer
Use the below command to uninstall TeamViewer from Ubuntu. This does not remove any configuration changes you have done.
$ sudo apt remove teamviewer
To completely remove TeamViewer run the below command
$ sudo apt purge teamviewer
Conclusion
Knowing how to install applications like TeamViewer on Ubuntu 20.04 can help us solve many problems in technical support from the comfort of our home.
Remote desktop connections are a great help in home working and of those tools TeamViewer is one of the best.
So, thanks to this tutorial, you now know how to install TeamViewer and I hope you can use it and solve many problems.
More info: TeamViewer website