Ubuntu 18.04 is one of the preferred systems for application developers. These can be mobile, desktop or web applications. All of them can be developed with Ubuntu. However, there is something in common in all of them they need a database manager. So, in this post, you will learn how to install SQLite on Ubuntu 18.04.
SQLite: a very big little
If we talk about open-source relational database handlers, it is very likely that we think about MySQL or even PostgreSQL. However, there is a third one in question that is SQLite.
According to the official website of the project, SQLite is “a C-language library that implements a small, fast, self-contained, high-reliability, full-featured, SQL database engine“. The project also claims that it is the most widely used database engine in the world. This is large because it is used in many mobile projects.
The main features that make SQLite so used are the large data capacity handled because the maximum size of the supported database is 140 terabytes. On the other hand, it does not depend on system service. This is very important for many projects because it guarantees data mobility. And finally, it is cross-platform that makes it easy to install.
All this is done by SQLite weighing less than two megabytes on Linux. Yes as you read it, we are talking about a program so small that it can do very big things. That is why SQLite is a very big little program.
As you may have noticed, SQLite uses the SQL language for definition, manipulation and data querying. So if you have used MySQL, PostgreSQL, Oracle Database or IBM DB2, the learning curve will be very low.
Getting SQLite on Ubuntu 18.04
Like many other applications for Linux, it is possible to install SQLite in two different ways. This is because the application is quite popular among application developers and they make it available in several ways.
The case of Ubuntu 18.04 is not the exception, so I will show you how to install SQLite in two different ways.
SQLite on Ubuntu 18.04 using the Ubuntu repository
As you might expect, SQLite is available through the official Ubuntu 18.04 repositories. To check that this is indeed the case, open a terminal session and run the following:
:~$ sudo apt-cache search sqlite
As you can see there is a very big list of packages related to SQLite, and we also found the console and the binary of the program. So to install it you just need to run the following command:
:~$ sudo apt install sqlite3
This will install SQLite version 3 which is recommended for current projects.
Install SQLite using the binaries package
Always installing a package from the repositories is a safe bet. However, it is also true that many times it is convenient to have the latest version of a program.
In the case of SQLite, this is quite easy to achieve because the binaries given by the project’s website are so small and portable that it makes everything very simple.
First, go to the SQLite download page.
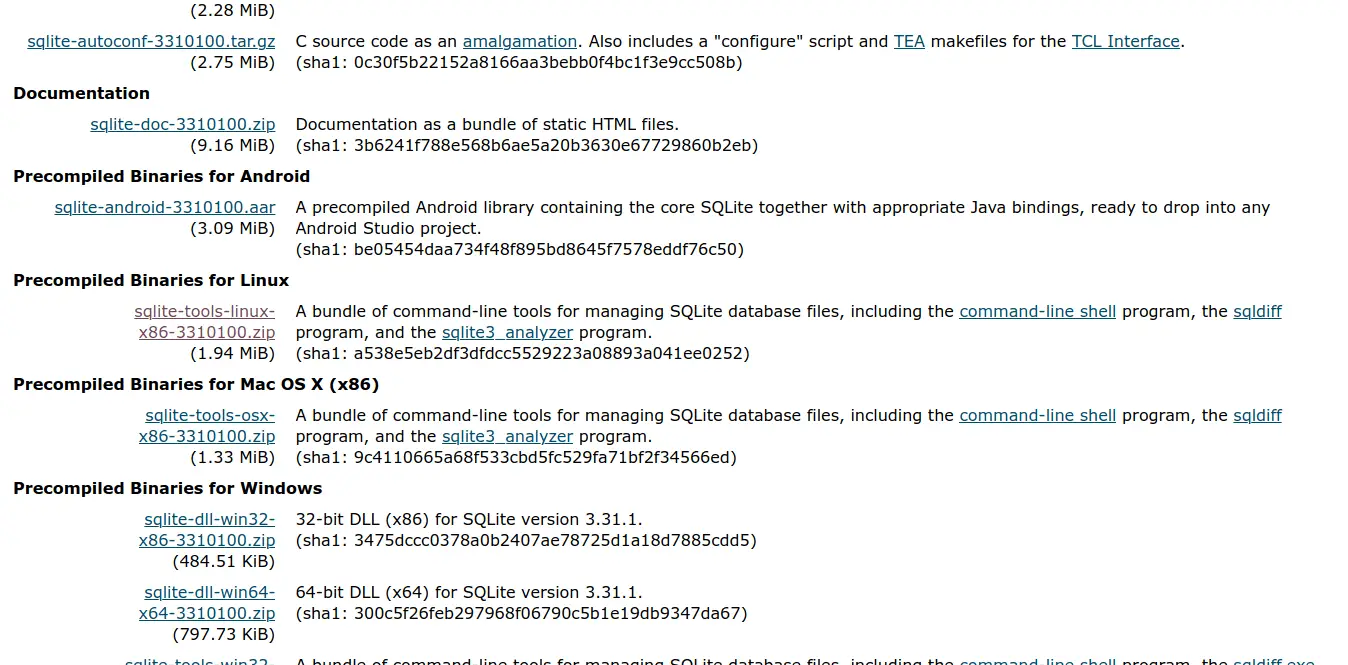
And download the binaries for Linux by clicking on the respective link.
Once you have downloaded, open your file manager and decompress it.
This whole process can be done from the terminal and is even faster. So, open the terminal from the main menu and run the following command:
:~$ wget -c https://www.sqlite.org/2020/sqlite-tools-linux-x86-3310100.zip
Once you have finished downloading, unzip it using the following command:
:~$ unzip sqlite-tools-linux-x86-3310100.zip
And this will generate a folder called sqlite-tools-linux-x86-3310100 that you can rename.
Then, access the folder and grant execution permissions to the binary files there.
:~$ cd sqlite-tools-linux-x86-3310100/
:~$ chmod +x *
And that is it, now we can use SQLite on Ubuntu 18.04.
Using SQLite for the first time
If you have installed SQLite using the official Ubuntu repositories, just use the sqlite3 command to access the console.
Otherwise, if you have chosen to use the binaries downloaded from the SQLite website, go to the folder where they are and run the following command:
:~$ ./sqlite3
But let us take a few steps. We are going to define at once a database called First.
Note: In case of using the sqlite3 command without any parameters, a database will be created in the temporary memory of the application. So be careful.
:~$ ./sqlite3 First.db
Once inside we can run some SQLite commands like .help to display the help.
:~$ .help
There are many commands available as you can see. However, in the help, you can find out what each one is for.
Usually, these commands help with the administrative handling of SQLite databases and tables.
A database without a table is nothing. So you have to create one, for this, you have to use the SQL language. In this example, I will create a table called users with 3 simple fields.
sqlite> CREATE TABLE Users (
   ...> Id INTEGER NOT NULL PRIMARY KEY AUTOINCREMENT,
   ...> first_name VARCHAR(25),
   ...> last_name VARCHAR(25));
Now check that the table has been created correctly using the .tables command
sqlite> .tables
Users
Now we will insert a new row, i.e. a record with false data.
sqlite> INSERT INTO Users (Id, first_name, last_name) VALUES (0,'Larry','Taylor');
Finally, I will use the SQL language SELECT command to display the inserted data.
sqlite> SELECT * FROM Users;
Then you can exit the SQLite console with the .quit command
sqlite> .quit
Now it remains for you to get the most out of SQLite by using the SQL language.
Conclusion
If you are looking for a lightweight but powerful database manager, SQLite maybe your best option. Throughout this tutorial, you have learned how to install it in Ubuntu 18.04, but we have also created a table, inserted data and retrieved it.
On the other hand, SQLite is constantly being updated and it is worth taking a look at the development of it.
Finally, we have to say that to take better advantage of SQLite you have to know in depth the SQL language. So, you can read the SQLite official documentation.