MySQL is a relational database management system. It is an open-source application developed and maintained by Oracle. It is perhaps one of the most important database managers in the world because it is used in many commercial and enterprise projects.
A sample of what I say is that both the LAMP stack or the LEMP stack use it as a member to serve data to their applications. So many Linux distributions dedicated to servers have MySQL in a privileged place in their official repositories.
Let’s see how to install MySQL on Alma Linux 9.
Install MySQL on Alma Linux 9
Alma Linux, as a good derivative of RHEL, is a very stable system that is used on servers of all types. This makes MySQL present in its official repositories and the whole process more manageable.
First, open a terminal or connect via SSH to the server and make sure to update it.
sudo dnf updateOptionally, you can install the packages from the “Development Tools” group in case you eventually need something associated with MySQL. Again, this is optional.
sudo dnf groupinstall "Development ToolsNow you can install MySQL from the official repositories by running the following command
sudo dnf install mysql mysql-server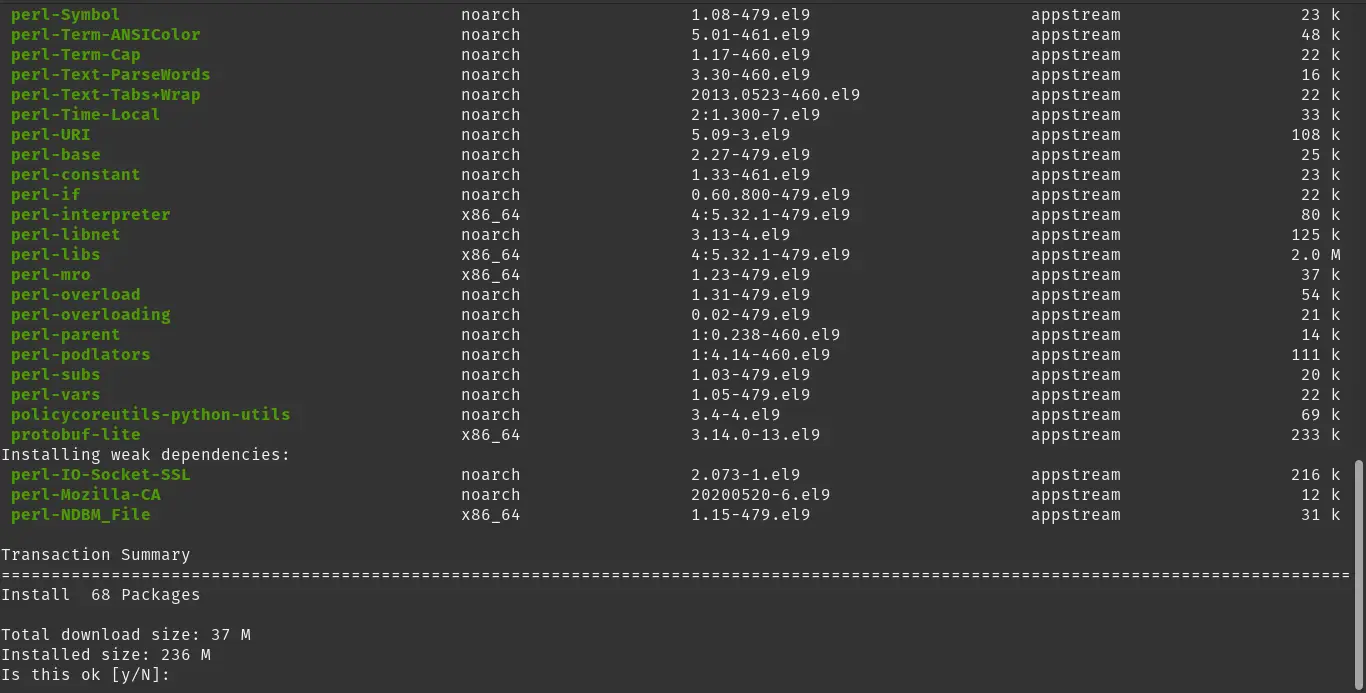
This will install both a client and the MySQL server. This is normally done in development environments, but in production environments just the server should be enough.
You can verify the mysql version that is installed by running
mysql --versionSample output:
mysql Ver 8.0.30 for Linux on x86_64 (Source distribution)Starting the MySQL service
Although MySQL is installed on the system, it is not yet running. This is normal since on RHEL-derived systems, services must be started explicitly by the user.
So, to start it, you can run
sudo systemctl start mysqldIt is also a good idea to have the service started automatically by the system:
sudo systemctl enable mysqldRemember that many times you will have to make changes in the configurations and to apply those changes, then you will have to restart MySQL. You can do that by running.
sudo systemctl restart mysqldOr stopping it is also useful in some cases.
sudo systemctl stop mysqldFinally, you can check the status of the service to see if everything is going well.
sudo systemctl status mysqldSample output
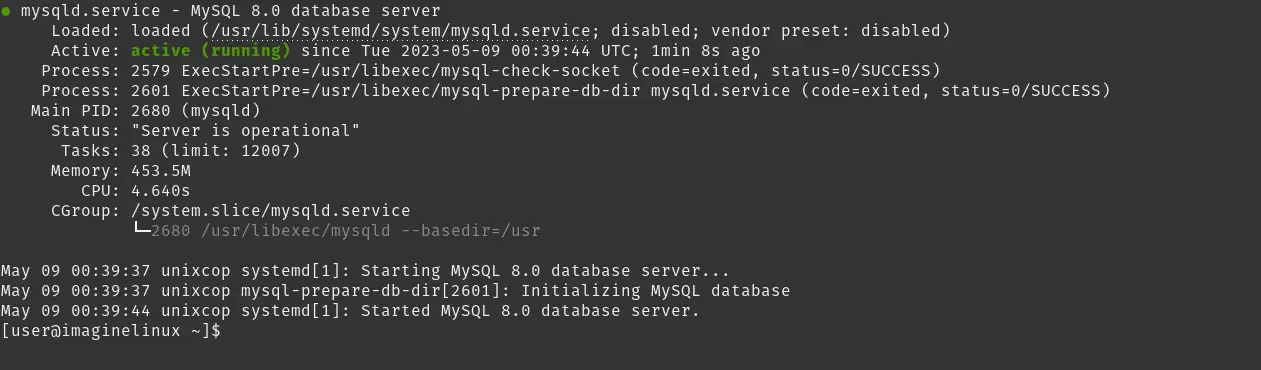
Securing MySQL Installation
Linux and MySQL are a great combination because they are very secure, but it is always good to give them a little more security.
To achieve this, there is the mysql_secure_installation script that not only allows you to change the root password, but you can also apply some other settings.
So, to call it, just run
sudo mysql_secure_installationAnd the first thing it will ask you for is the root password. As it has not been created yet, you can press ENTER.
Then, it will ask you if you want to change. Choose Y and then set the password you want.
Next you will be asked some configuration questions
Remove anonymous users [Y/n]:
Disallow root login remotely [Y/n]:
Remove test database and access to it [Y/n]:
Reload privilege tables now? [Y/n]: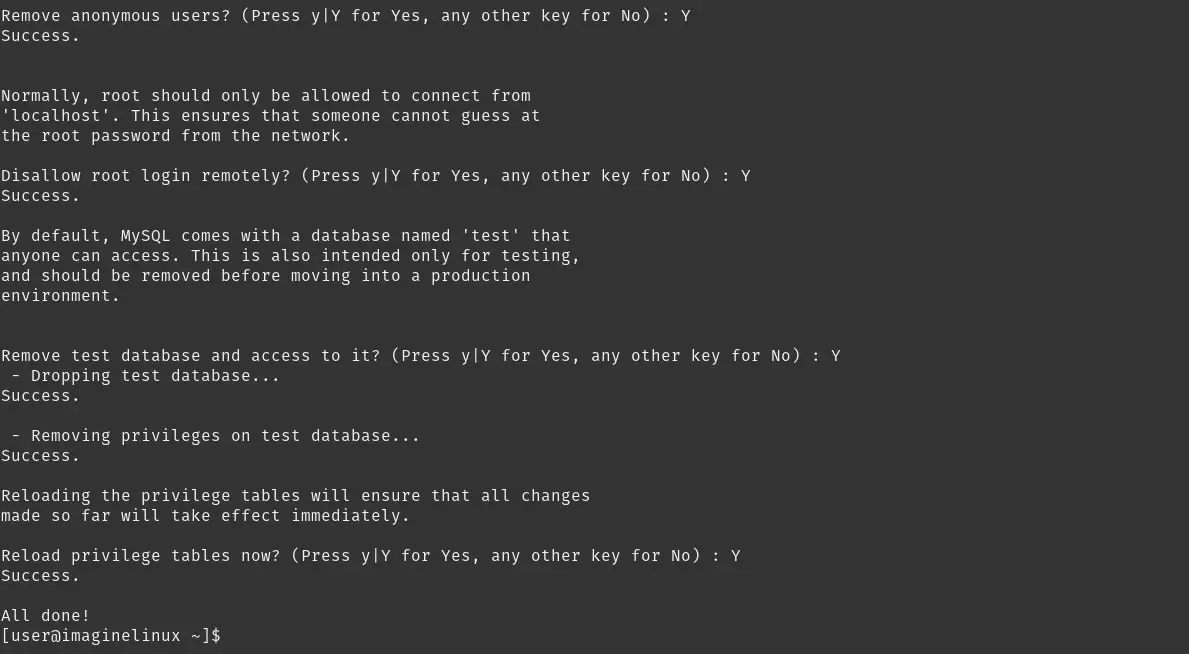
To each of these questions, you can answer Y and the script will exit at the end.
Testing MySQL
Once everything is in place, the normal thing to do would be to access the console and create a database to check that the process was successful.
Open the console
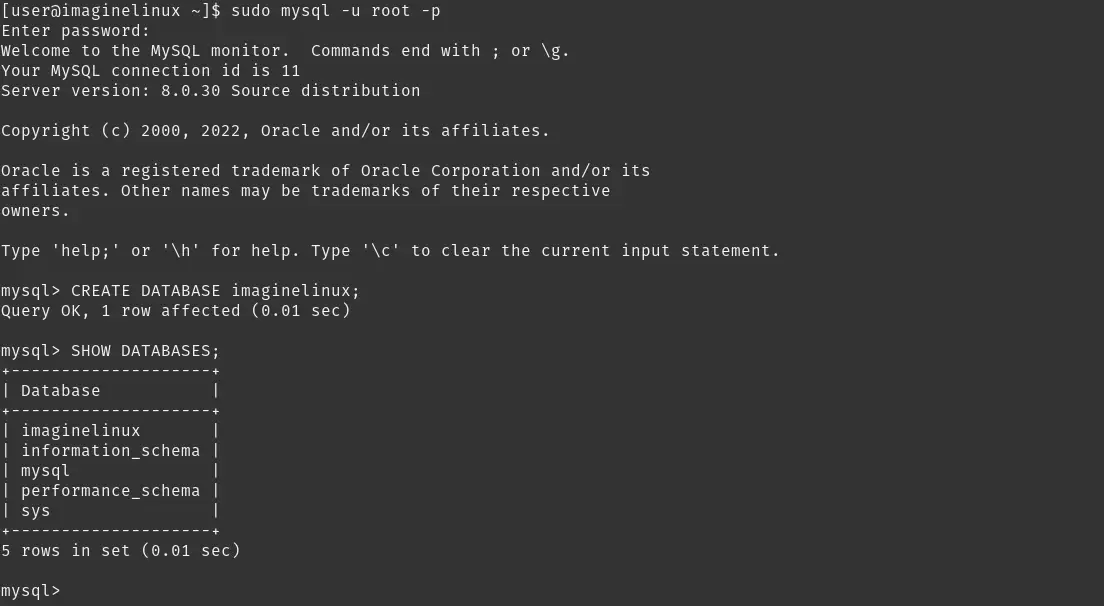
sudo mysql -u root -pEnter the password and you will be able to enjoy MySQL. For example, create a new database.
CREATE DATABASE imaginelinux;And verify that it was indeed created:
SHOW DATABASES;So, you are all set.
Conclusion
MySQL is an excellent database manager that is always good to know. If you are a developer, or you are starting with Linux, MySQL has to be in your learning focus because it is very popular.
I hope you liked this post, and you can share it with all your friends.