Although the most popular Linux distributions without Ubuntu and Linux Mint, the truth is that OpenSUSE has its own. It combines the robustness of SUSE Linux Enterprise with the simplicity of the community. We also find one of the most wonderful tools of all Linux and that’s Yast.
So, if you want to learn how to install OpenSUSE this post will help you with that.
Install OpenSUSE
This installation process of OpenSuse Linux is easy. You need to download the.iso image and create a bootable USB stick. Next, boot from USB and complete the installation. The installation is Wizard Driven.
Let’s see all these steps in detail.
1. Download OpenSuse Leap 15.2
OpenSUSE is available for both Desktop and Server. We are going to use the Desktop image. Go to the download page and download the offline image for Intel or AMD 64-bit desktops, laptops, and servers (x86_64).
Once the download is complete make a USB Bootable stick. Connect to the system and restart it. You can also use VirtualBox for installation if you just want to try it before installing it as a single boot.
2. Choose the installation option
Once the computer has booted, you will see the first screen:
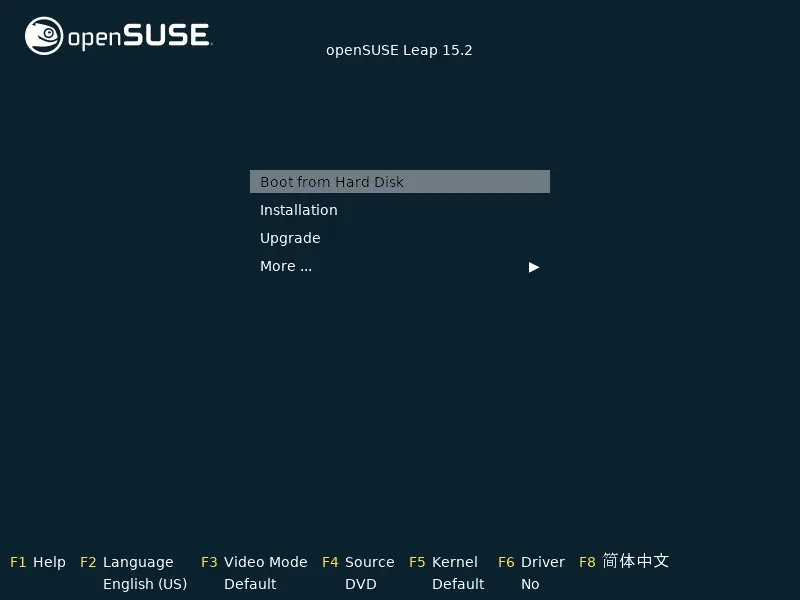
Choose the second option called Installation to start the installer. If you have a previous installation, you can use this image to upgrade the system in the Upgrade option. But our case is a clean installation.
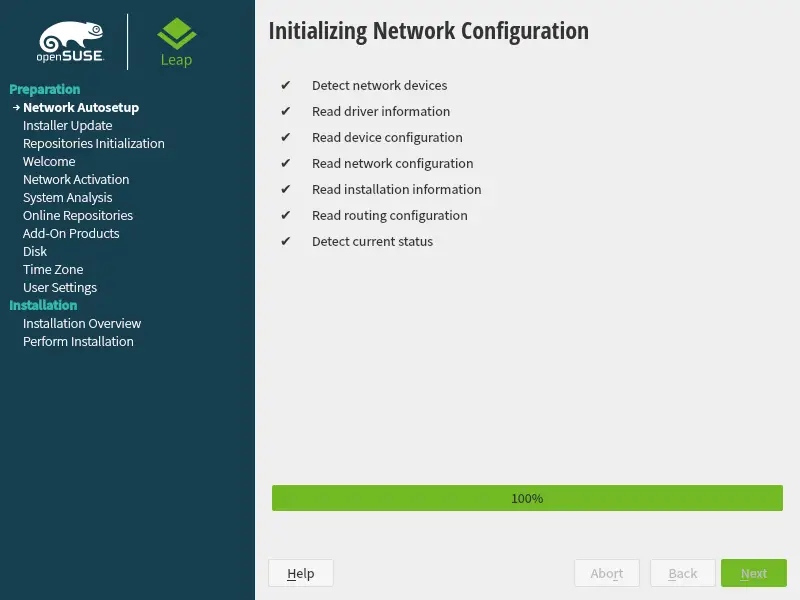
3. Configure Network
As I have my computer connected to the network, the installer will detect the active connections.
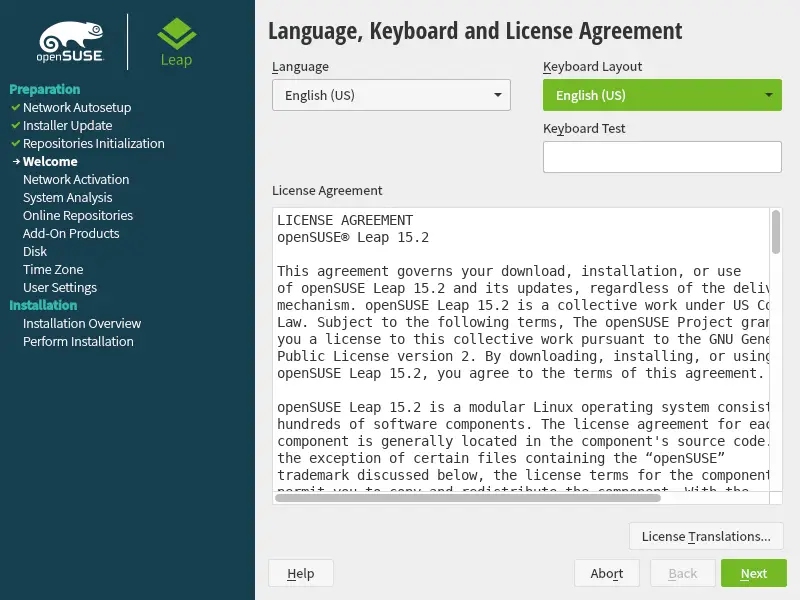
4. Select Language, Keyboard, and License Agreement
Then, you can choose the installation language and the keyboard layout. OpenSUSE like the rest of Linux distributions is available in many languages and with many different configurations. When you are ready, press the Next button.
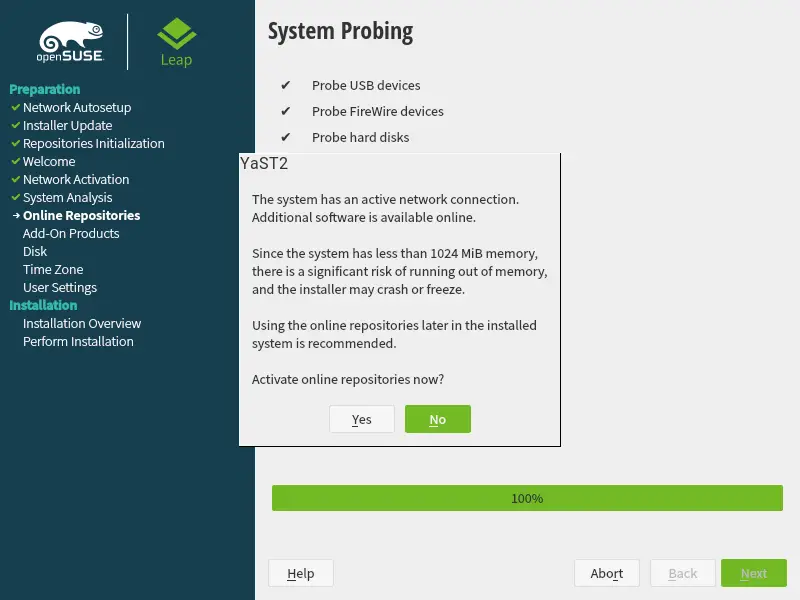
5. Include online repositories
Again, as I am connected to the network, I am asked if I want to include the online repositories. They can be useful but in this case, I have decided not to activate them.
Then, you can choose which desktop environment to use. OpenSUSE is known to have a fairly well-maintained KDE Plasma desktop. But it is also used on many servers because it is based directly on SUSE Linux.
6. Select System Role
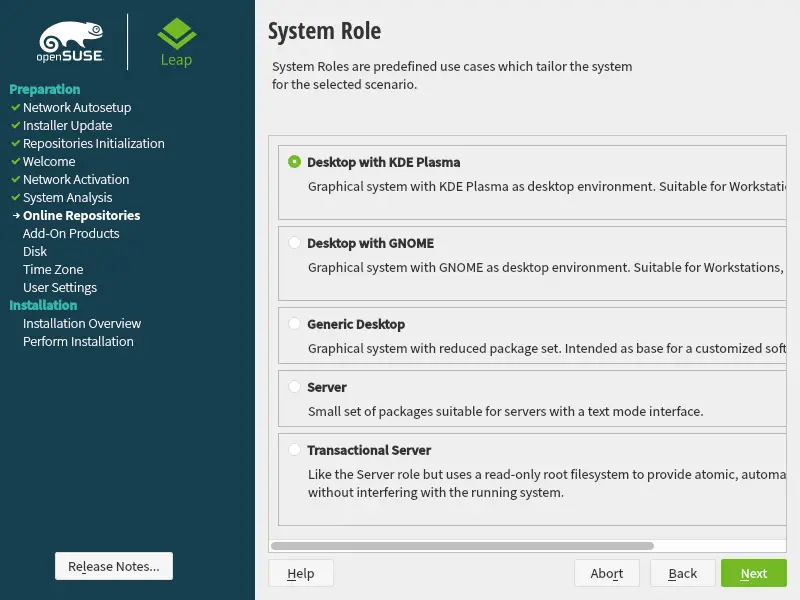
For this installation, I will choose a Desktop with KDE Plasma, but the process does not vary depending on the environment.
7. Partition Disk
Now comes the center of the installation which is the disk partitioning.
First of all, you will see the suggested partitioning.
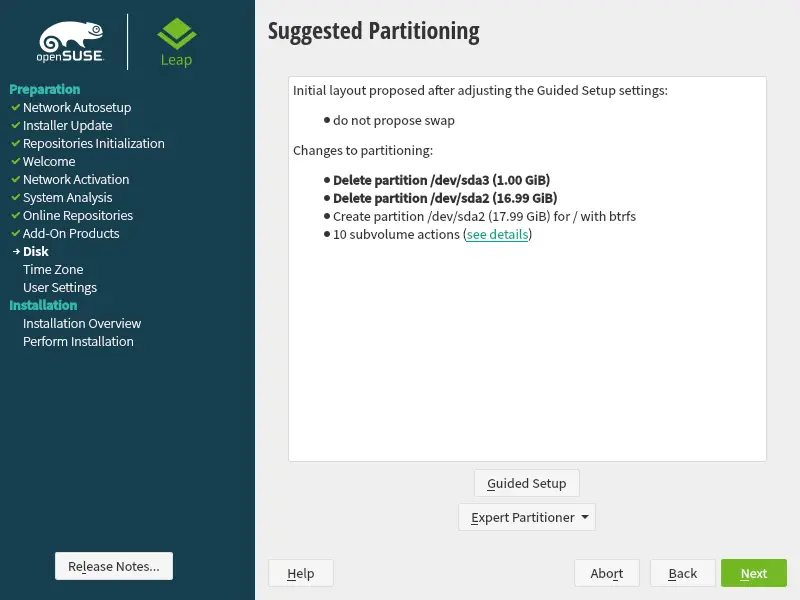
You can see that there is a proposal that includes removing the entire disk and let the installer do all the processing. Although this is the easiest thing to do, it is good to have control of the process.
So below in Expert Partitioner select the option from the existing partitions.
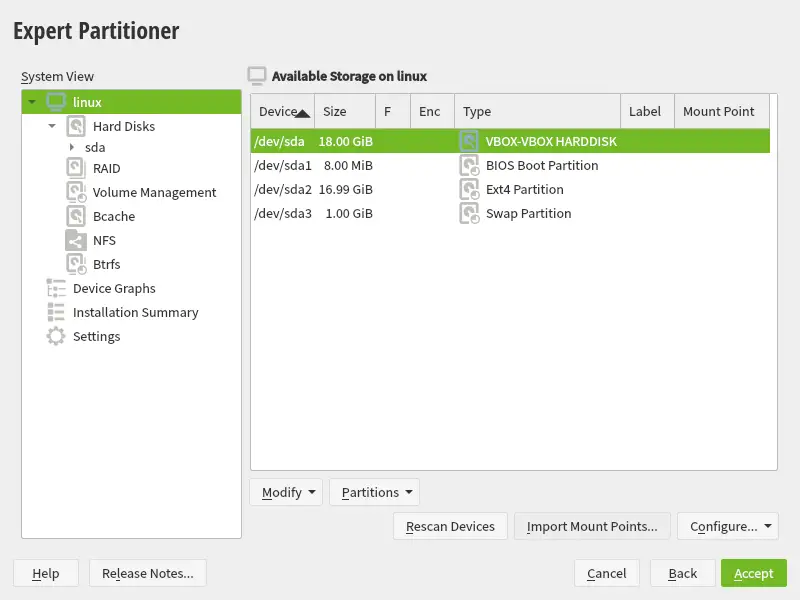
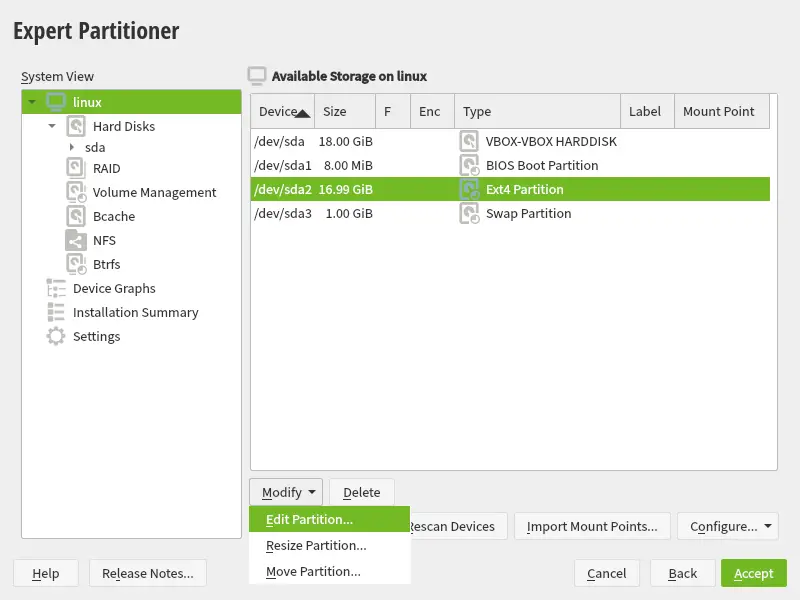
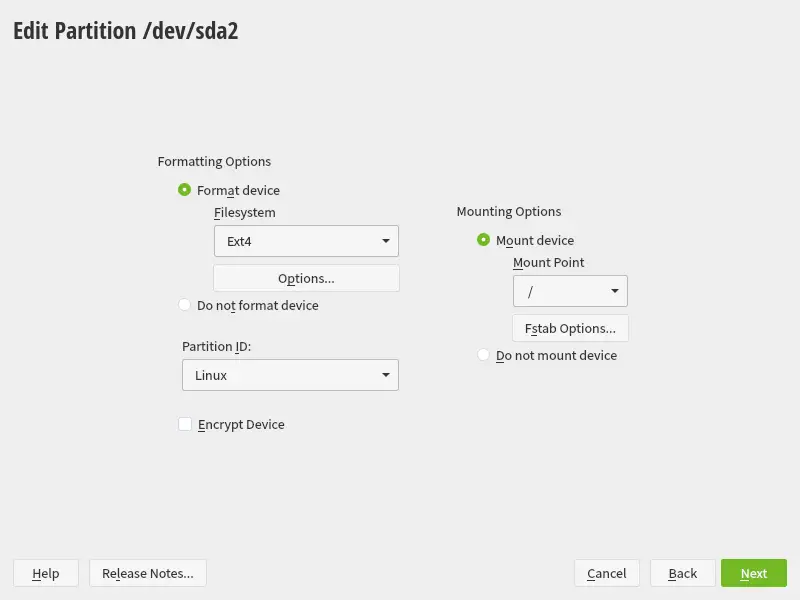
Here you will see the partitioning scheme that the disk has. In this case, there is an ext4 partition which is where I will install OpenSUSE. Select the desired partition and under Modify choose the Edit Partition option.
On the next screen, you will be able to choose the file system, the mount point, and a few other things. In this case, I have chosen ext4 even though OpenSUSE uses BTRFS and as a mount point / which is the root of a Linux system.
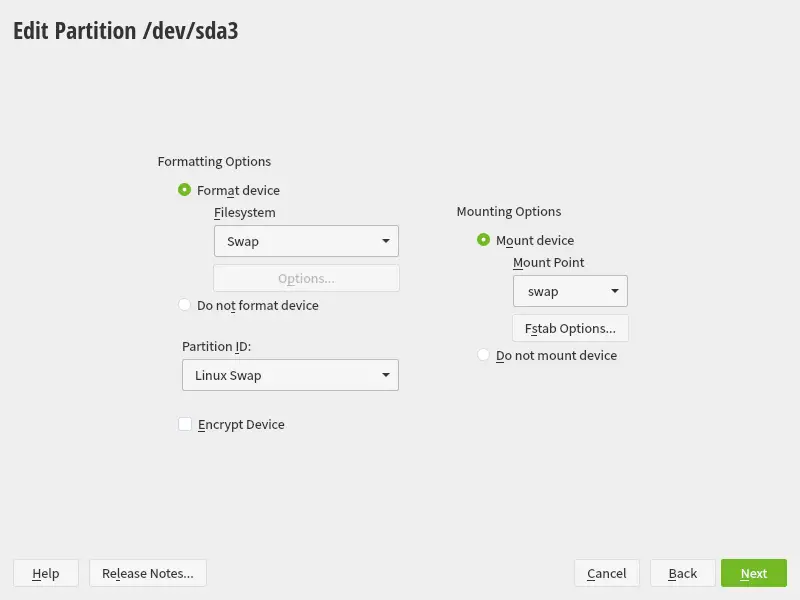
Then, do the same with the partition that will be the Swap. In this case, choose Swap as file system and as mount point.
At the end the partitioning scheme of the disk will be as follows:
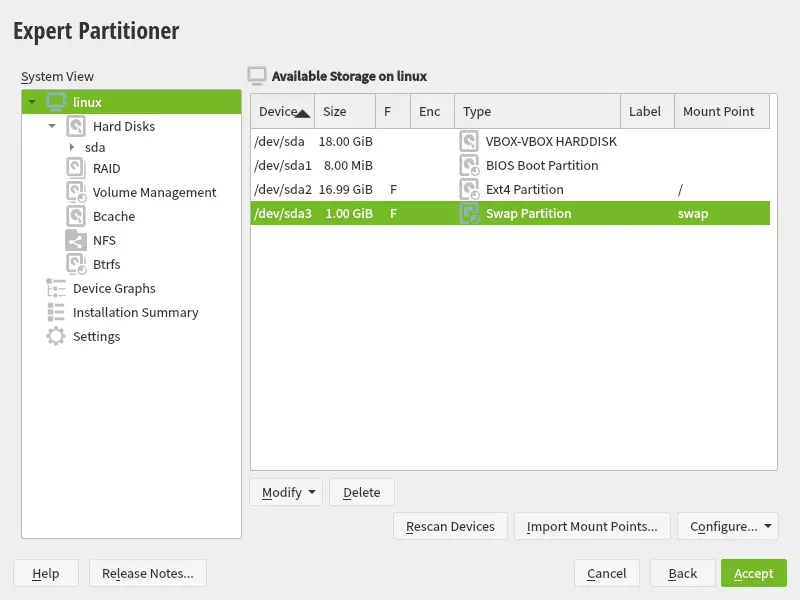
When you are ready, click Accept. And the list of changes the installer will make to the disk will appear. Click on Next.

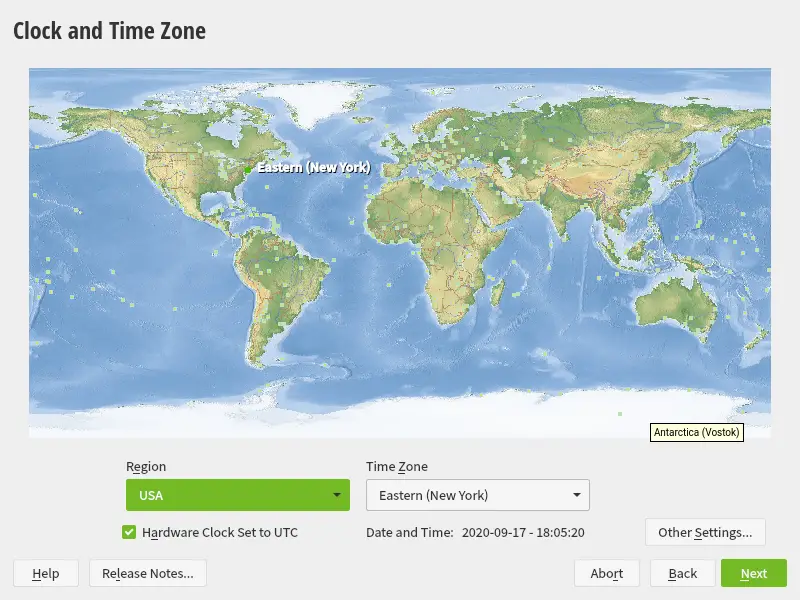
8. Choose Clock and Time Zone
Then, define the clock options where you can choose the Timezone and more like the time.
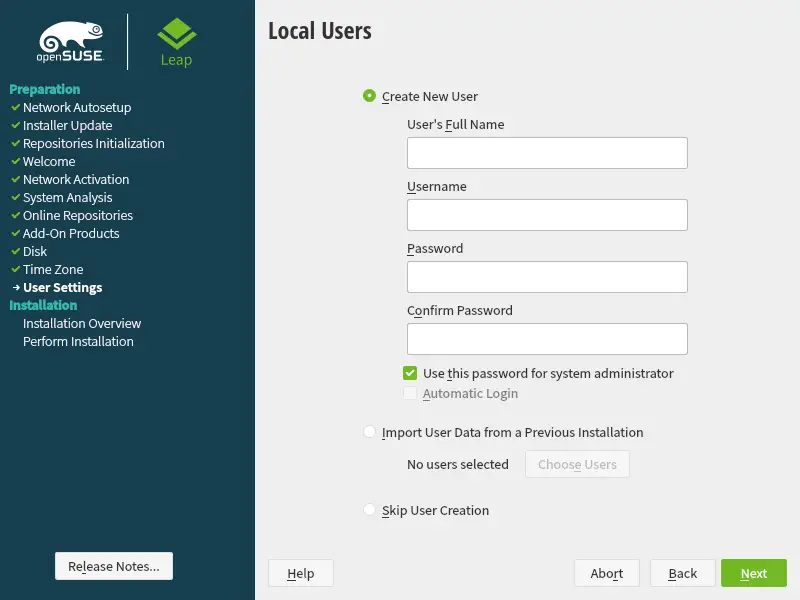
9. Create user
On the next screen, you have to create the main user. Here you have to create a username and password. If only you will use the system, you can also make it an administrator.
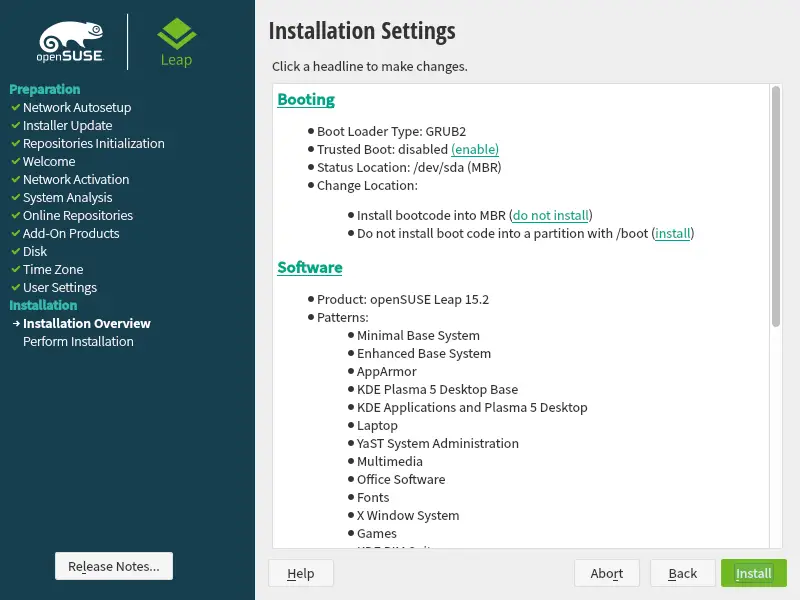
10. Installation Summary
In the end, you will see a summary of the installation where you can see everything the installer will do.
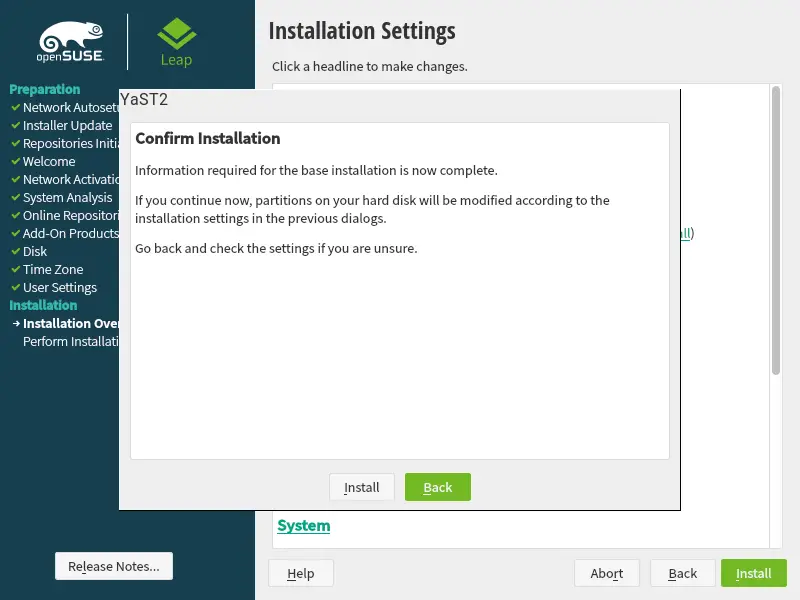
11. Complete Installation
If you agree with everything click on Install and then the installation will start.
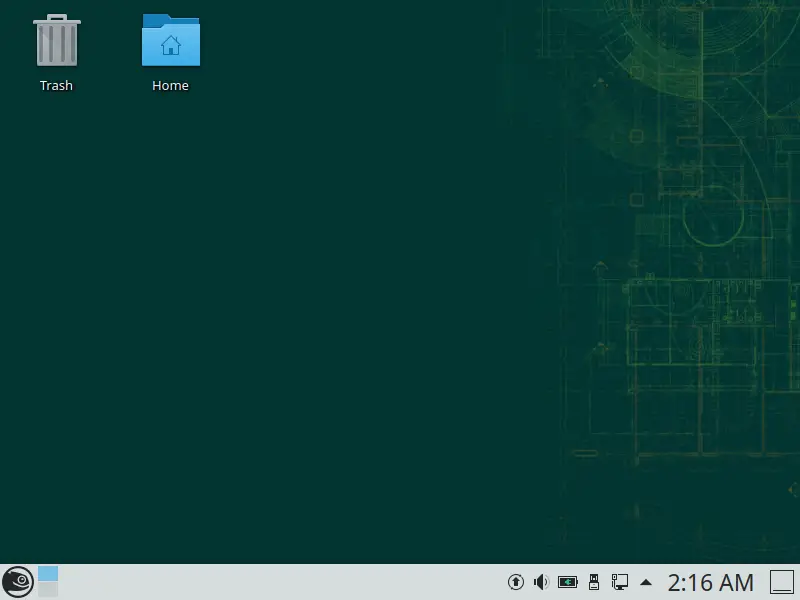
When the installation is finished, the computer will be restarted and you will be ready to use OpenSUSE with KDE Plasma.
Conclusion
OpenSUSE is not as popular as Ubuntu or Linux Mint but it is a mature and very stable distribution. That’s why many people are interested in it as a daily operating system. It is also so flexible that it can be used as a server operating system.
Do you like OpenSUSE? Have you used it? On the desktop or a server? Leave us a comment and share this post.