Let’s Chat is a persistent messaging application that runs on Node.js and MongoDB. It’s designed to be easily deployable and fits well with small, intimate teams.
The program is free and open-source, released under the MIT license. This means that we can use it under almost any circumstances without worrying about licensing or high costs.
It is very useful in remote work teams and especially in these difficult times we live in. So Let’s Chat is an effective solution in its field.
Some of its main features of it are:
- BYOS (bring your own server). So, your server, your rules.
- Support for LDAP / Kerberos Authentication.
- XMPP Multi-user chat (MUC)
- You can create multiple Rooms
- REST-like API
- The application is translated for many languages
So, it also provides all the possibilities you can expect from a chat like sending files, creating accounts, mentions, and support for desktop notifications.
Install Let’s Chat on Ubuntu
The installation process of Let’s Chat is not complicated but requires a series of steps to achieve the goal. To do this, we need to install dependencies and programs for it to work properly.
For this post, we will run the commands as the root user on an Ubuntu 20.04 server. In case you don’t have the root user, you can execute the commands by adding the sudo command at startup.
1. Install dependencies, Node.JS and MongoDB
Once you have connected to the server or opened a terminal session, you have to update your distribution.
apt update
apt upgrade
Next, proceed to install some packages which are dependencies of the application.
apt install curl gnupg2 unzip software-properties-common git build-essential
Next, it’s time to install Node.JS via the official repository for the 10.x series.
So, add it by running
curl -sL https://deb.nodesource.com/setup_10.x | bash -
Now we can install Node.JS by running
apt install nodejs
You can check the installed version using the command:
node -v
Sample Output:
v10.24.0
Then we need to install MongoDB. To do this we will use the official repository provided by the MongoDB developers.
First, add the GPG key to ensure the integrity of the packages and that the system trusts this new software source
curl -fsSL https://www.mongodb.org/static/pgp/server-4.4.asc | apt-key add -
Now add the repository:
echo "deb [ arch=amd64,arm64 ] https://repo.mongodb.org/apt/ubuntu focal/mongodb-org/4.4 multiverse" | tee /etc/apt/sources.list.d/mongodb-org-4.4.list
Refresh APT and install MongoDB
apt update
apt install mongodb-org
Next, start MongoDB and have it start up along with the system. This ensures that when the system reboots, MongoDB will also run.
systemctl enable --now mongod
Now check the status of the service to make sure everything is OK.
systemctl status mongod
Sample Output:
● mongod.service - MongoDB Database Server
     Loaded: loaded (/lib/systemd/system/mongod.service; enabled; vendor preset: enabled)
     Active: active (running) since Thu 2021-02-25 16:46:10 CET; 1s ago
       Docs: https://docs.mongodb.org/manual
   Main PID: 7916 (mongod)
     Memory: 58.7M
     CGroup: /system.slice/mongod.service
             └─7916 /usr/bin/mongod --config /etc/mongod.conf

Feb 25 16:46:10 imaginelinux systemd[1]: Started MongoDB Database Server.
Now we can install Let’s Chat.
2. Install and configure Let’s Chat
With everything you need, you can now install Let’s Chat. To do this, clone the repository using the git command
git clone https://github.com/sdelements/lets-chat.git
Sample Output:
Cloning into 'lets-chat'…
 remote: Enumerating objects: 13287, done.
 remote: Total 13287 (delta 0), reused 0 (delta 0), pack-reused 13287
 Receiving objects: 100% (13287/13287), 21.23 MiB | 15.54 MiB/s, done.
 Resolving deltas: 100% (7651/7651), done.
Access the generated folder
cd lets-chat/
And install the application with the help of the npm command
npm install
After the process is finished, copy the default settings file and enable it.
cp settings.yml.sample settings.yml
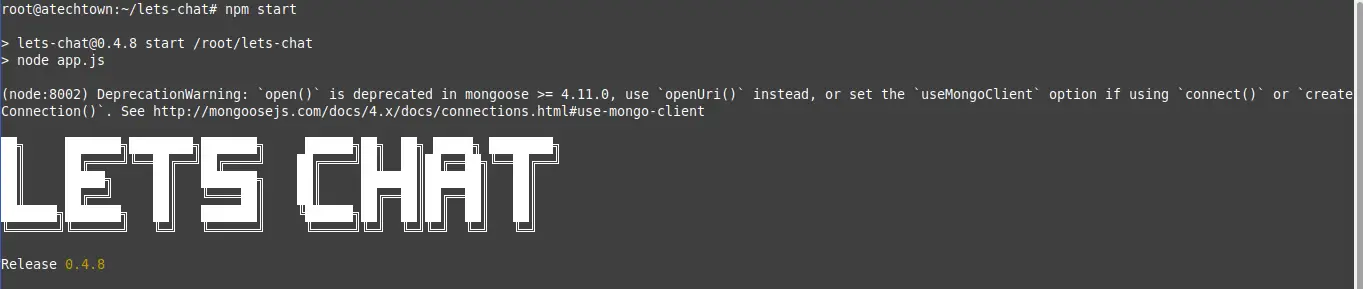
And start the application with the following command:
npm start
If you get an output screen like the one shown in the image, then all is well.
Although it is easy to start the application, it is better to handle it as a system service. So, finish running Let’s Chat by pressing the CTRL + C keys.
Then create a new file for the configuration of the service
nano /etc/systemd/system/letschat.service
And add the following configuration
[Unit]
 Description=Let's Chat Server
 Wants=mongodb.service
 After=network.target mongod.service

 [Service]
 Type=simple
 WorkingDirectory=/root/lets-chat
 ExecStart=/usr/bin/npm start
 User=root
 Group=root
 Restart=always
 RestartSec=9

 [Install]
 WantedBy=multi-user.target
Then save the changes and close the editor
Refresh the service configuration by running:
systemctl daemon-reload
Start the service and enable it to start with the system.
systemctl start letschat
systemctl enable letschat
Now check the status to make sure everything is OK.
systemctl status letschat
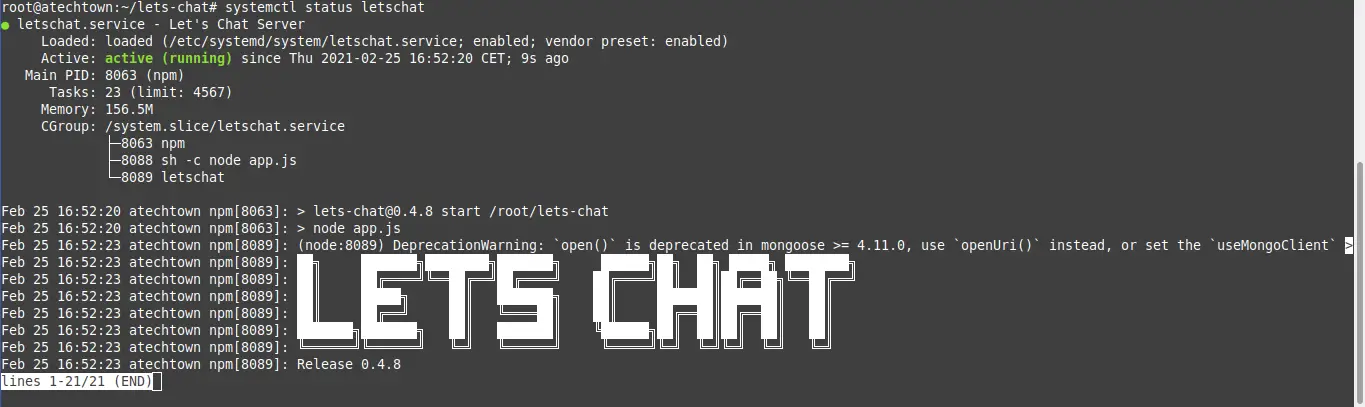
So, Let’s Chat is up and running.
3. Configuring Ngnix for Let’s chat on Ubuntu 20.04
The Let’s Chat application works under port 5000 which you have to open in the firewall. But we can configure Ngnix to be the reverse proxy for the application to facilitate access to the application.
This is quite simple, first install Nginx
sudo apt install nginx
And create a configuration file for Let’s Chat.
nano /etc/nginx/sites-available/letschat.conf
And add the following content:
server {
  server_name letschat.imaginelinux.test;
   listen 80;
   access_log /var/log/nginx/lets_chat-access.log;
   error_log /var/log/nginx/lets_chat-error.log;

location / {
   proxy_set_header   X-Real-IP $remote_addr;
   proxy_set_header   Host      $host;
   proxy_http_version 1.1;
   proxy_set_header   Upgrade $http_upgrade;
   proxy_set_header   Connection 'upgrade';
   proxy_cache_bypass $http_upgrade;
   proxy_pass         http://127.0.0.1:5000;
 }
 }
Of these values, you have to modify the server_name value to the value of your domain.
When you exit the editor, you need to enable the new configuration:
ln -s /etc/nginx/sites-available/letschat.conf /etc/nginx/sites-enabled/
Also, modify an option in the Nginx settings. Open the Nginx configuration file:
nano /etc/nginx/nginx.conf
And under the http section add the following value
server_names_hash_bucket_size 64;
Again, save the changes and close the editor. And now you can restart Nginx.
systemctl restart nginx
4. Install Certbot and Let’s Encrypt certificates
If the Let’s Chat instance will be available on the Internet, then it is advisable to be more secure about the data to be transmitted.
So, install security certificates to access the site and this is facilitated by Certbot and Let’s Encrypt.
So, install Certbot and the Nginx plugin.
apt install certbot python3-certbot-nginx
After that create the new certificate for your site with the following command:
certbot --nginx --agree-tos --redirect --hsts --staple-ocsp --email [your-email] -d [your-domain]
Replace the indicated values with your own.
Then restart Ngnix to apply the changes.
systemctl restart nginx
5. Access to the Let’s Chat interface
Now we need to open a web browser and access https://your-domain so that we can see the Let’s Chat login screen.
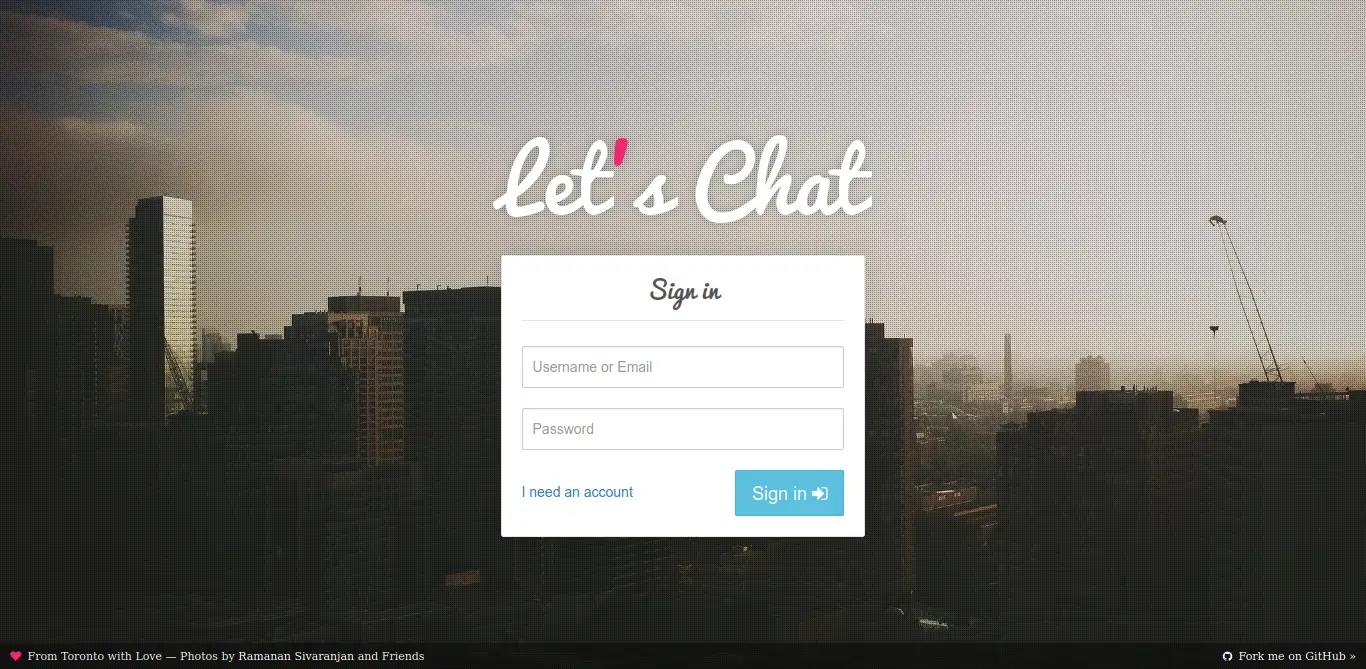
Now you need to create a new account by clicking on the I Need an Account link.
This will take you to a screen where you can register without any problems.
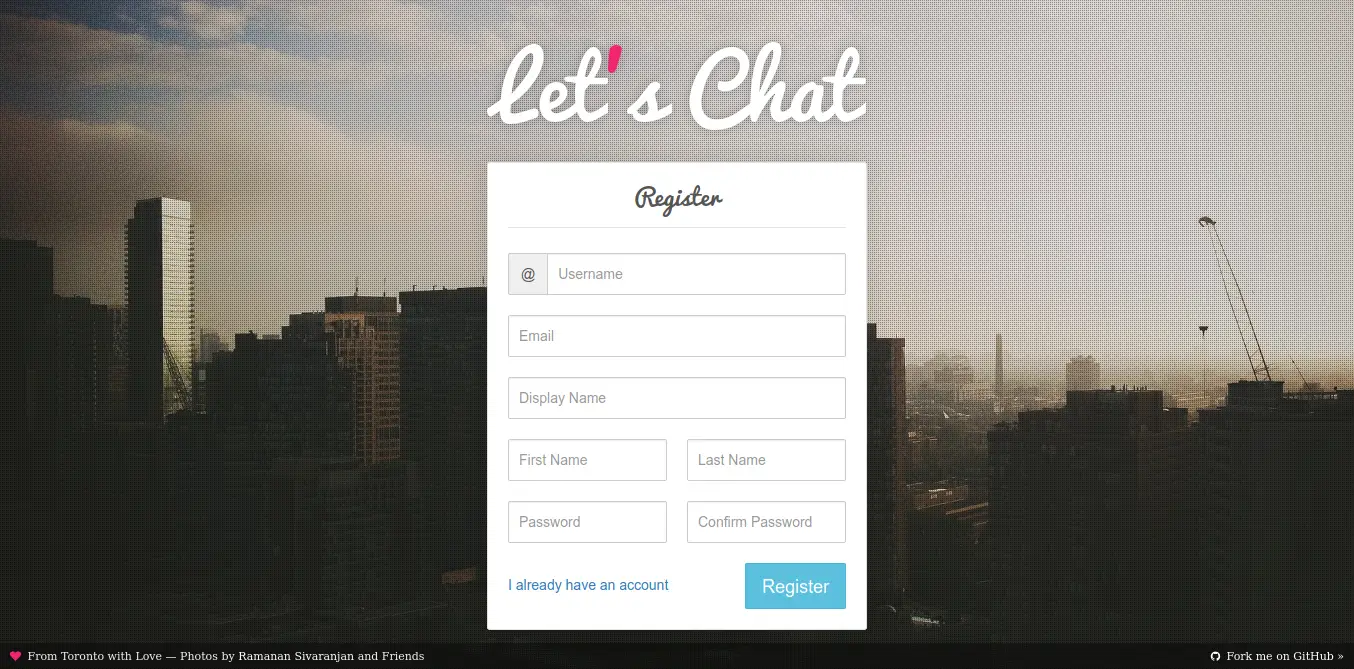
Then go back to the login screen to log in with your credentials and you will be able to access the application.
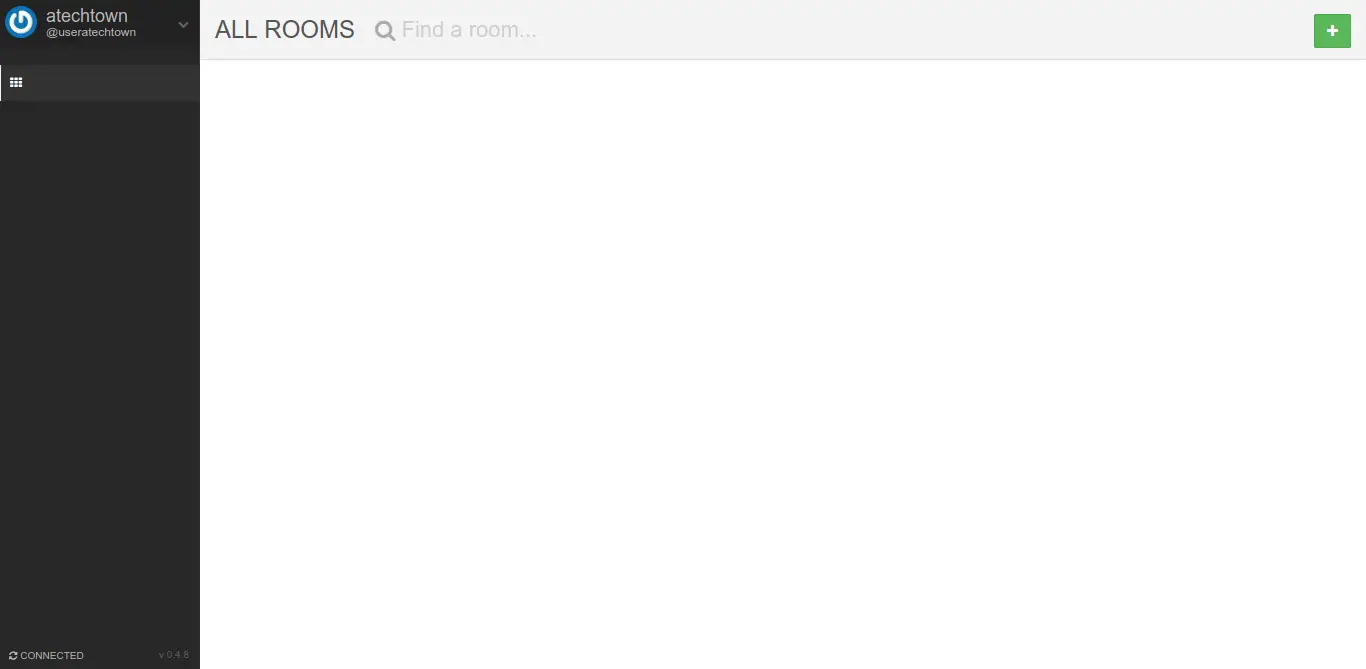
Conclusion
Open Source applications play a key role in many companies today. One of them is Let’s Chat that allows the deployment of a very complete chat program for small work teams but with many possibilities and with an open-source license that allows you to use it without problems.
Did you know Let’s Chat? do you want to install it? what do you think? leave us a comment and share the post.
Thanks for reading.